Documentation Index
Fetch the complete documentation index at: https://octomind.dev/docs/llms.txt
Use this file to discover all available pages before exploring further.
Try Octomind for free! Sign up to Octomind for a demo account
1. Sign up with and email
Give us your work email address to create and account in the Octomind app.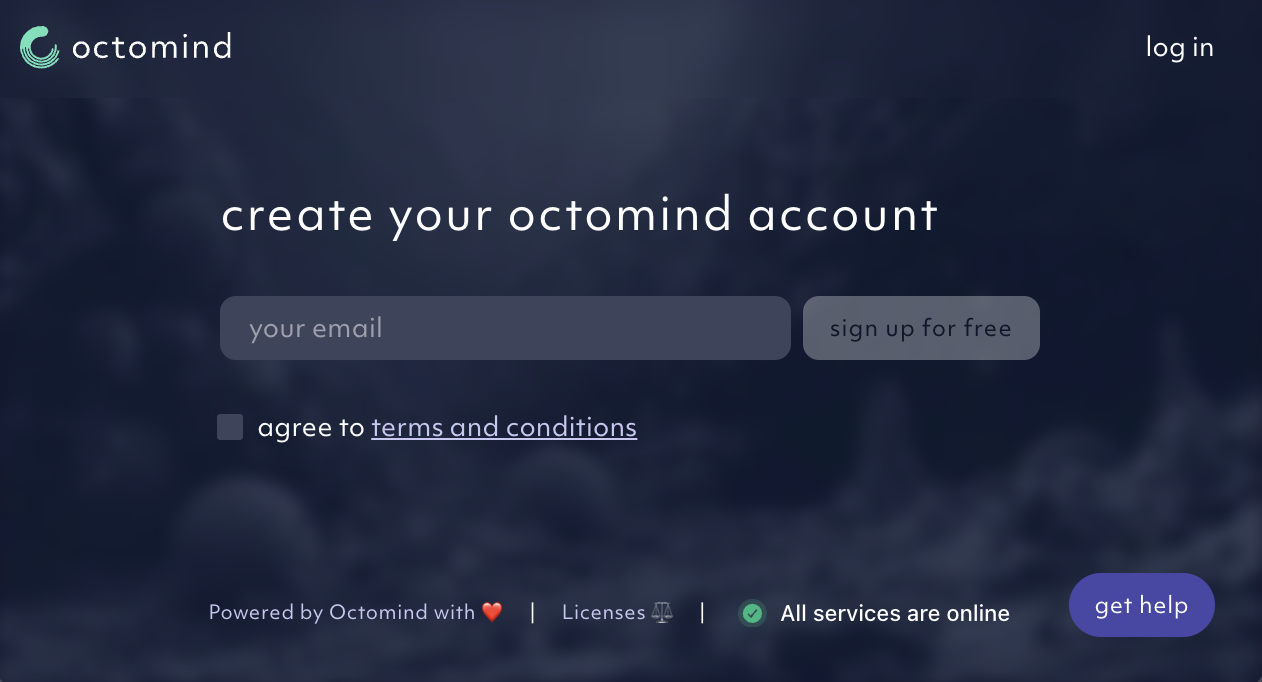
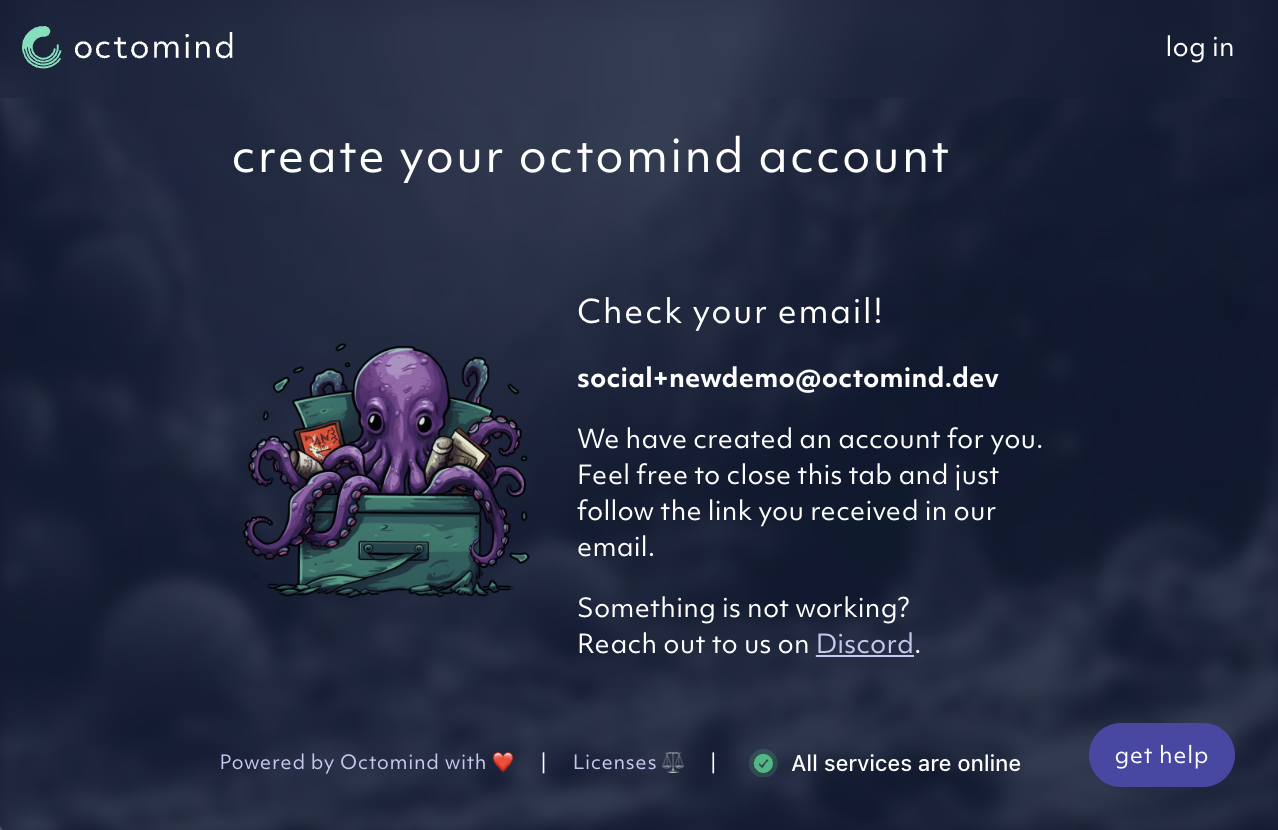
2. Confirm email and set a password
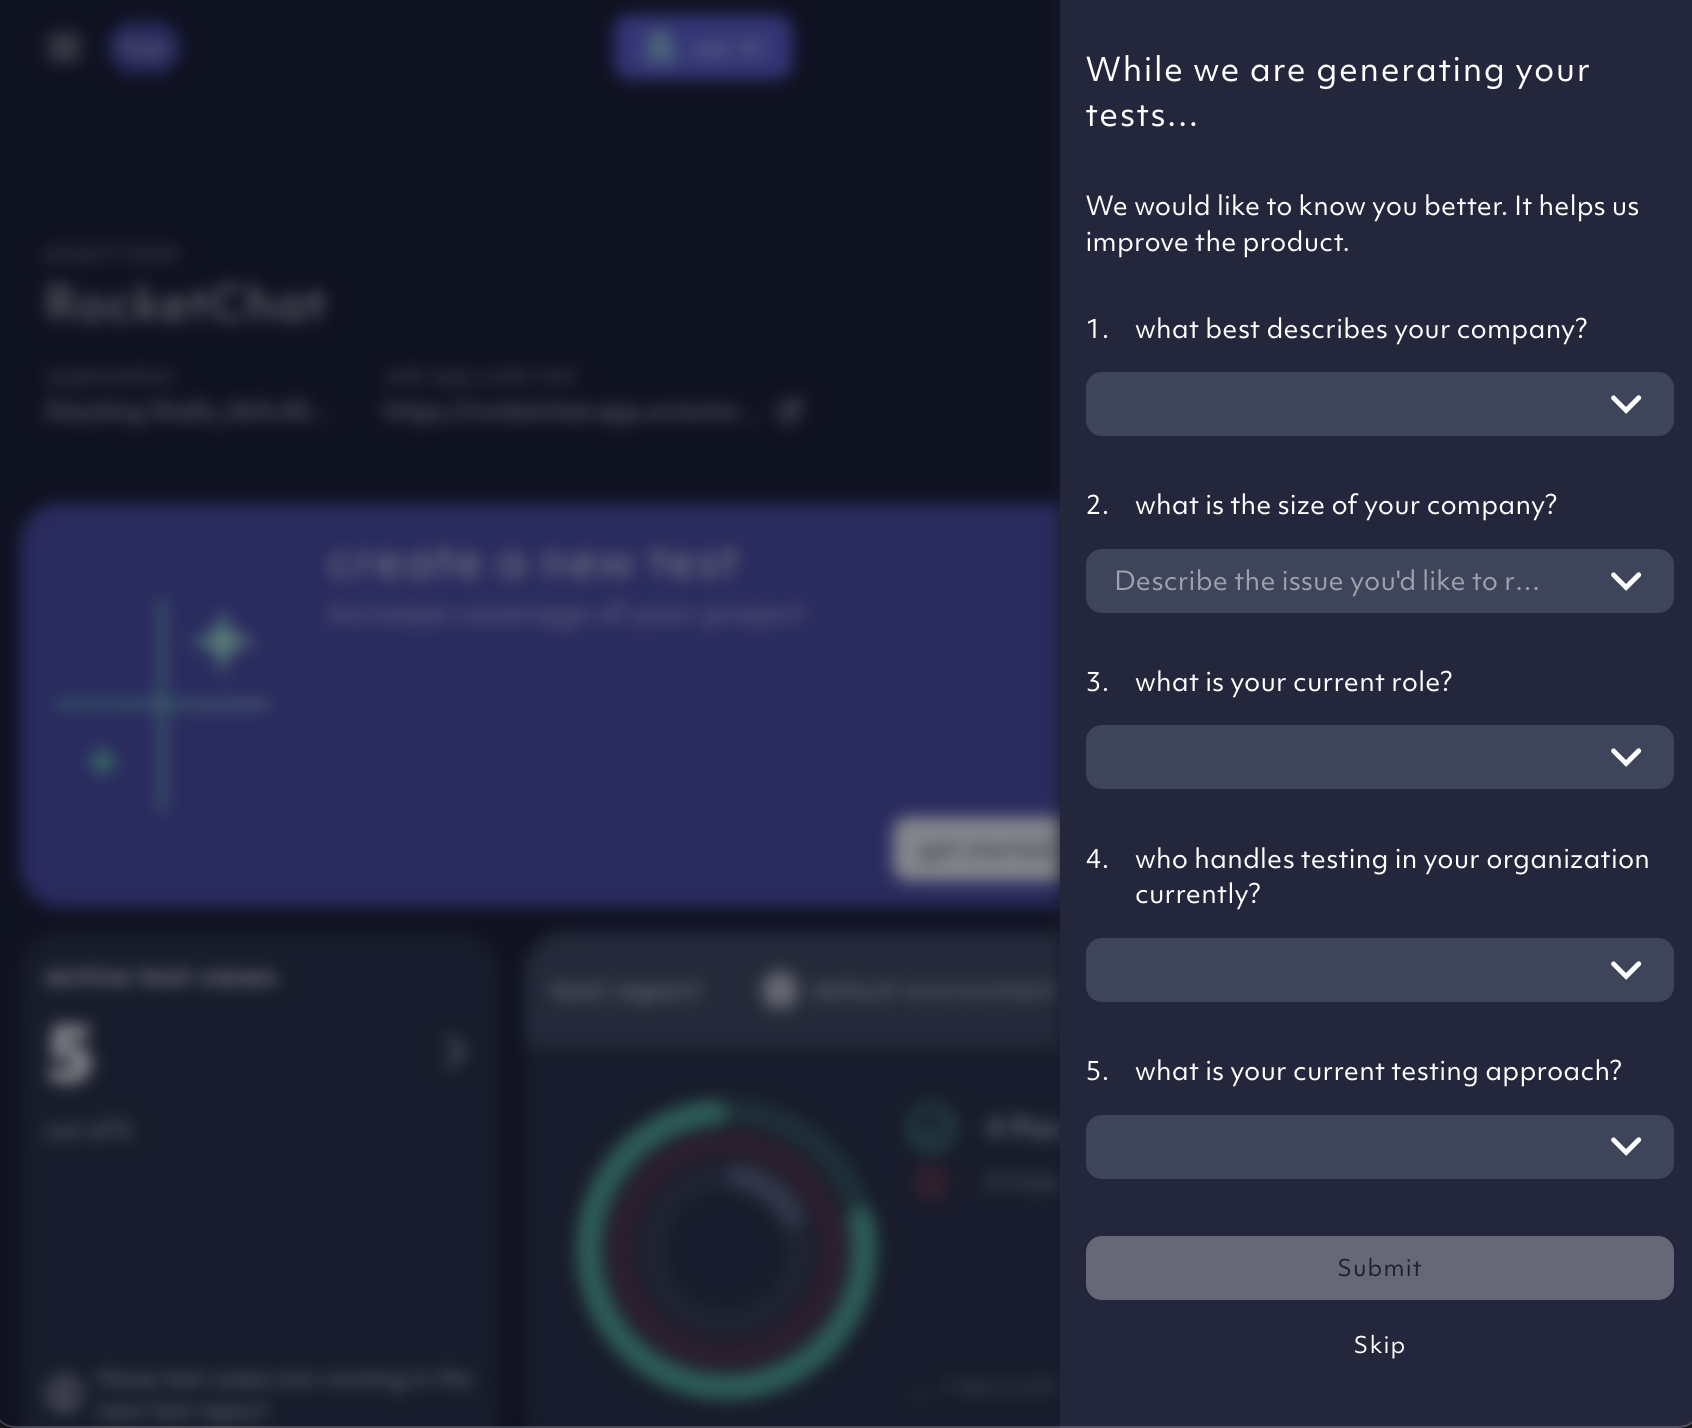
We’ve sent a confirmation email. After confirming, you’ll be asked to create a password for the app login.3. Open the Octomind app for the first time
After being redirected back to app.octomind.dev, you will land on a ** demo project overview** page. We have created a demo instance on the Rocket.Chat app - an open-source, self-hostable communication platform for organizations functioning as a secure alternative to platforms like Slack, allowing for real-time messaging, audio/video calls, file sharing, and integrations for teams and customers across web, desktop, and mobile devices.
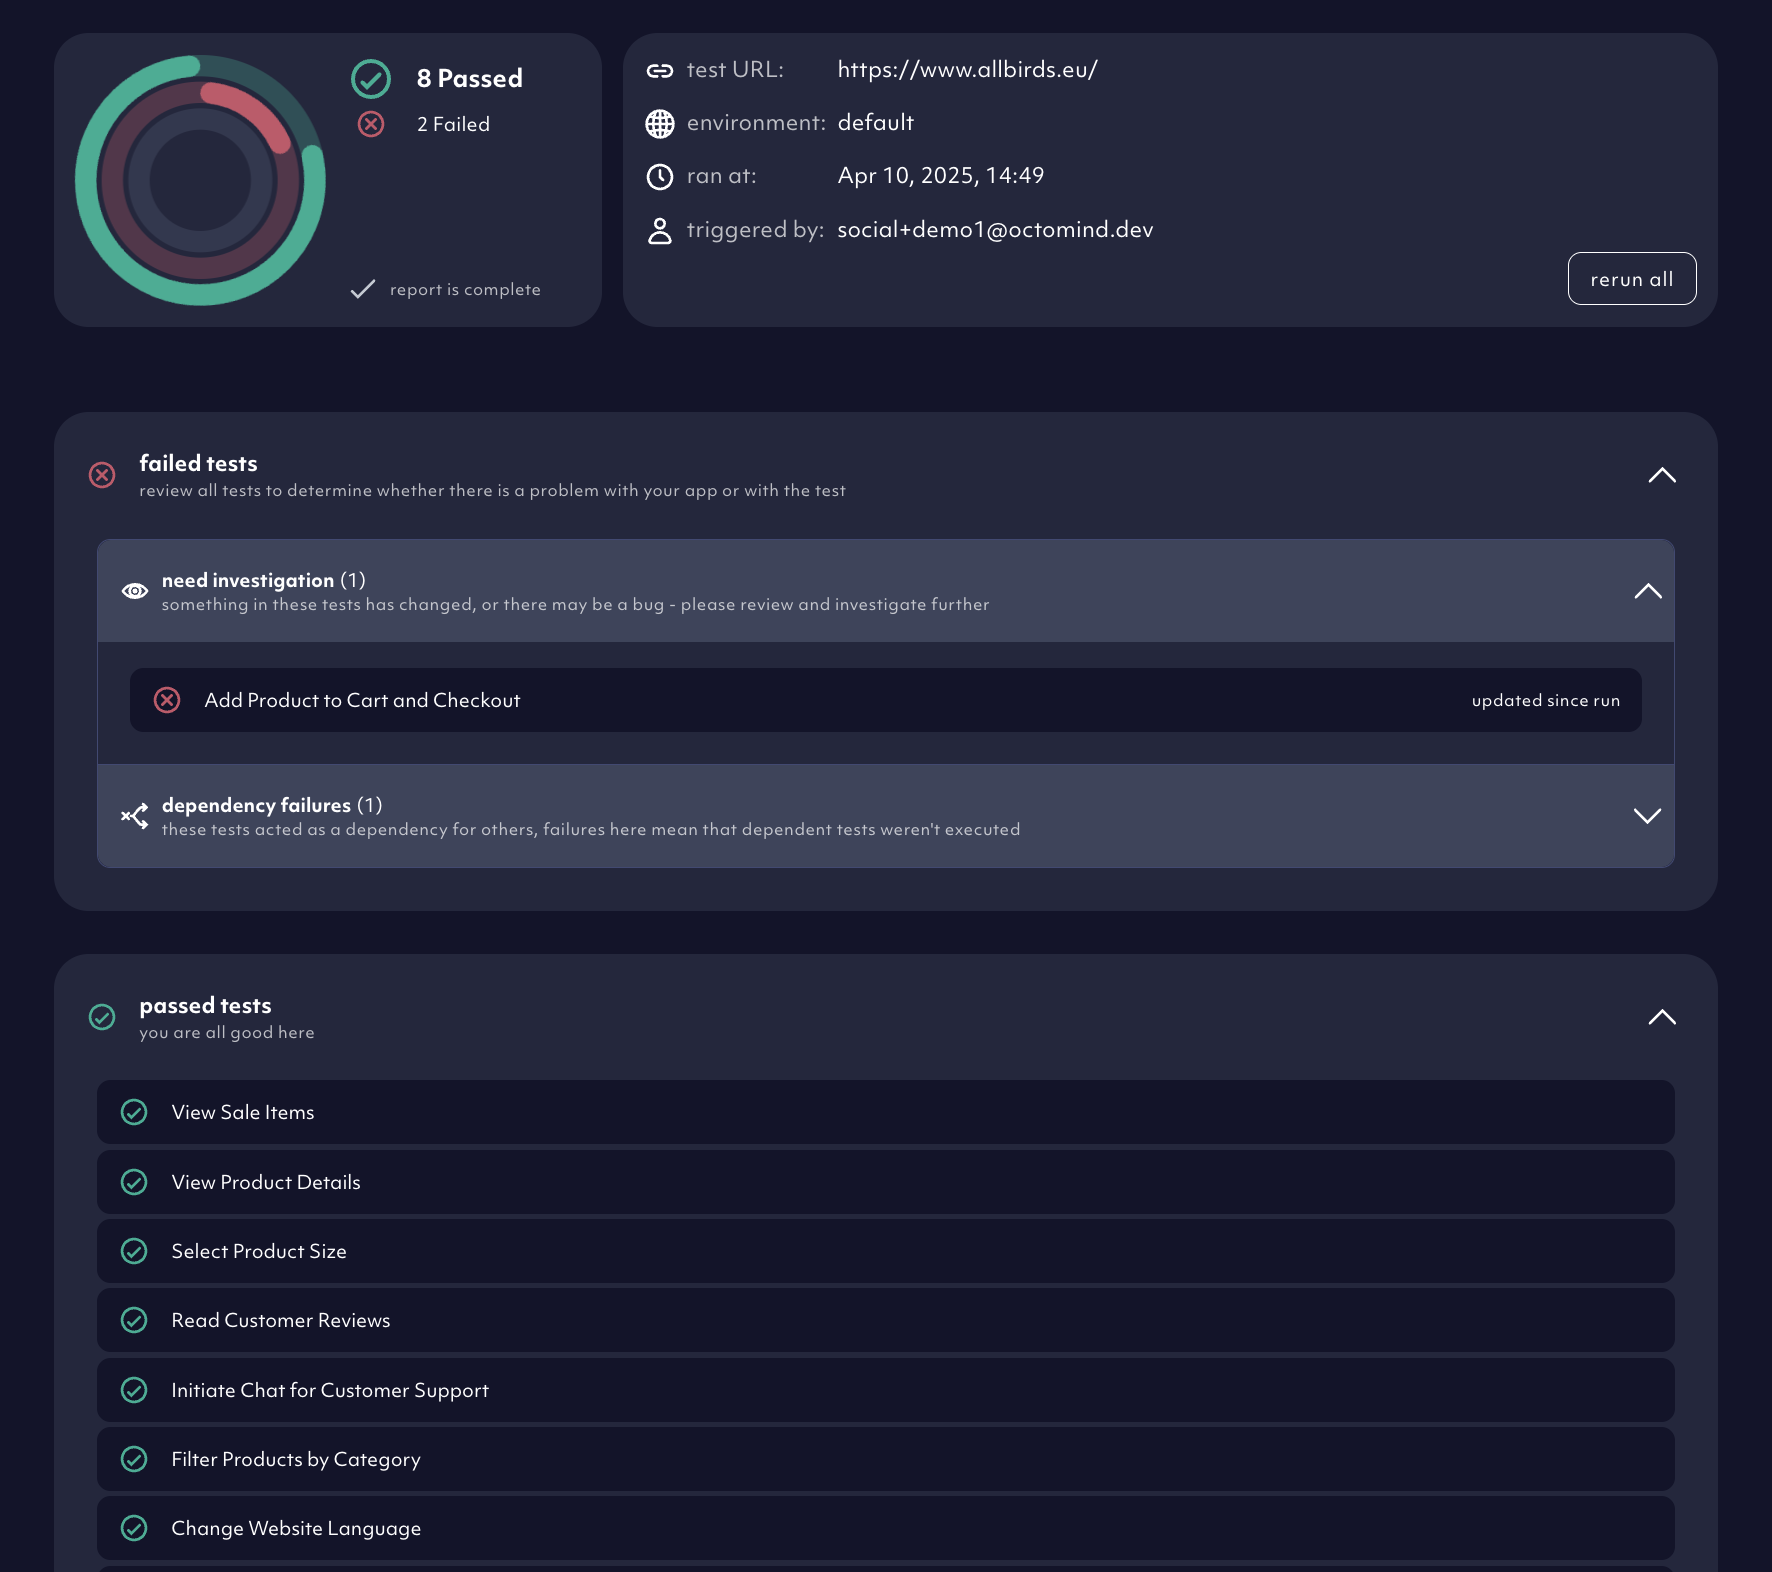
4. Look into the first tests we created and check the test report
We created example tests for you, using prompts and our agent. Automatically, we have launched a test run of all active cases. Explore the test cases and when the test run is finished, check the test report for test run details of tests that passed or failed.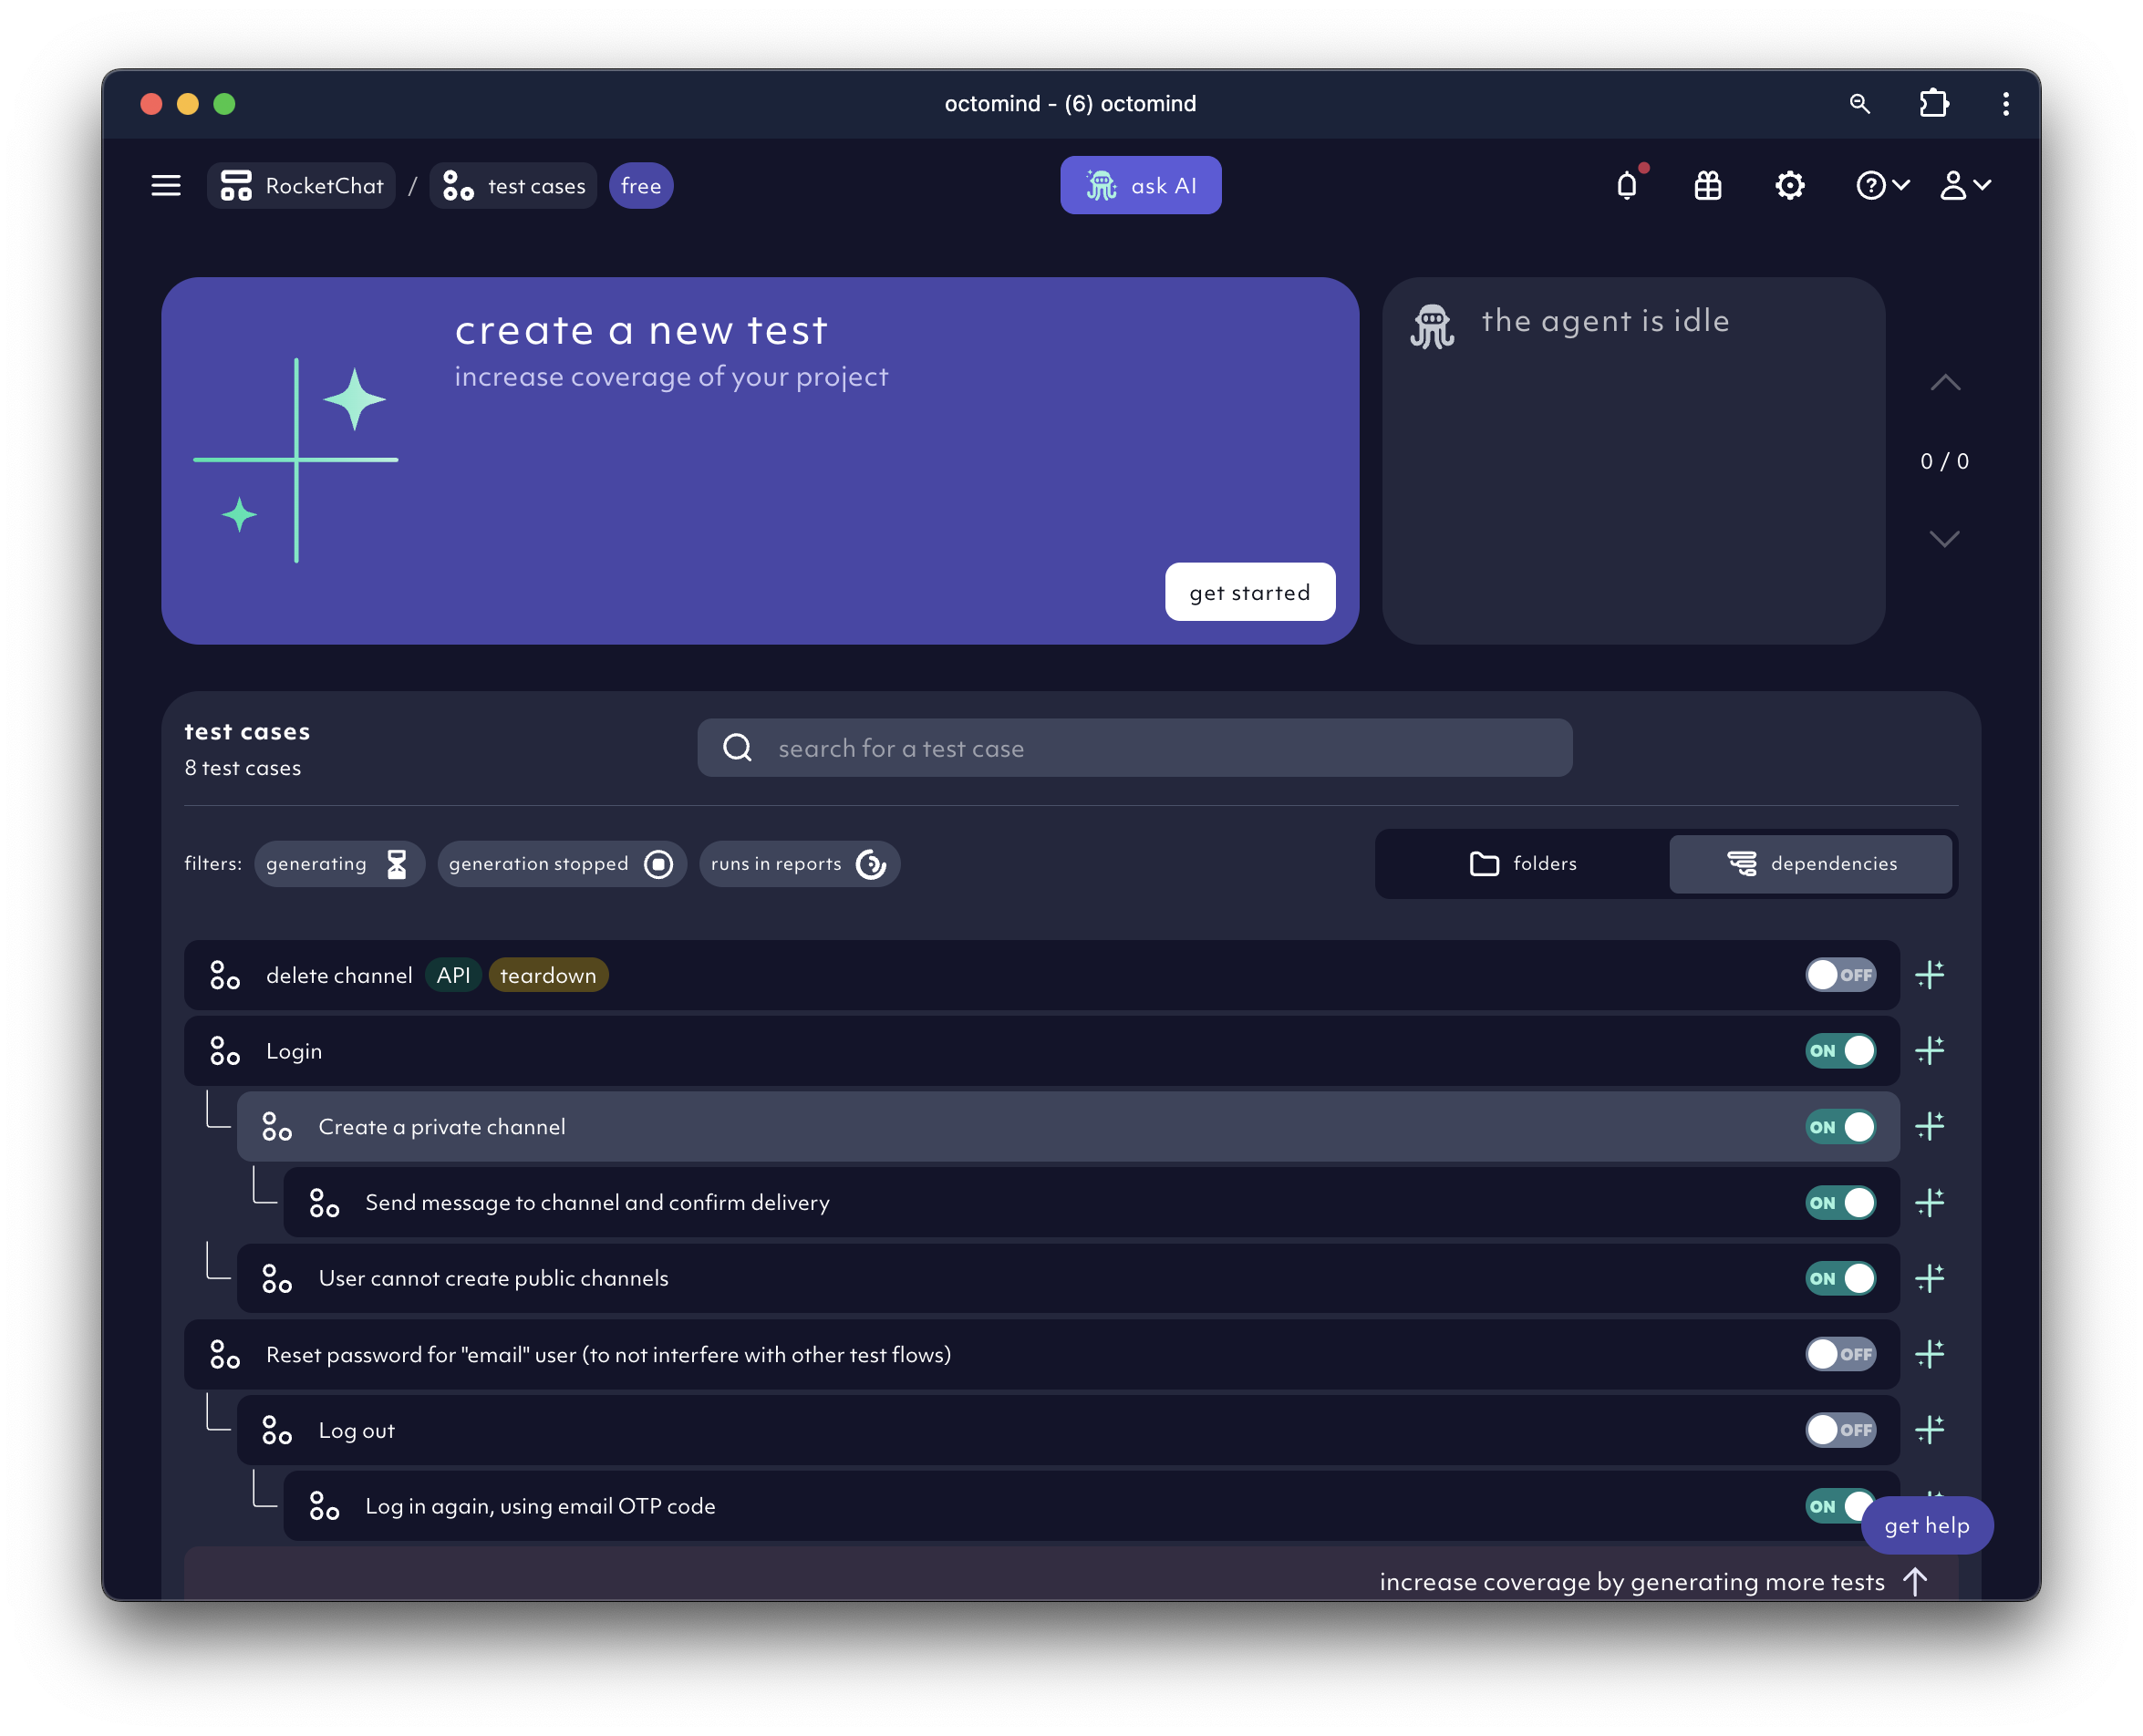
5. Create new tests
Now, it’s your turn to create some test cases. Click on theget started button. A selection of recommended tests will appear.
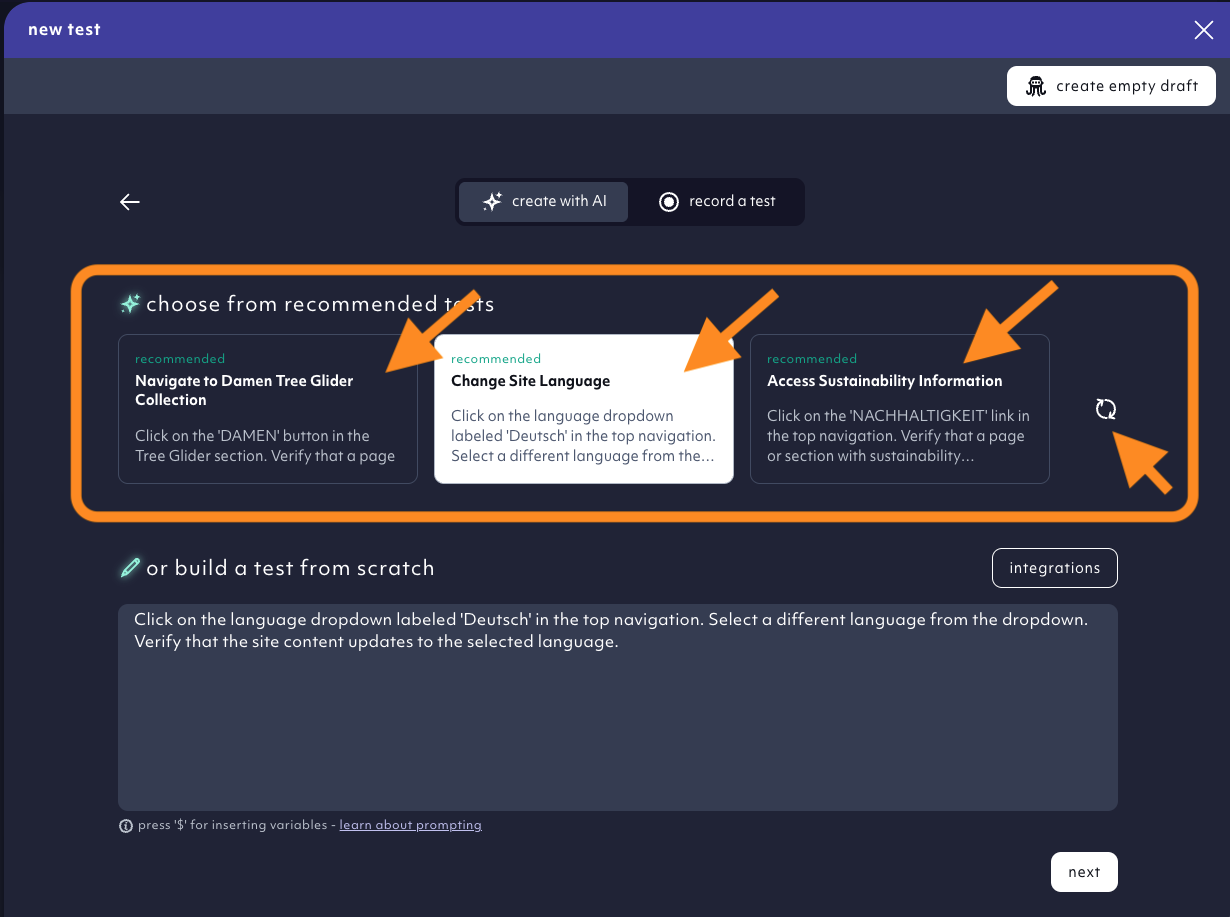
next.
For all new projects
Cookie banner and a required login functionality will be the first ones to be identified - their functionality is usually a prerequisites for all the other tests. They will be added as dependency for other tests. If the AI Agent finds a required login, it will ask you for test credentials. It will use them to generate and run a login test. It will be added as dependency for other tests. So will be the cookie banner test if one is found.
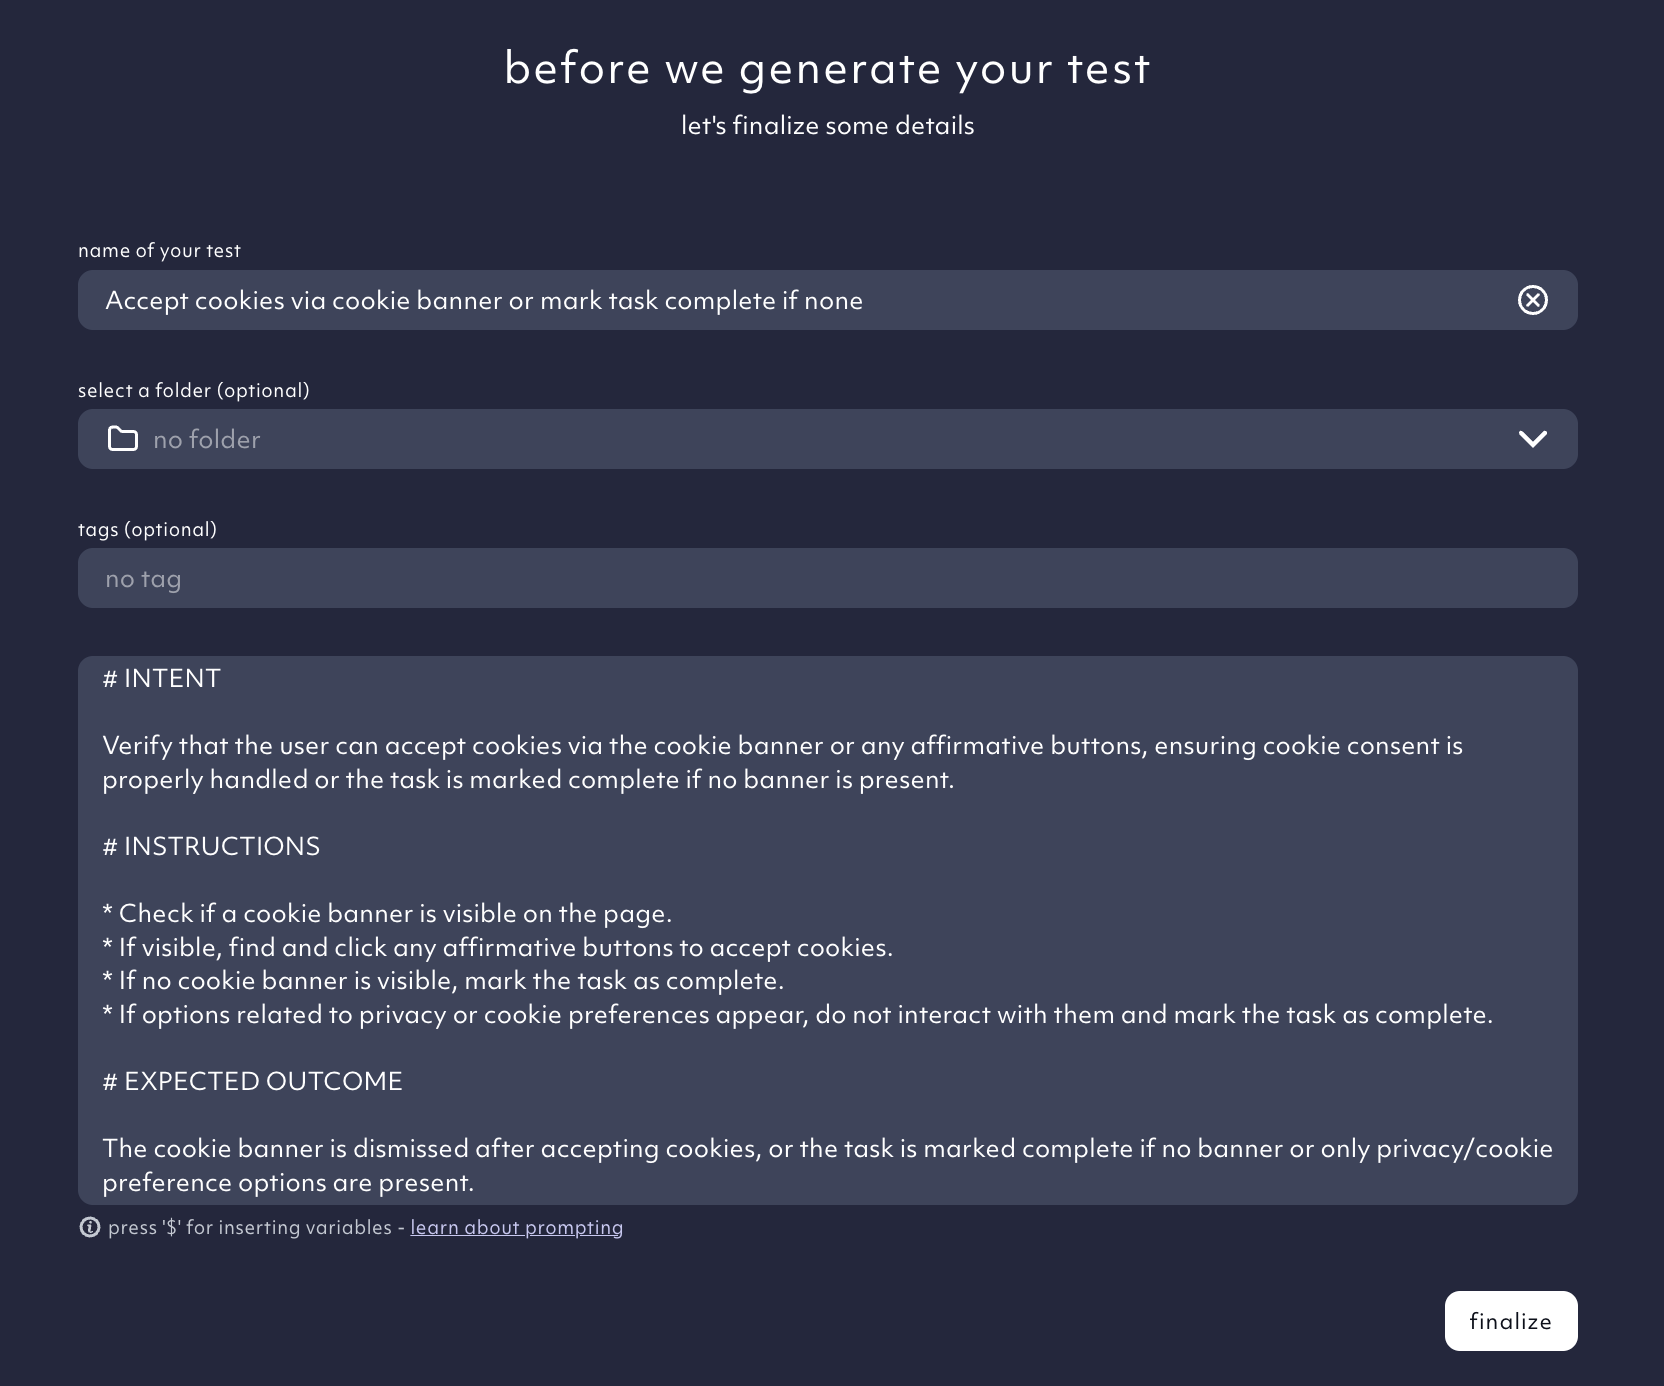
6. Refine the prompt
We will generate test cases you selected. But first, we need you to review the prompt we prepared. You can instruct the Agent in natural language to change the prompt here, or refine the prompt manually in the next step.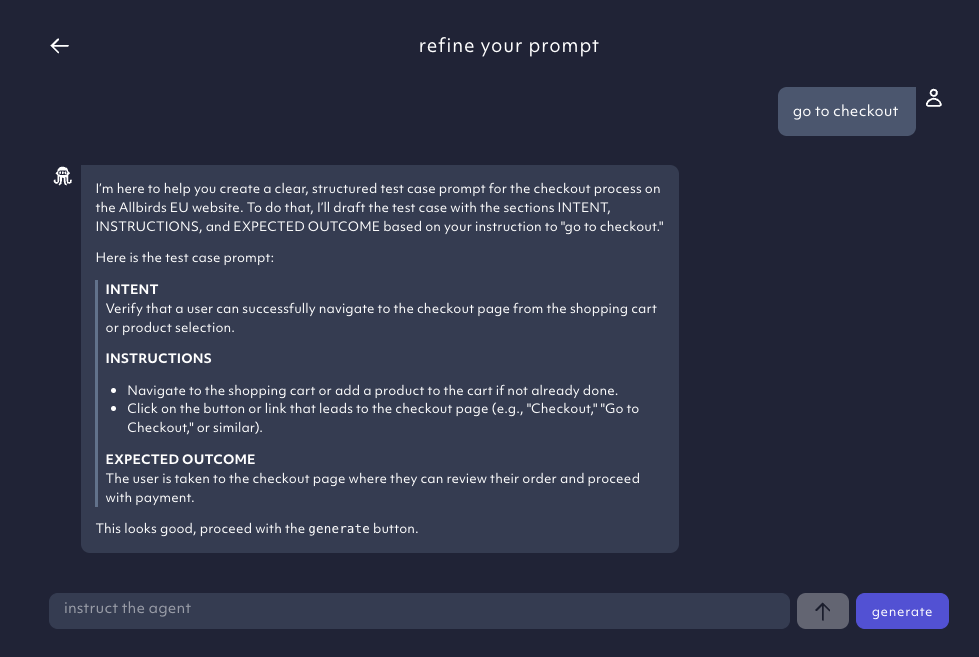
generate to add details, rename the test or refine the prompt. When everything is all set, click finalize.
7. We generate the test case
We started generating your test case.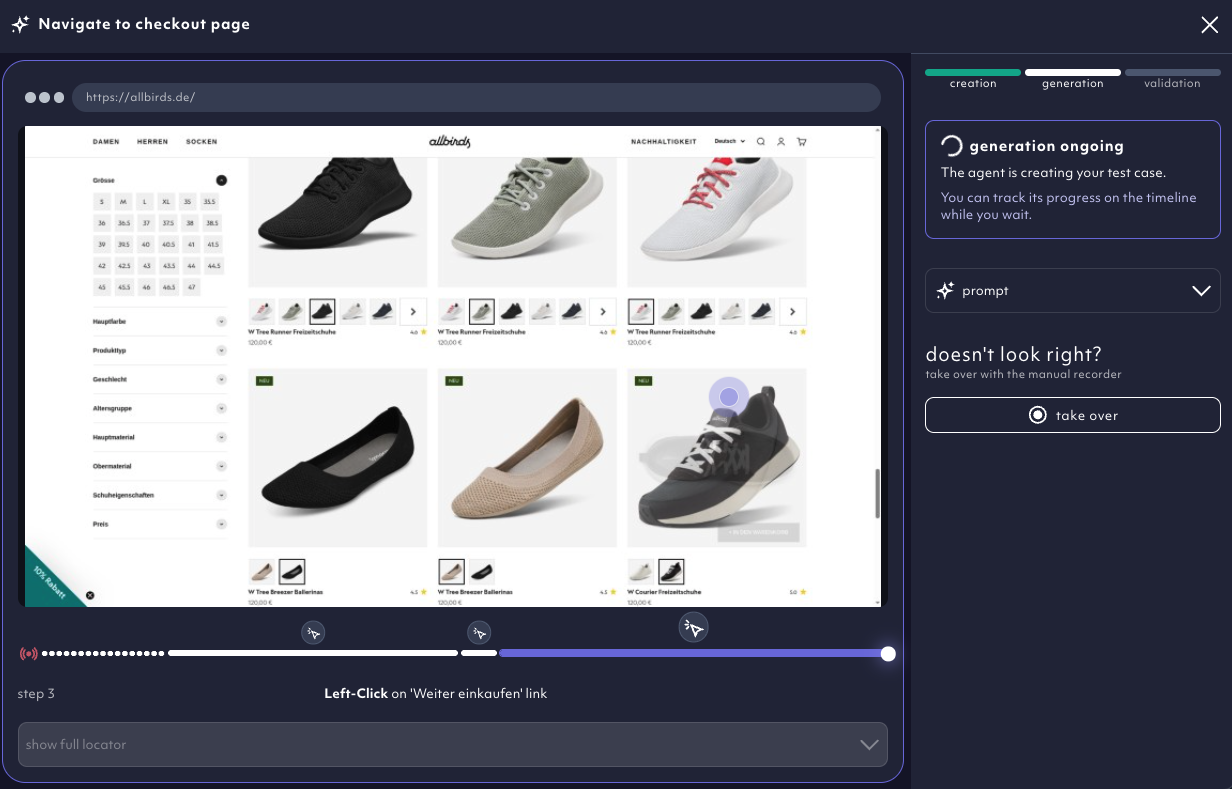
It’s possible that the Agent fails to generate a test (here are some reasons why) or needs help with something - the test is highlighted in yellow. This is a step by step guide on how you’ll help the Agent by nudging it in the right direction.
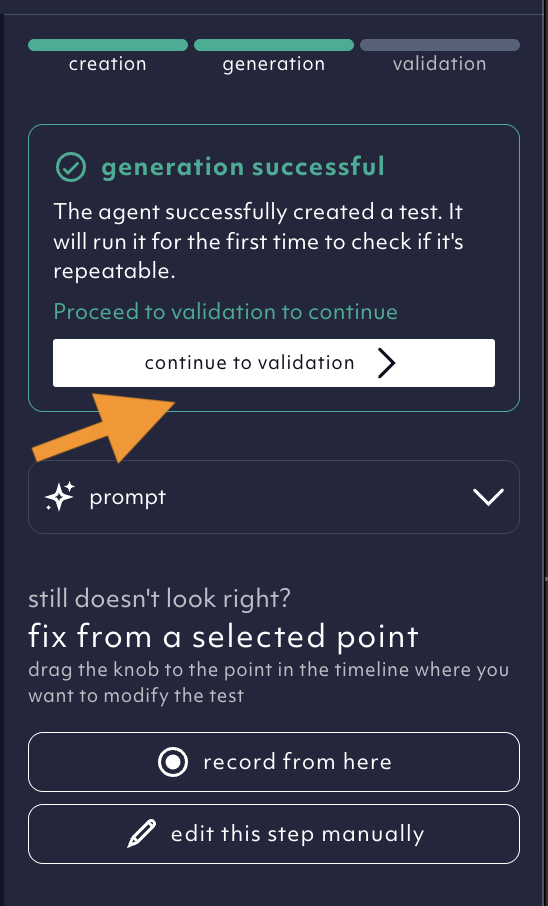
After being generated successfully, in the right panel, proceed to validation to run it and check whether it’s working properly.
Run tests to check the demo app for bugs
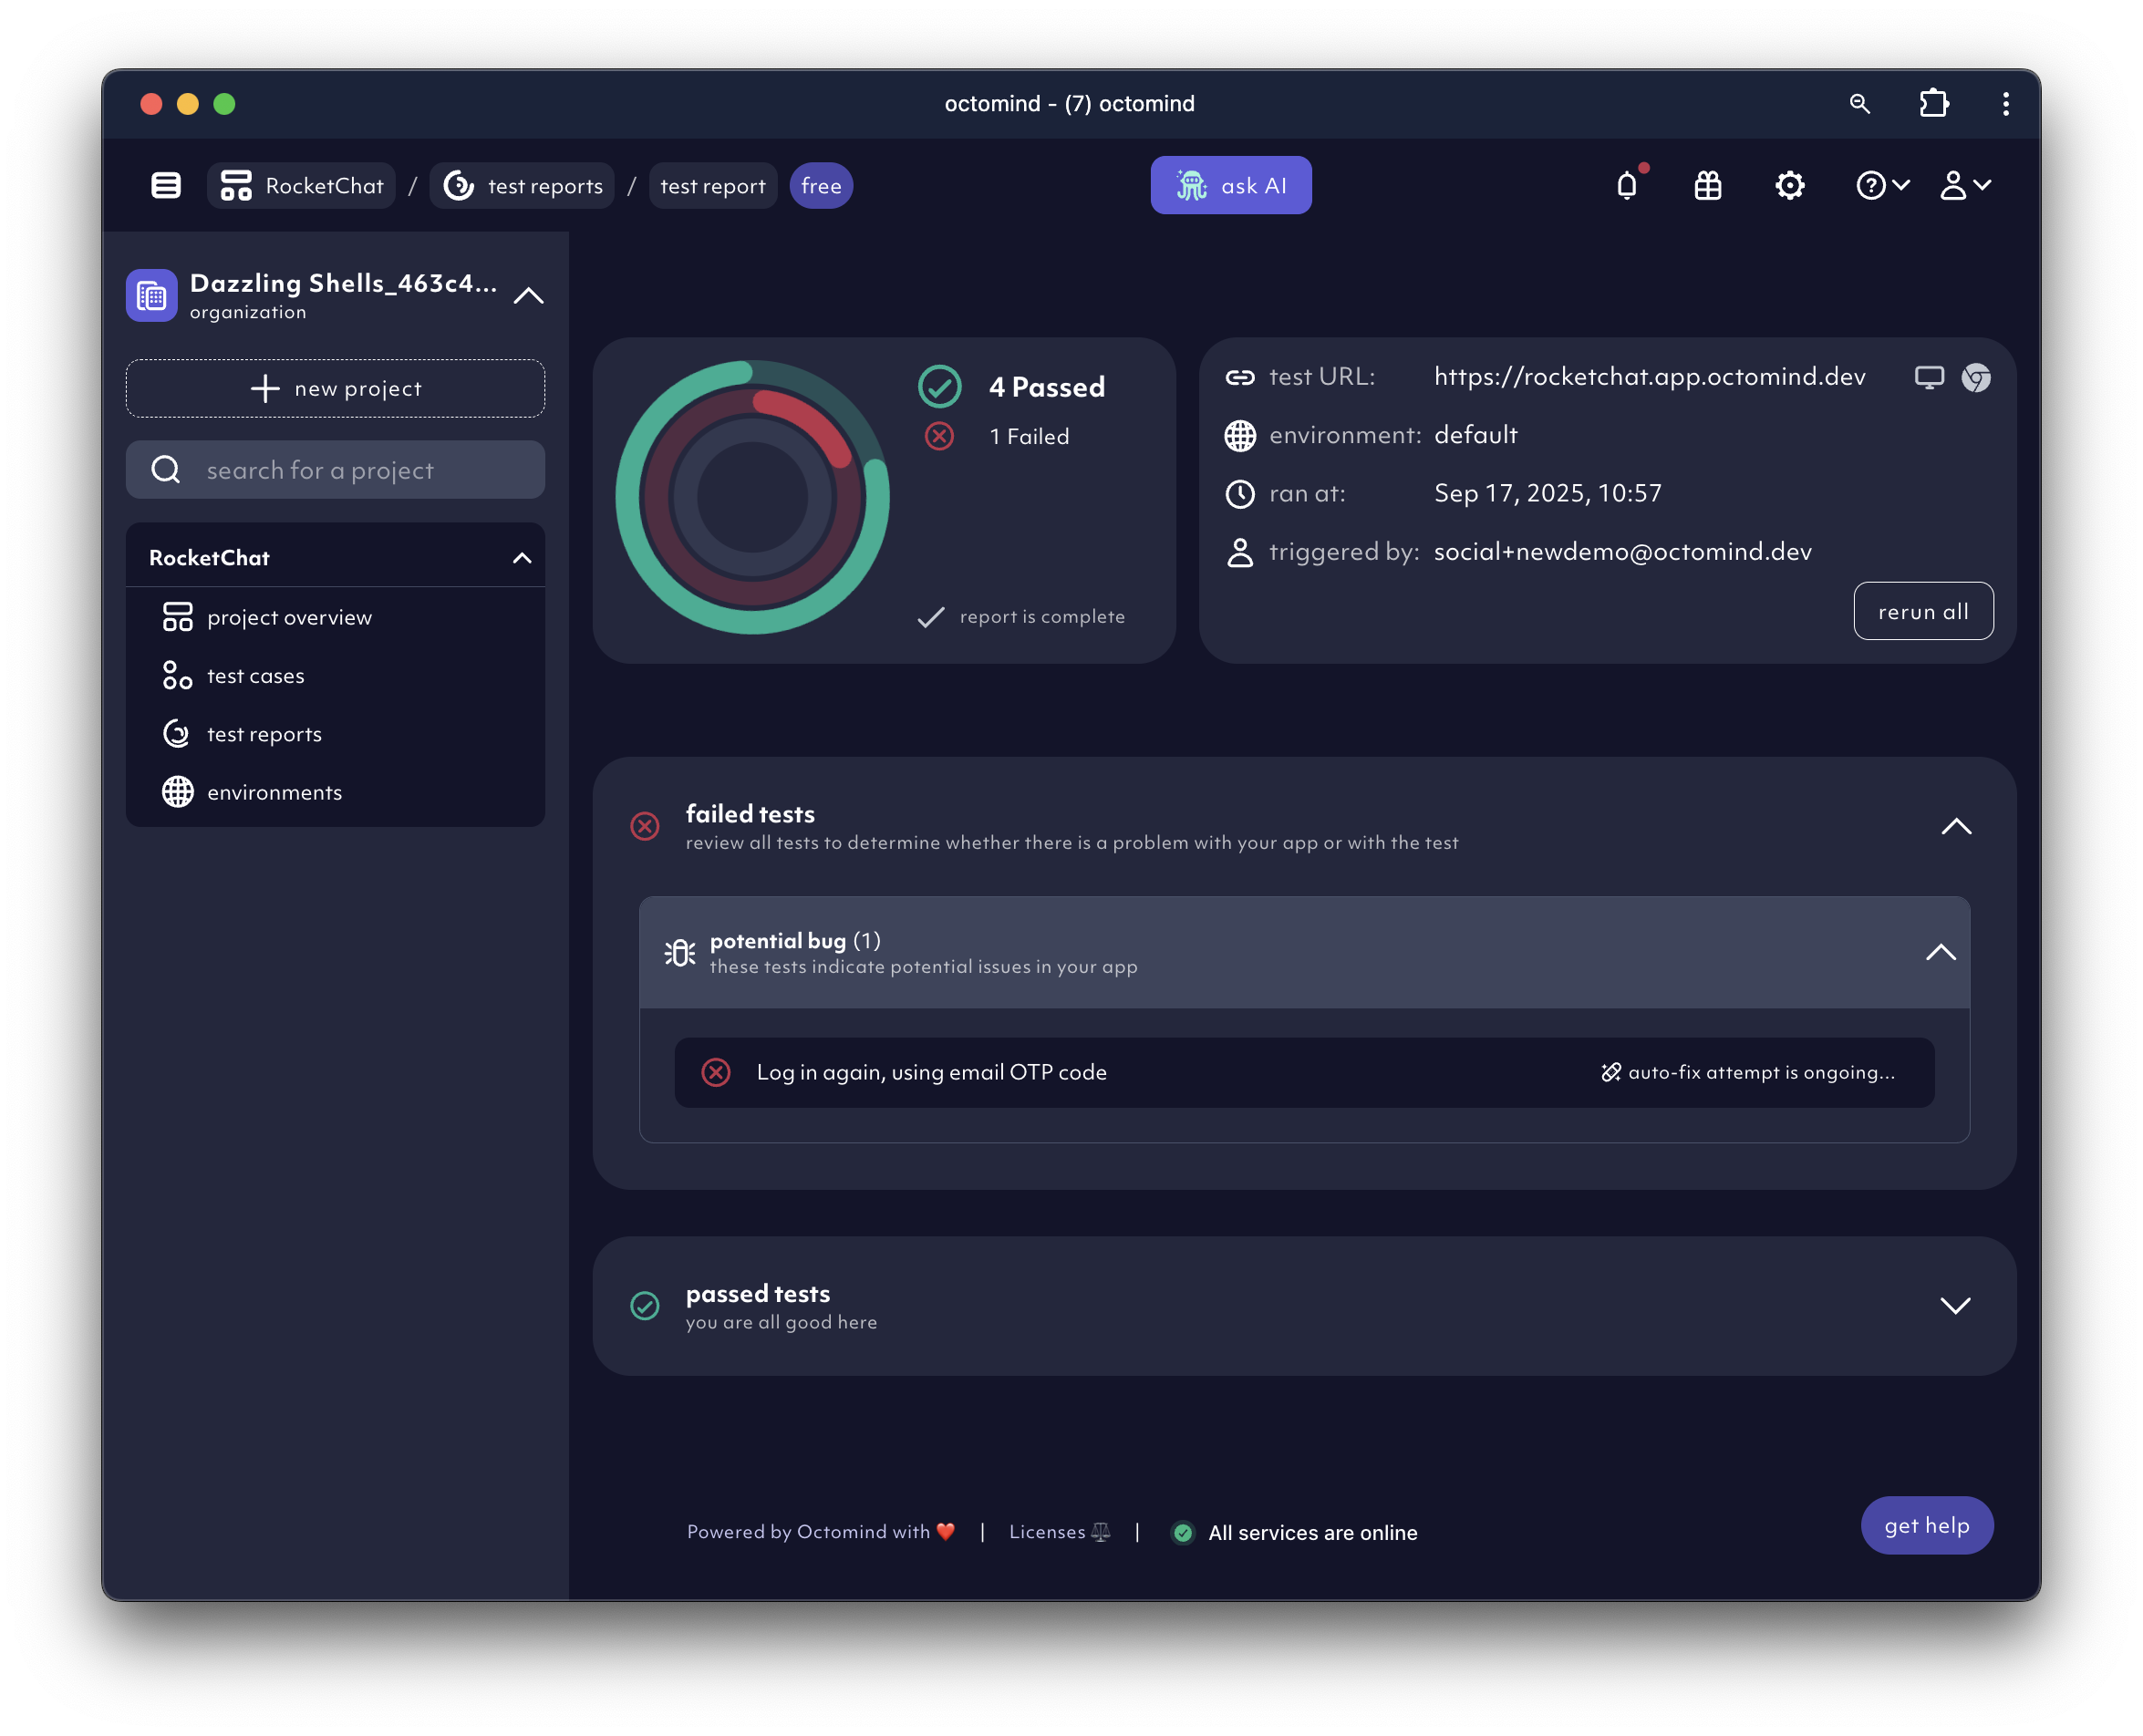
Once you’ve built your test suite, you can execute your active test cases to check your app for bugs. Every test execution will produce a test report with details of the run and debugging information in case of a failed test.Evaluate your test results
Inside each test report, you can find the test results for the executed test cases:- a green test result indicates a successful test run, meaning that your site passed the test described in the test case
- a red test result indicates a test failure, meaning we could not successfully run the test case steps. These are the possible reasons for failed test.