We have created a new Recorder to create test case in collaboration with the AI Agent or independently. Instead of just generating locators to copy into code (Playwright Codegen) it interacts with Octomind advanced features (e.g. variables) right from the recording window and finishes up your tests.Documentation Index
Fetch the complete documentation index at: https://octomind.dev/docs/llms.txt
Use this file to discover all available pages before exploring further.
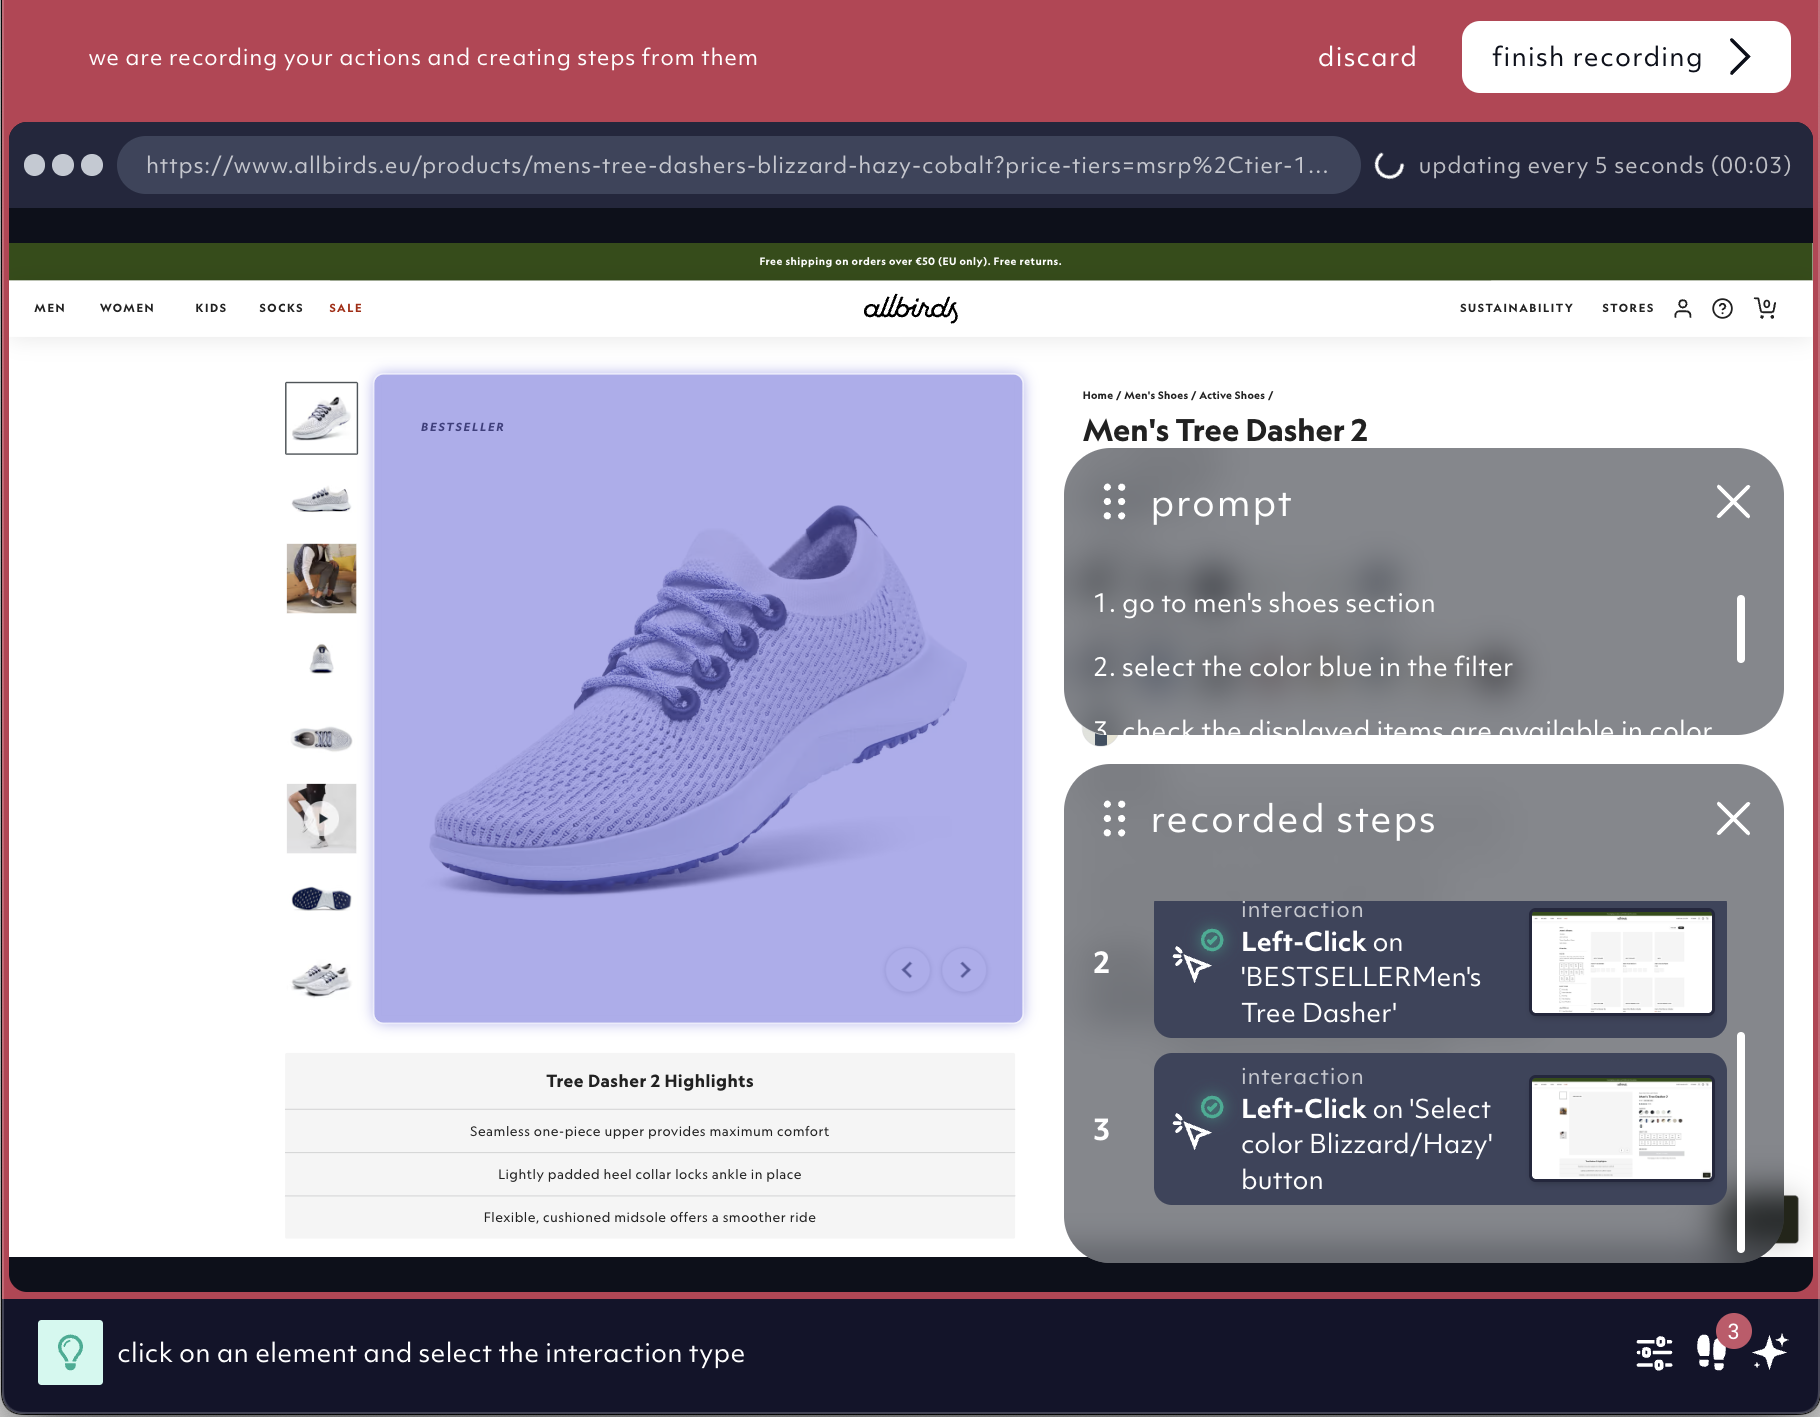
How to use the Recorder
- Launch the Recorder (see options in the use cases below). A red-framed window opens.
- Use your mouse to select the element you want to interact with in the displayed snapshot.
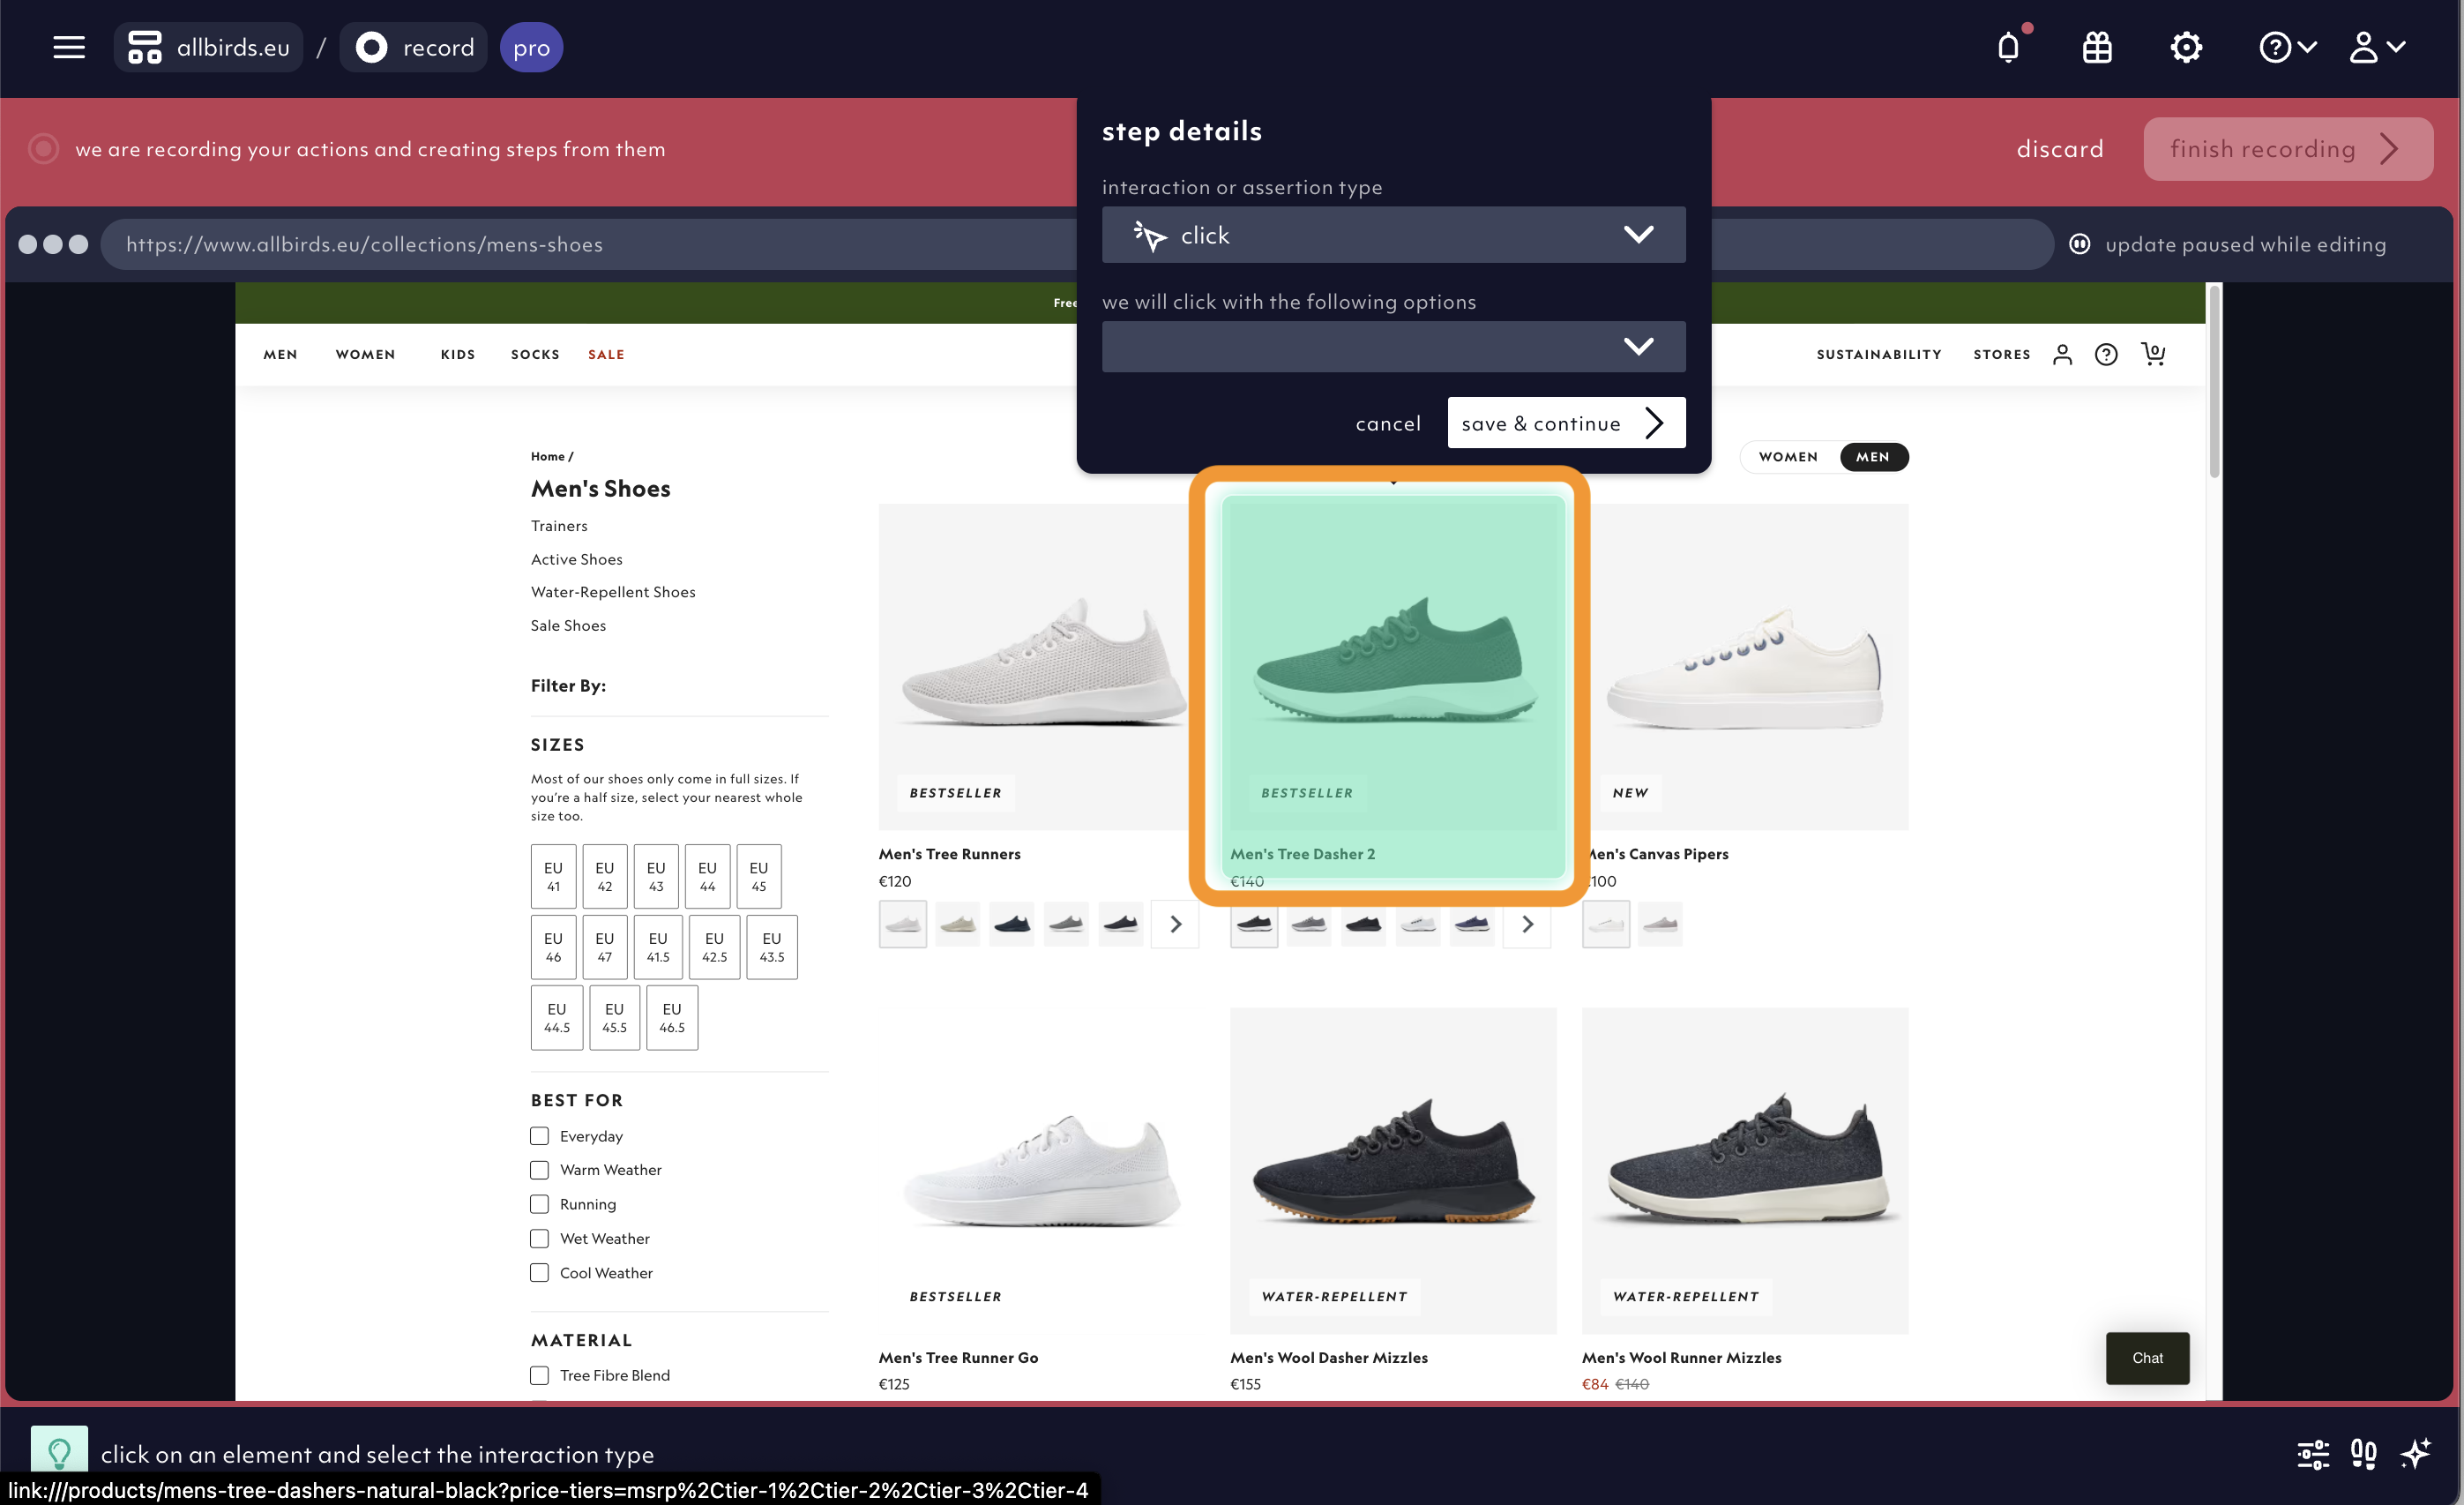
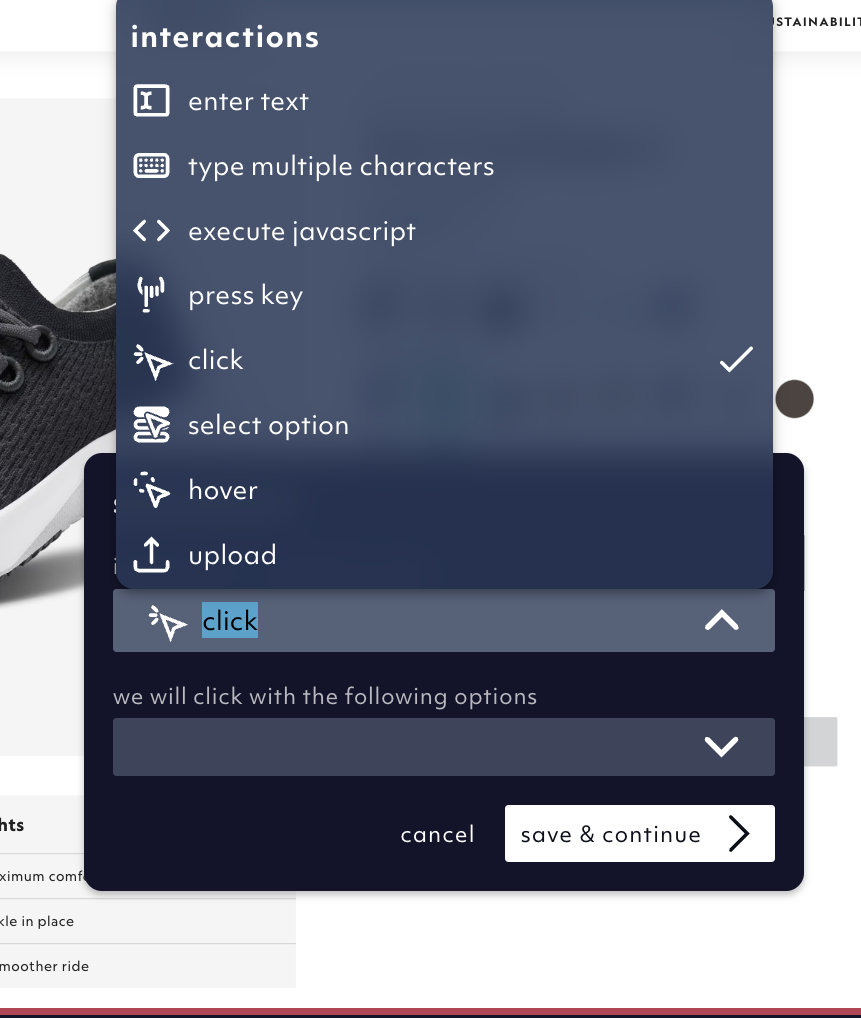
- Pick the desired interaction or assertion type.
- Expand to see advanced views
- advanced setting displaying the locator code
- recorded steps summary
- the prompt of the test case
Record test cases from anywhere
Where can you use the Recorder? You can flexibly hand over between the Recorder and Agent during the test generation process, in the editing and the repair mode to help you re-record failed steps. You can record a new test case from scratch.1. Take over from the Agent during test generation
When the Agent generates a test case it might take a path you don’t want it to. You can stop it and take over from it. It opens the Recorder at the spot the Agent left off and you can proceed recording the next steps of the test case.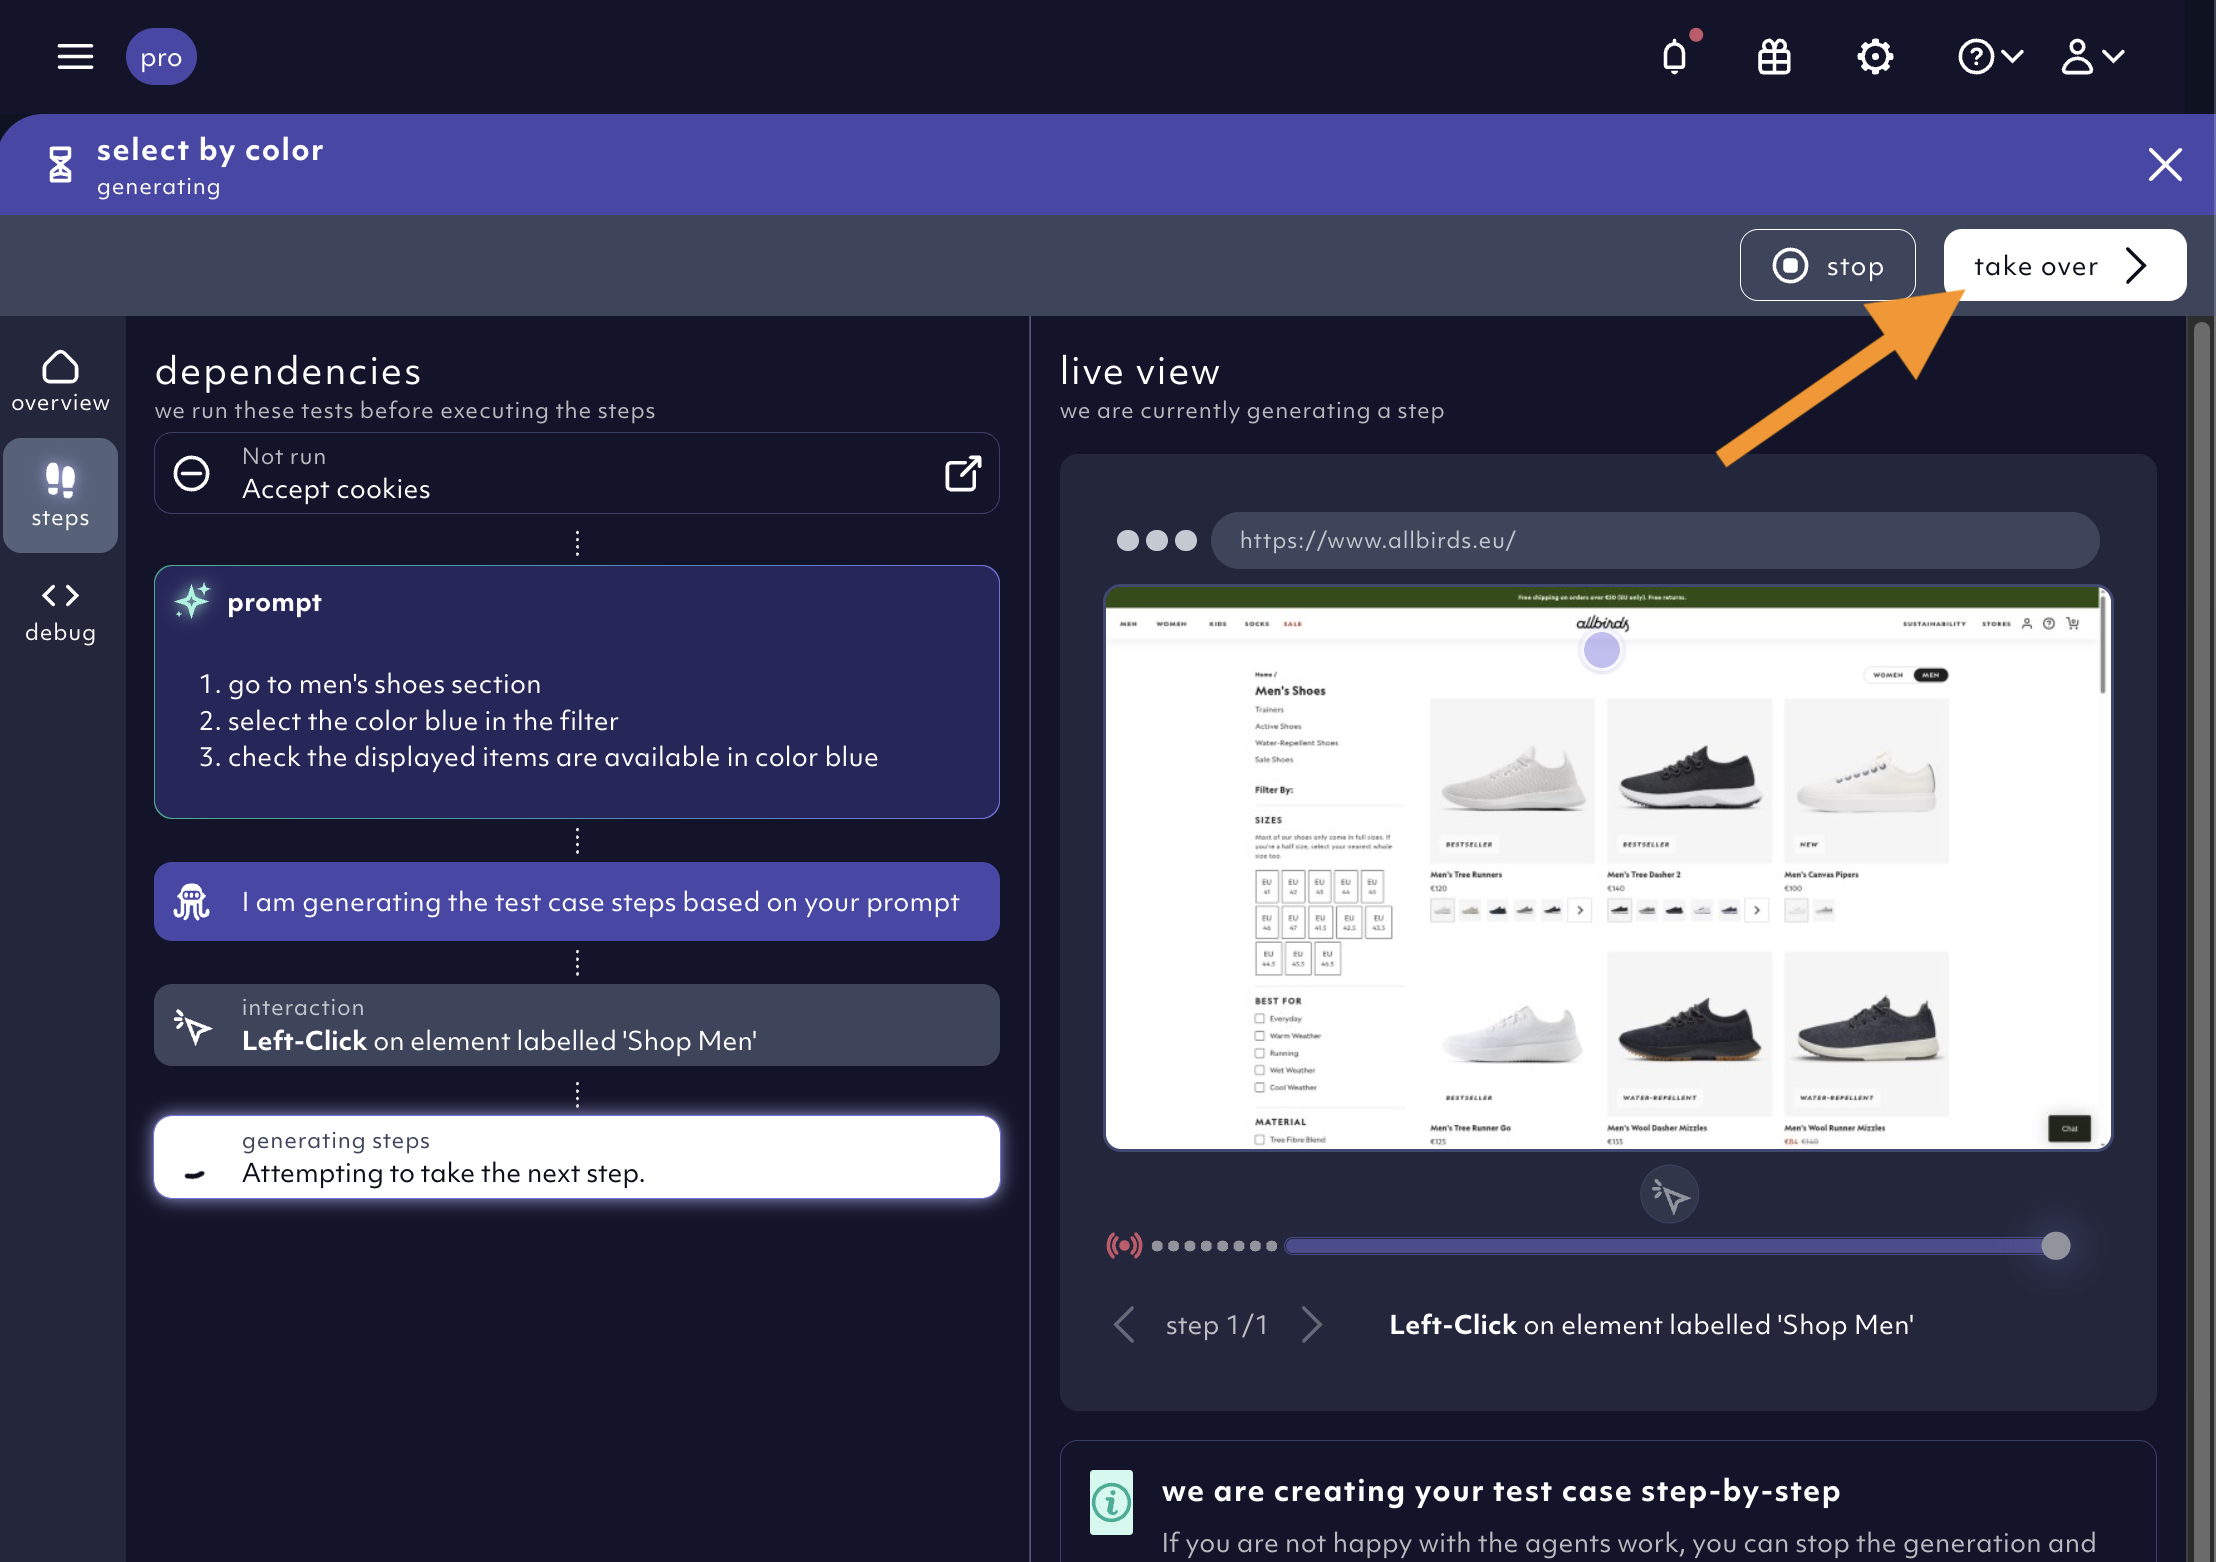
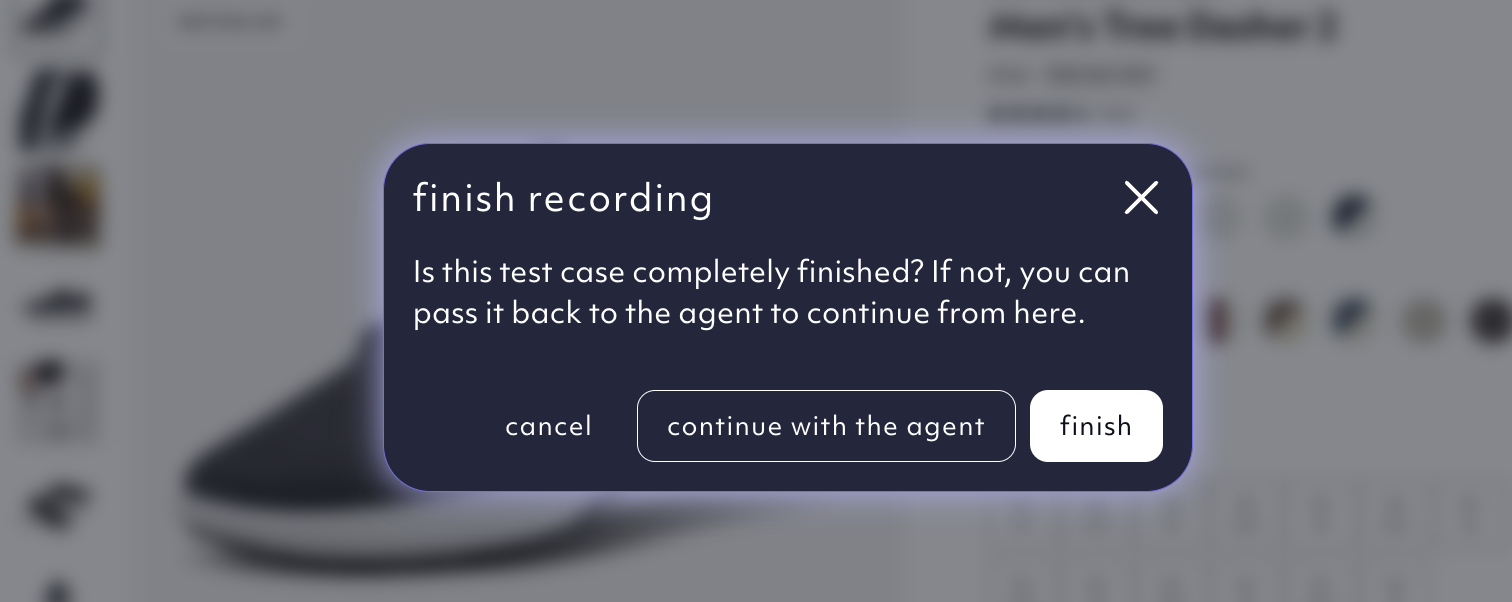
finish recording and continue with the agent in the modal that pops up.
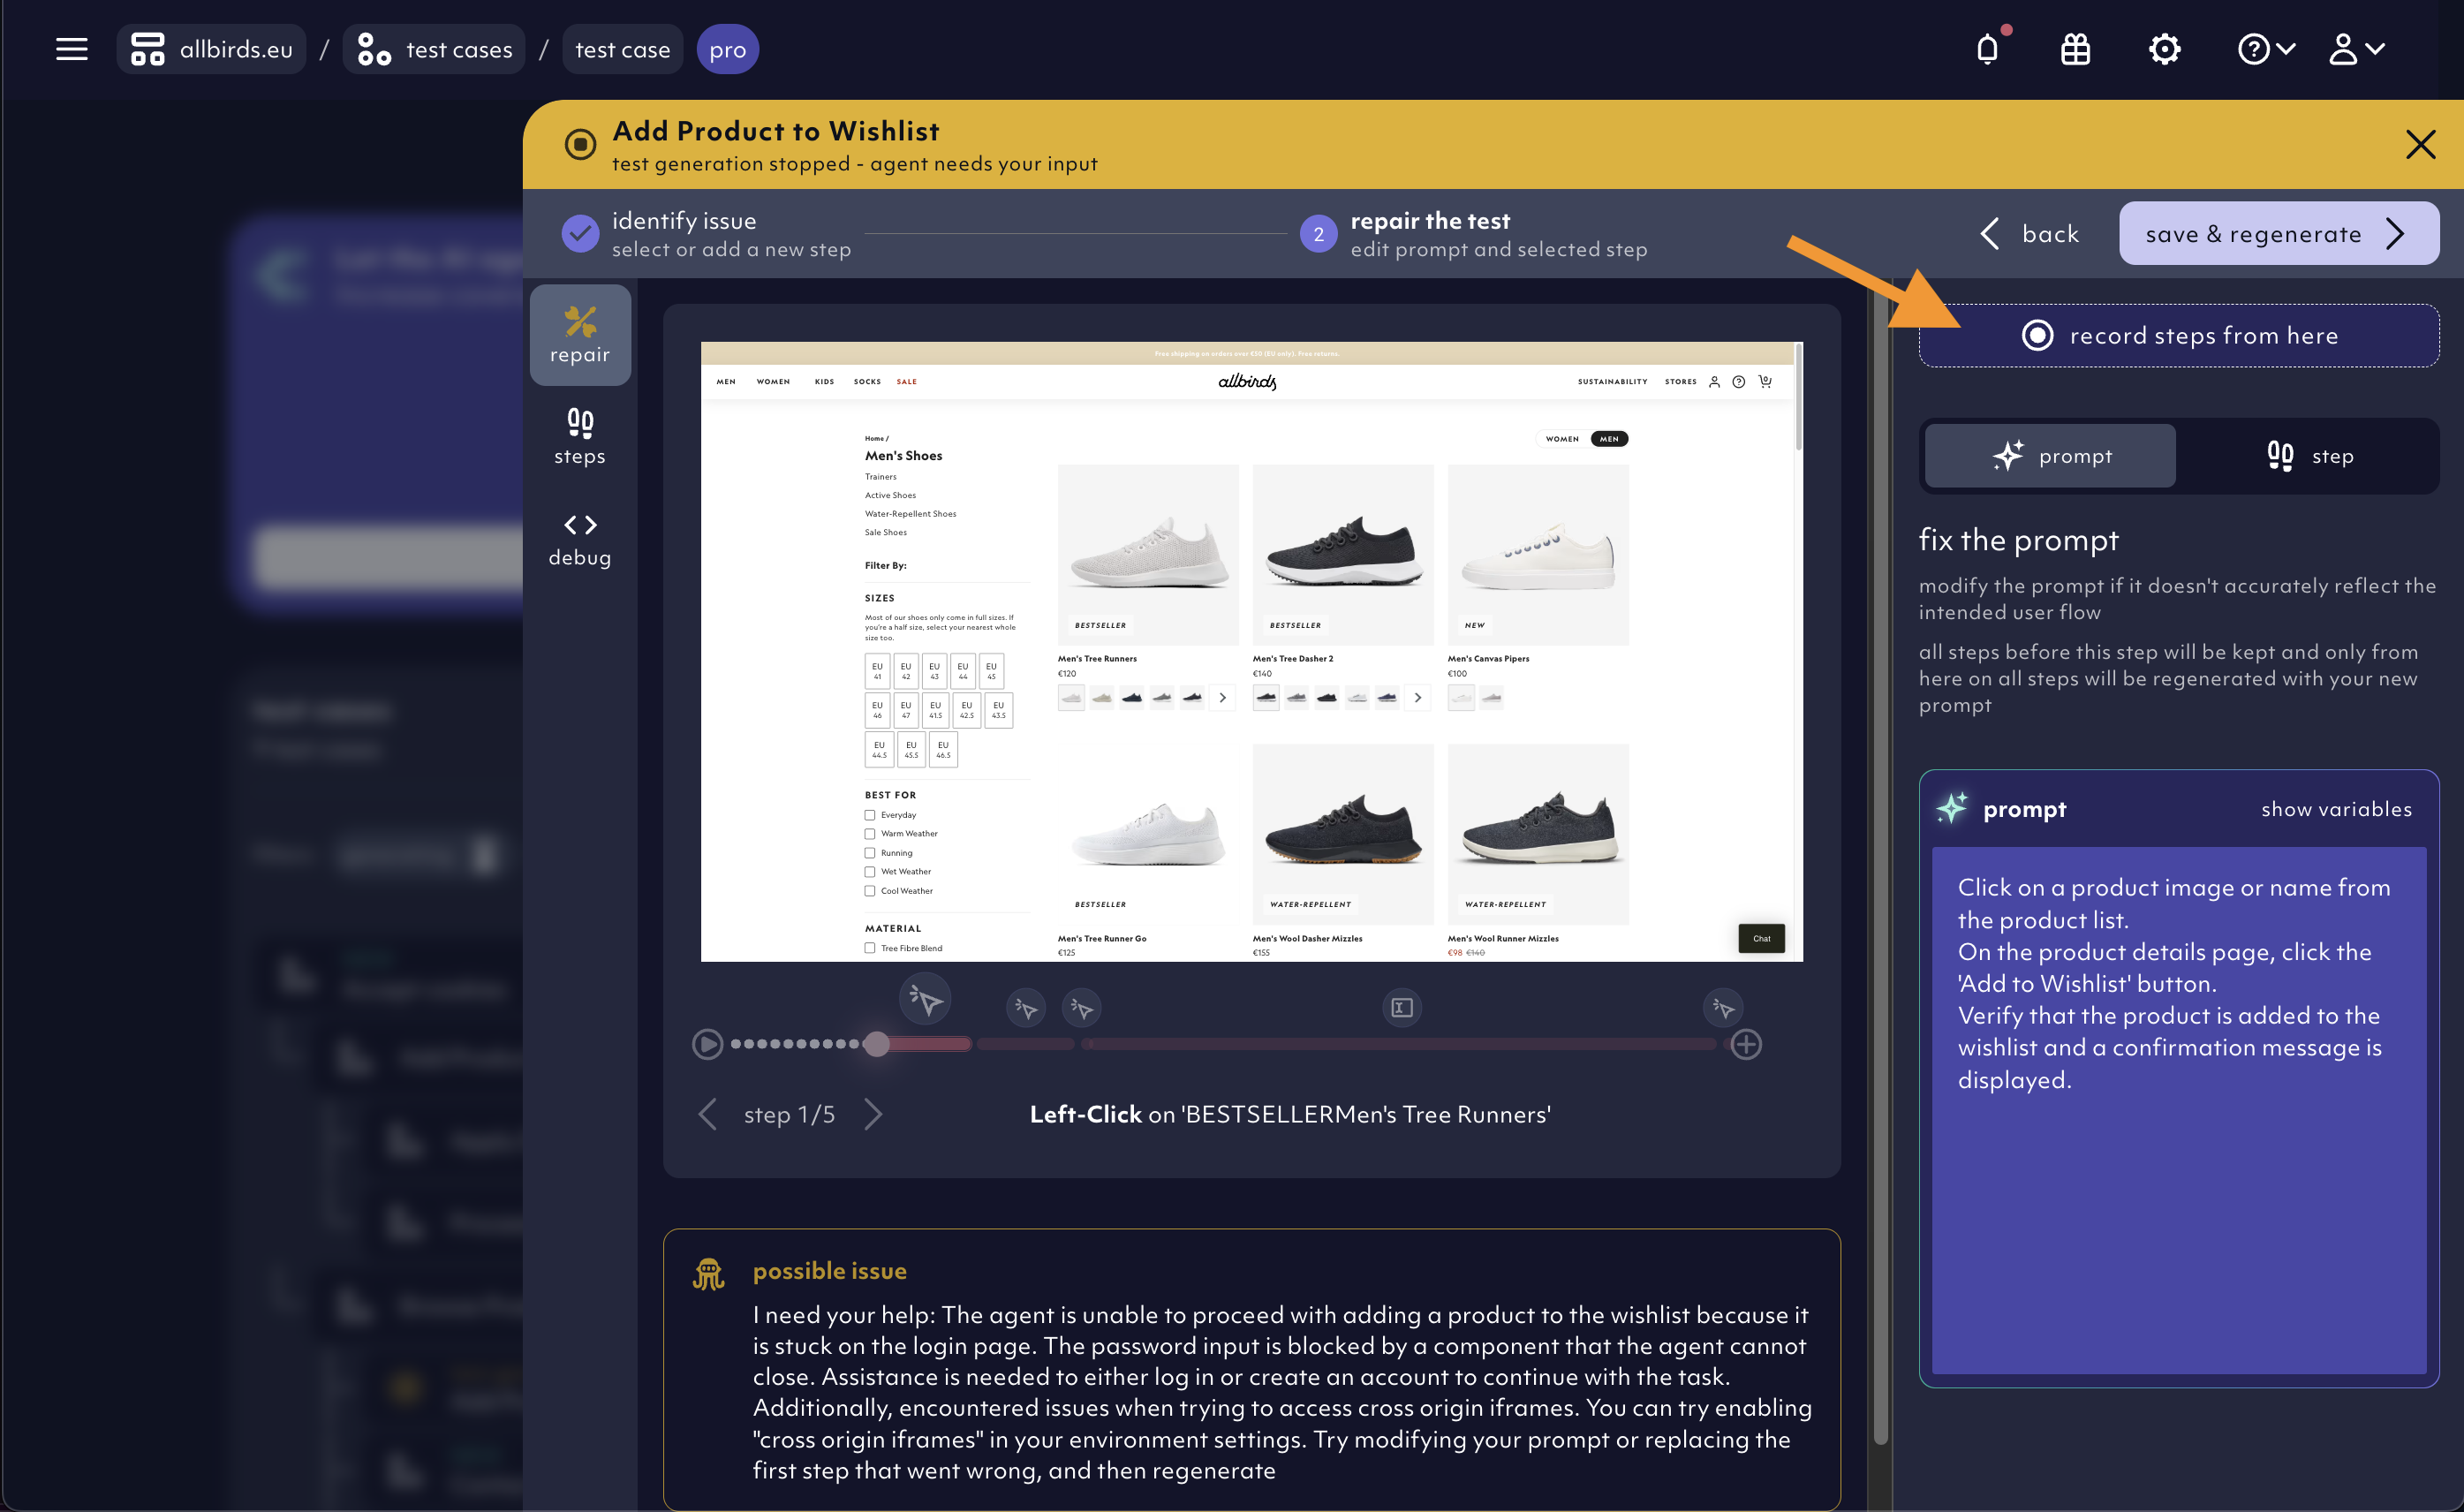
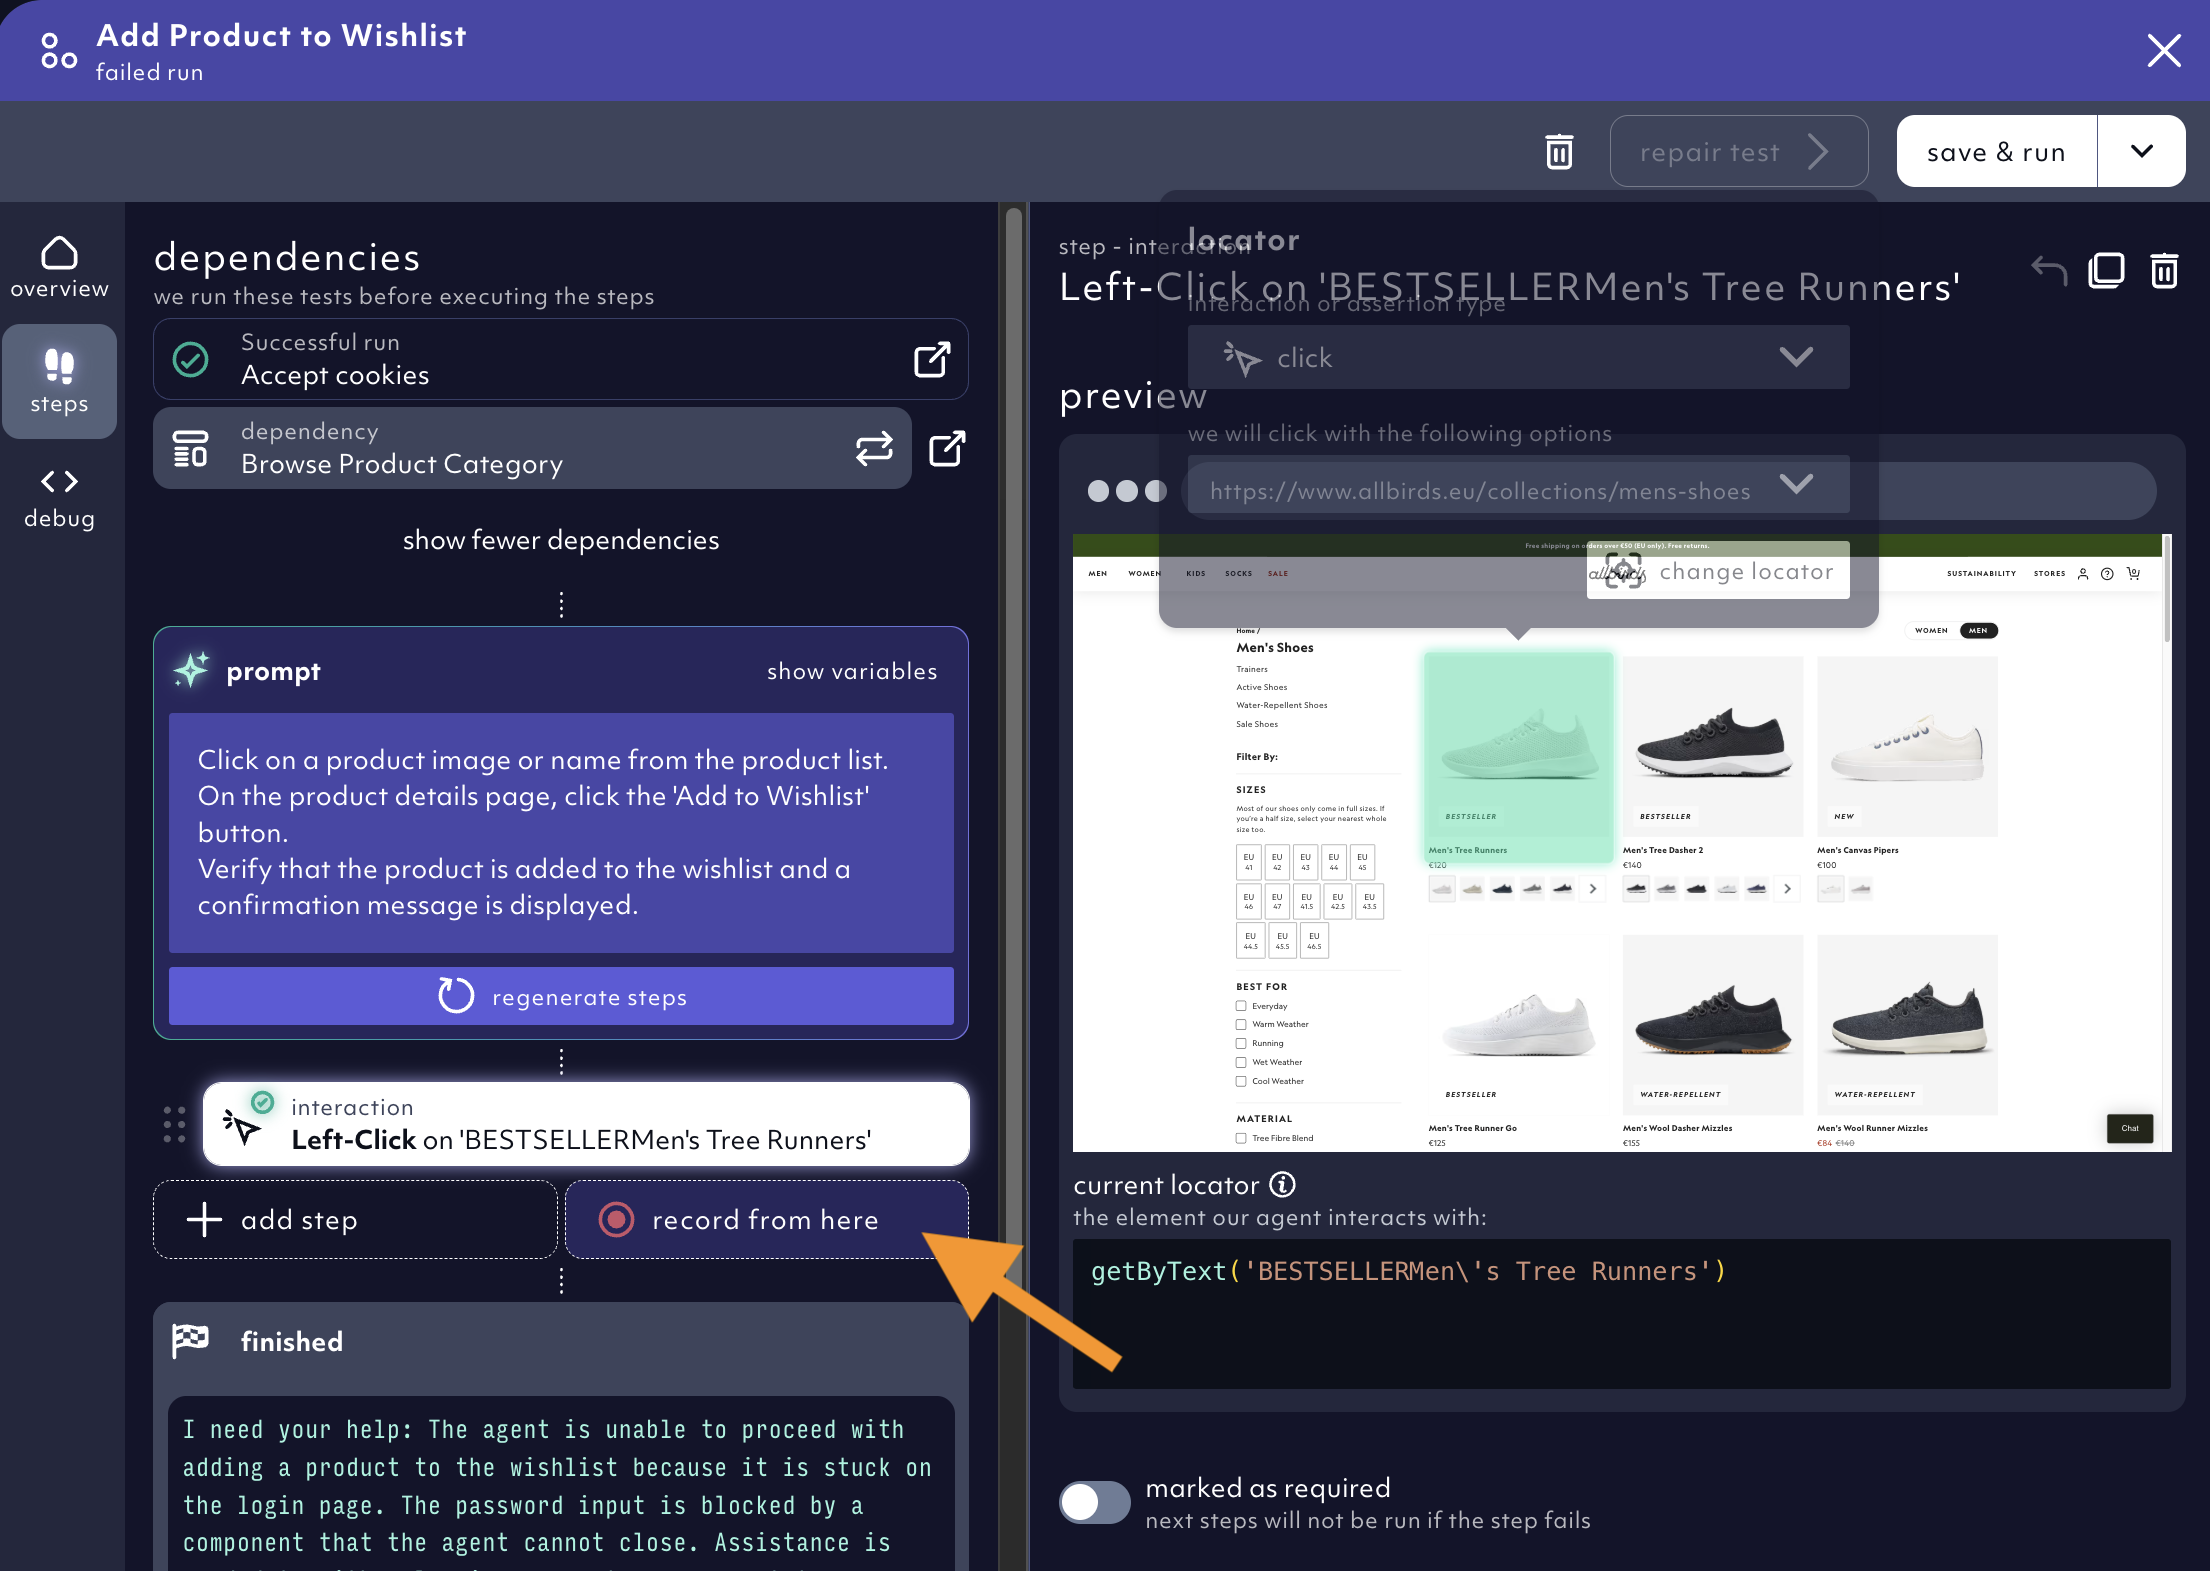
2. Repair a yellow test by re-recording failed steps
In the repair mode, you can use the use the Recorder to re-record the right steps and finalize the test case that stopped generating. In the repair mode, navigate to the step where you want to start with the recording and hit therecord steps from here button.
3. Record next steps in manual editor mode
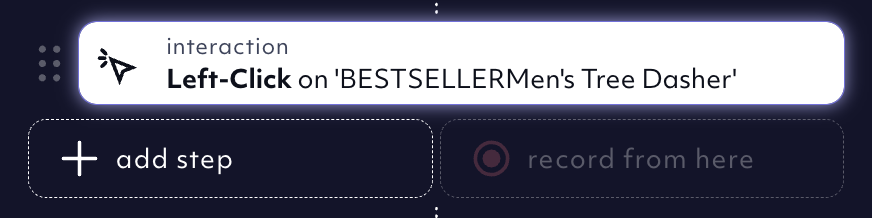
You can access the Recorder from within the test case detail in thesteps tab. Again, navigate to the step where you want to start recording and click the record from here button.
save & run to enable the record from here button again.
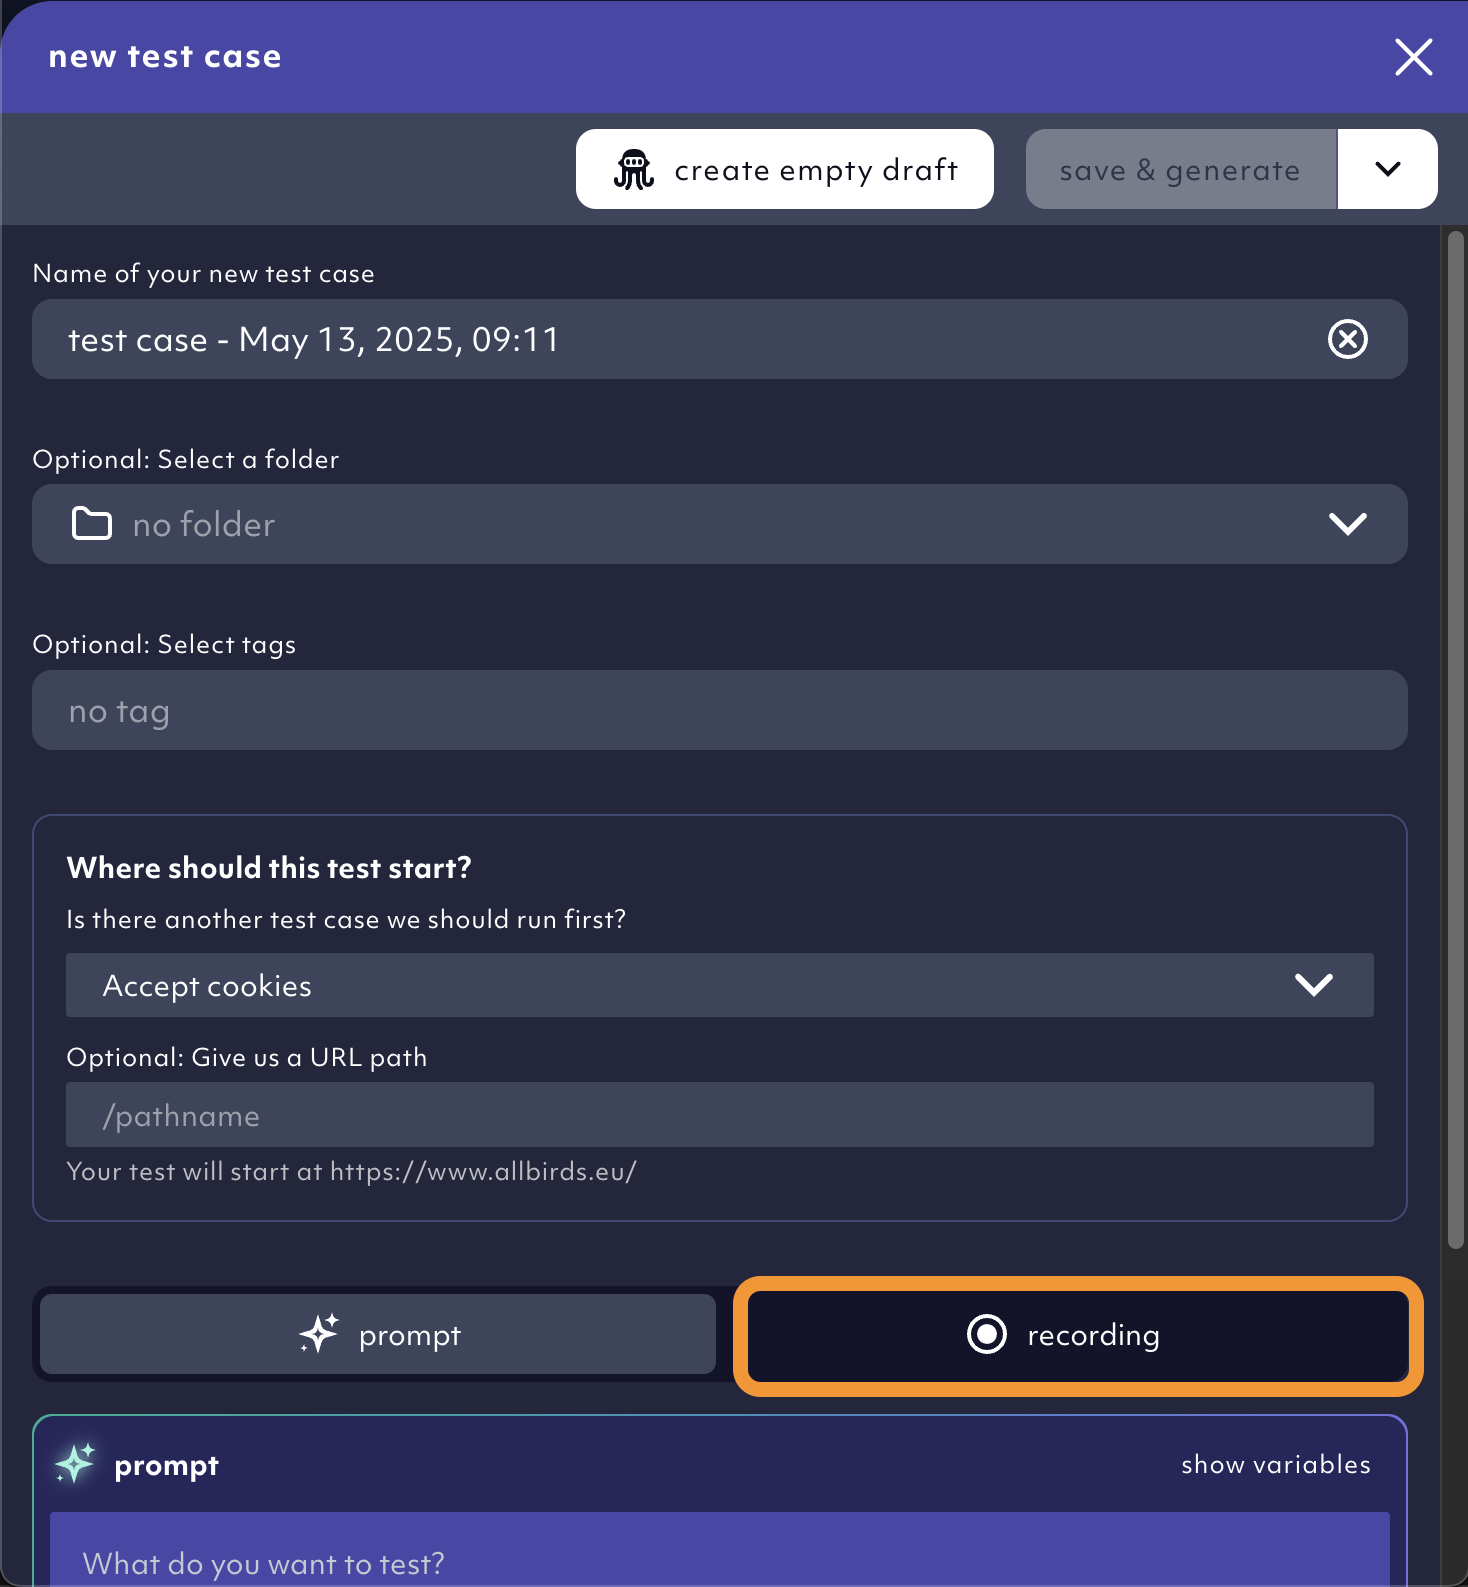
4. Start recording a test case from scratch
If recording is your preferred way of creating test cases, you can even record a test case from scratch. Clickgenerate a test case anywhere in the app - a new test case window opens.
Hit record button and record your test by navigating a selecting steps in the displayed screenshots.