Documentation Index
Fetch the complete documentation index at: https://octomind.dev/docs/llms.txt
Use this file to discover all available pages before exploring further.
Running Tests Locally
There are two ways to run Octomind tests locally against your development environment:- Using the Octomind CLI (recommended)
- Using Debugtopus (legacy method)
Using the Octomind CLI
The Octomind CLI provides a simple way to run tests locally with thedebug command. This is the recommended approach for local test execution.
1. Install the Octomind CLI
If you haven’t already installed the CLI, you can do so with:2. Initialize the CLI
If you haven’t already initialized the CLI with your API key:3. Run Tests Locally
Use thedebug command to run tests against your local development environment:
Options
--url <url>(required): URL of your locally running application--id <uuid>: ID of a specific test case you want to run--environmentId <uuid>: ID of the environment to use--testTargetId <uuid>: ID of the test target (optional if configured viainit)--headless: Run without the UI of Playwright and the browser--persist: Write Playwright config and files to current directory for later use
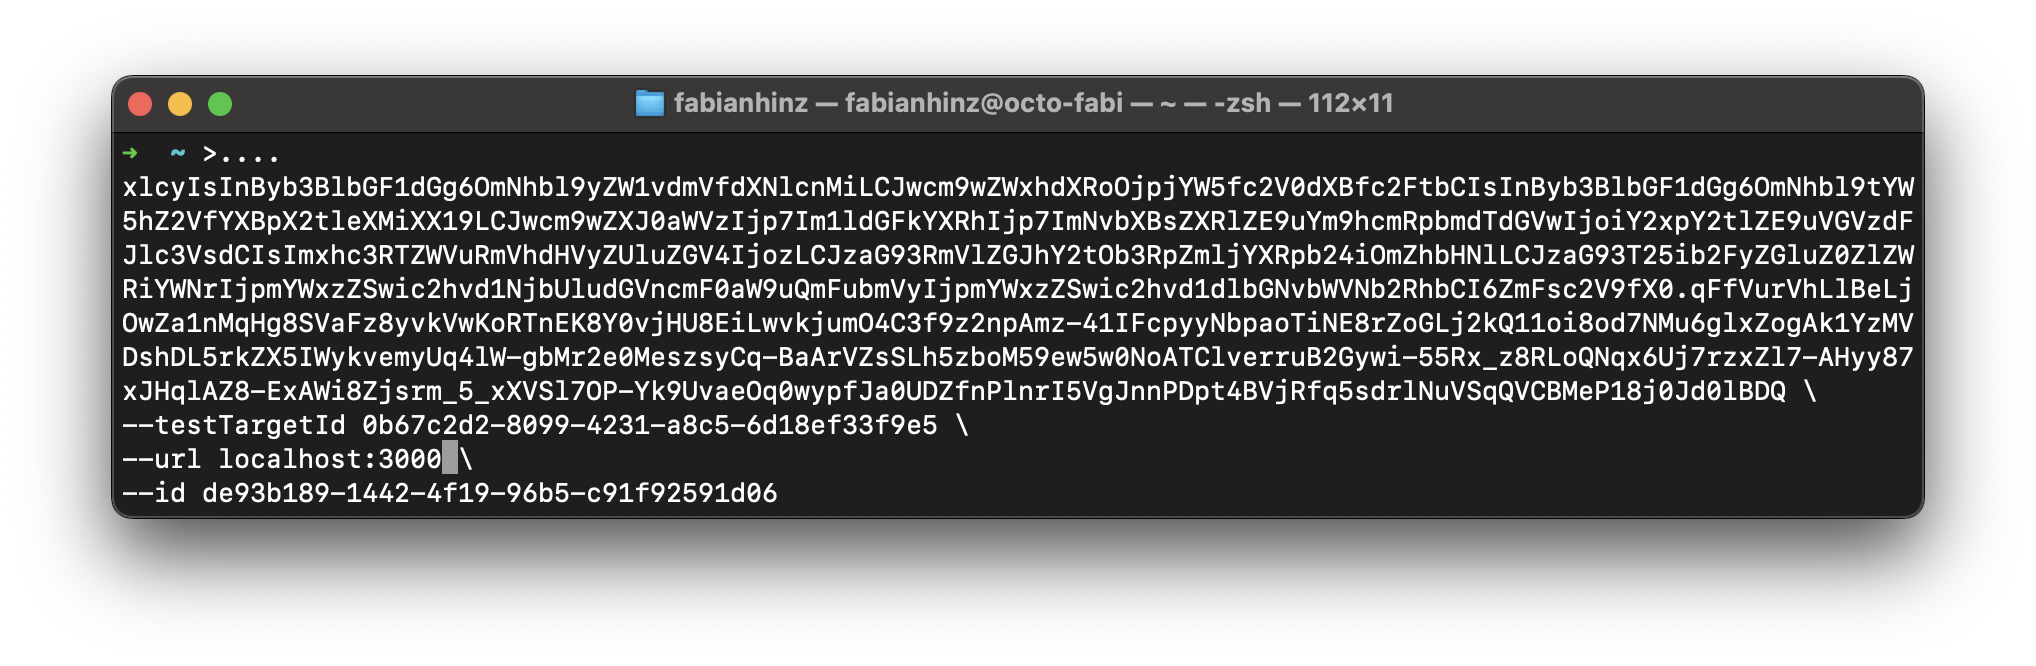
Example
To run a specific test case against your local development server:Using Debugtopus (Legacy Method)
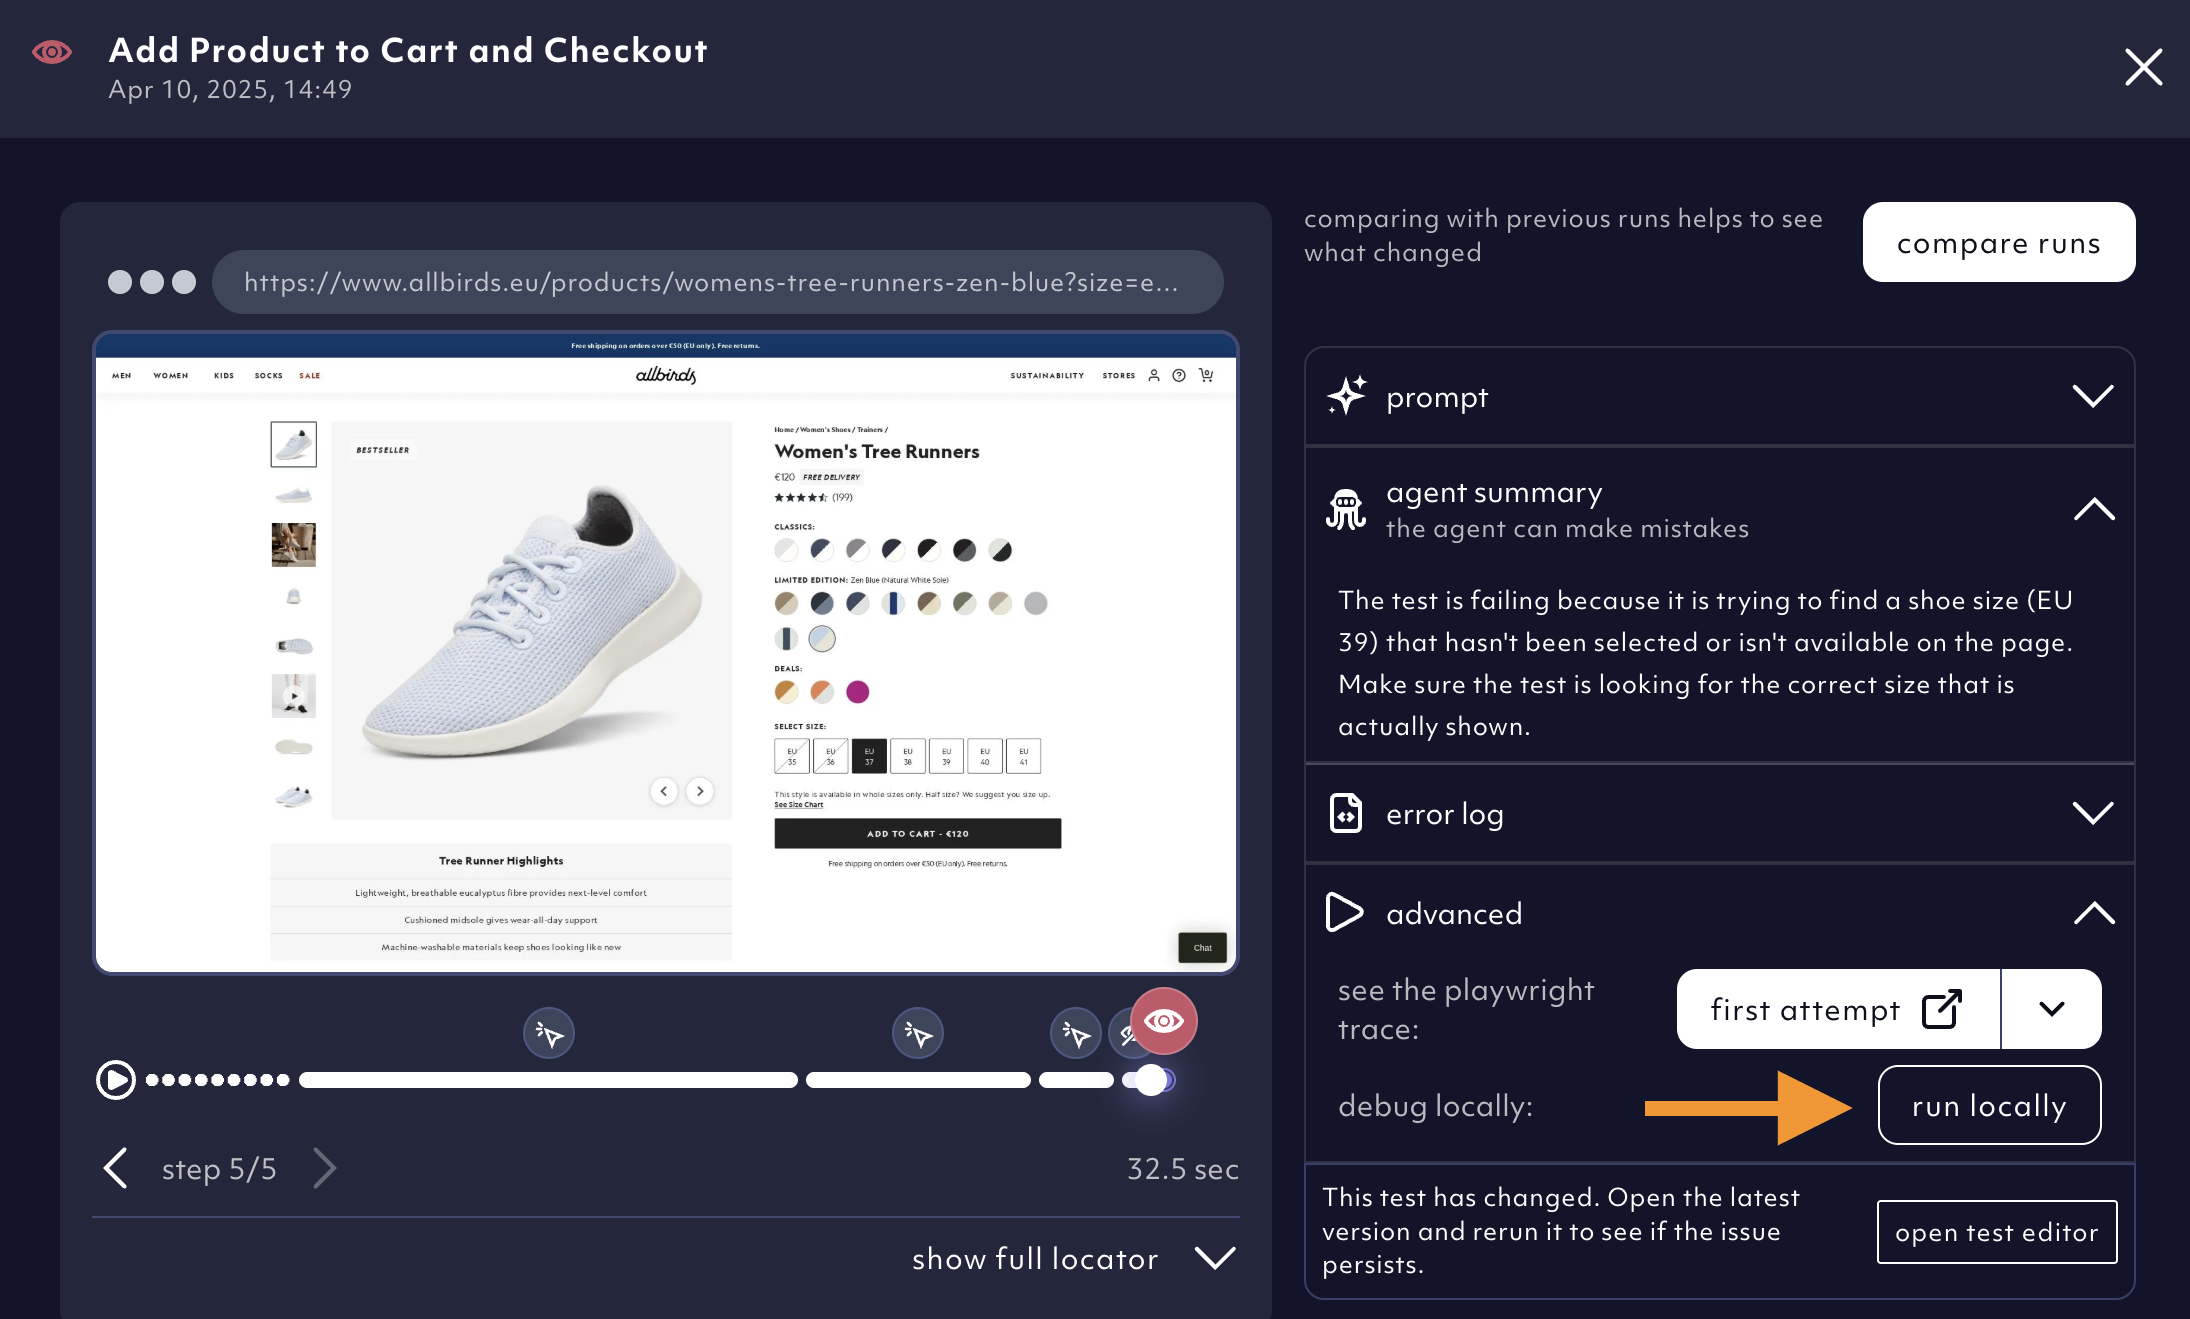
Debugtopus is our open source tool that was previously used for local test execution. While the CLI method is now recommended, Debugtopus is still available for users who prefer it.1. Get shell script
Click onrun locally to get a shell script snippet which you can use to install and start Debugtopus.
copy to clipboard.
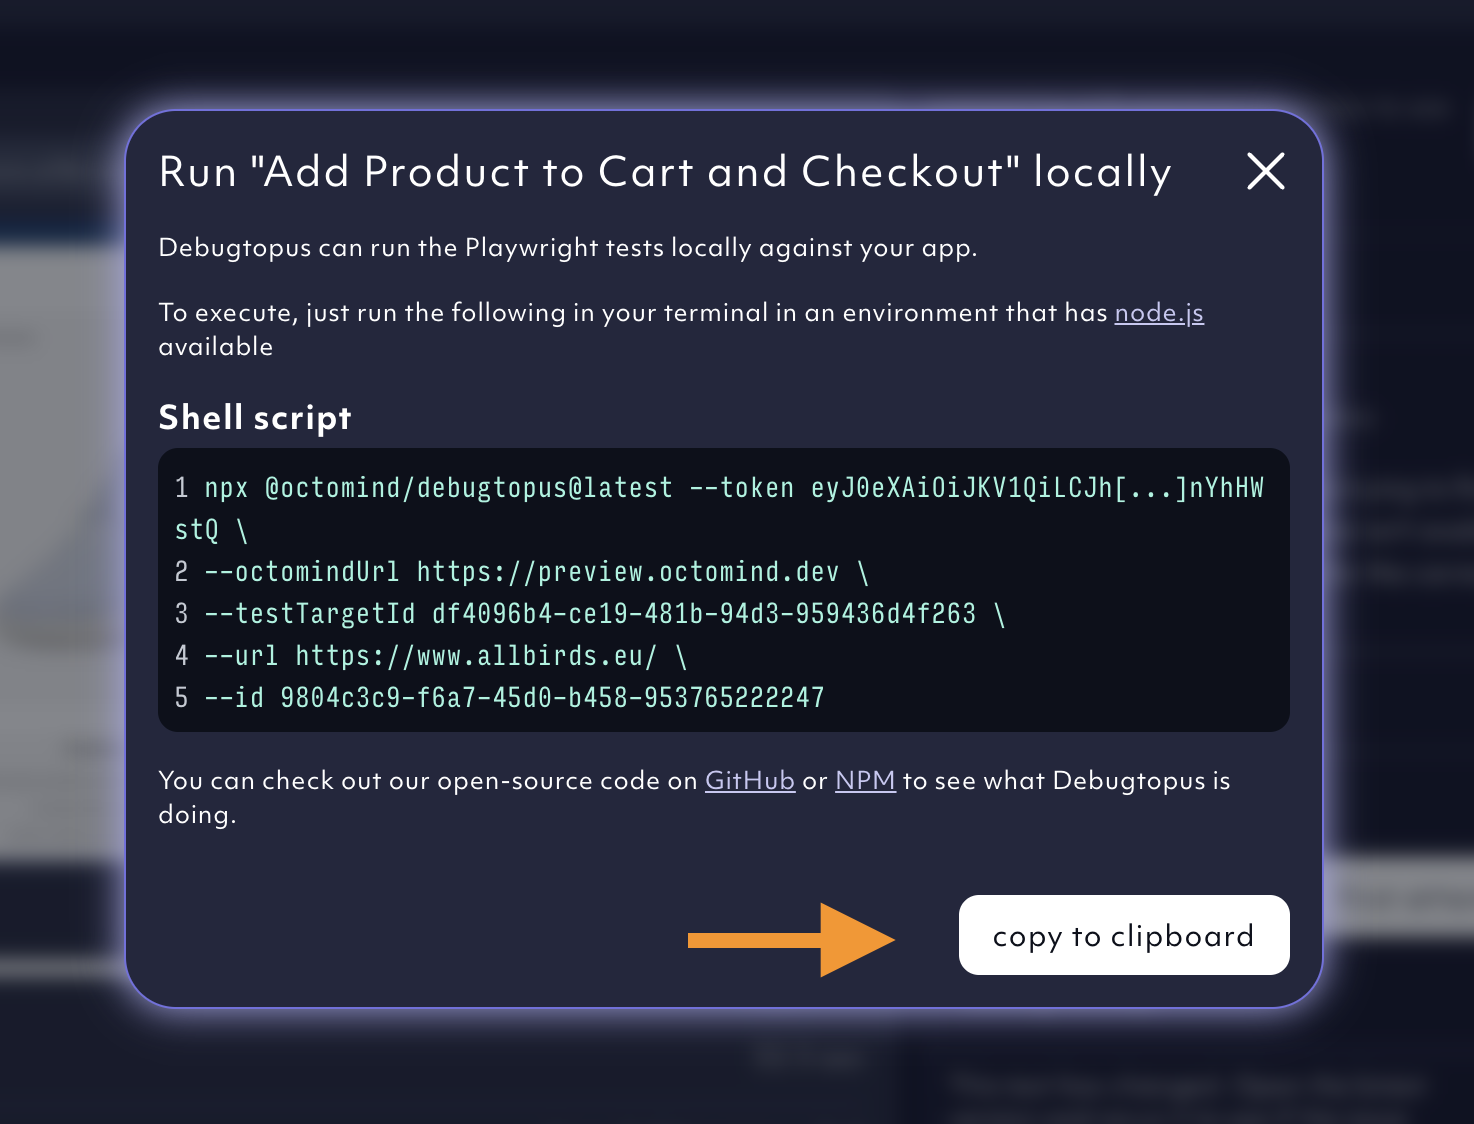
2. Start test locally
Open a terminal window and paste the shell script from your clipboard.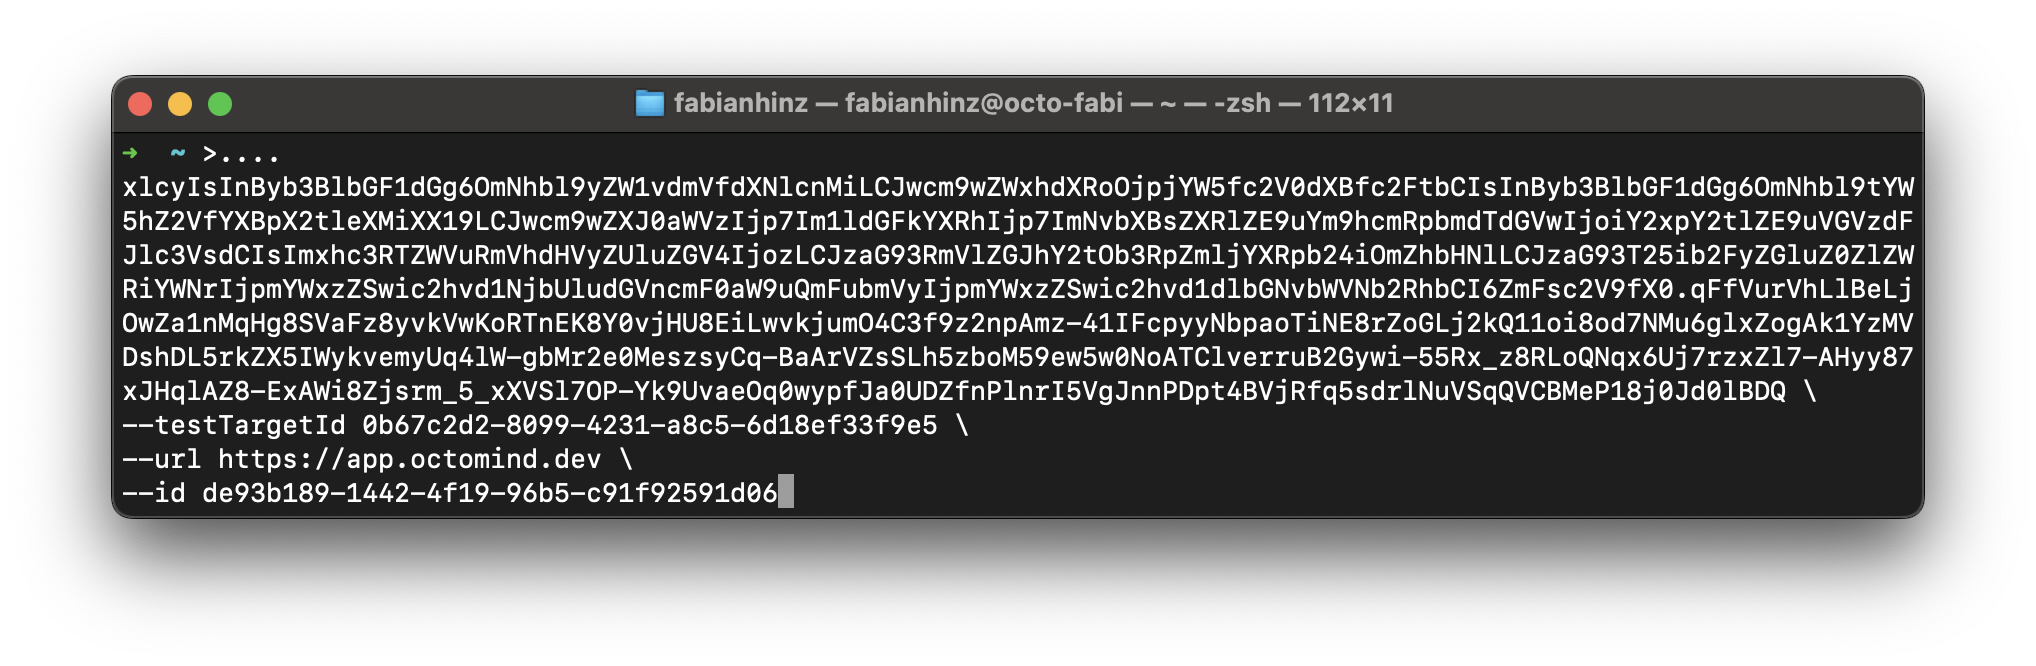
3. First time users - install Debugtopus package
If either Playwright or Chromium are not available on your computer, the shell script command will install the Debugtopus package and its dependencies on your computer. You have to confirm by entering y.
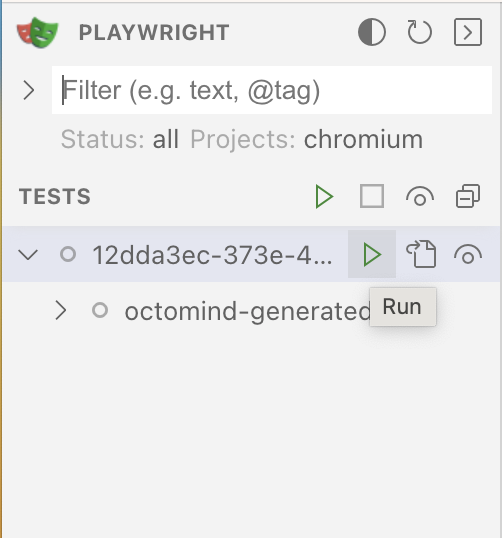
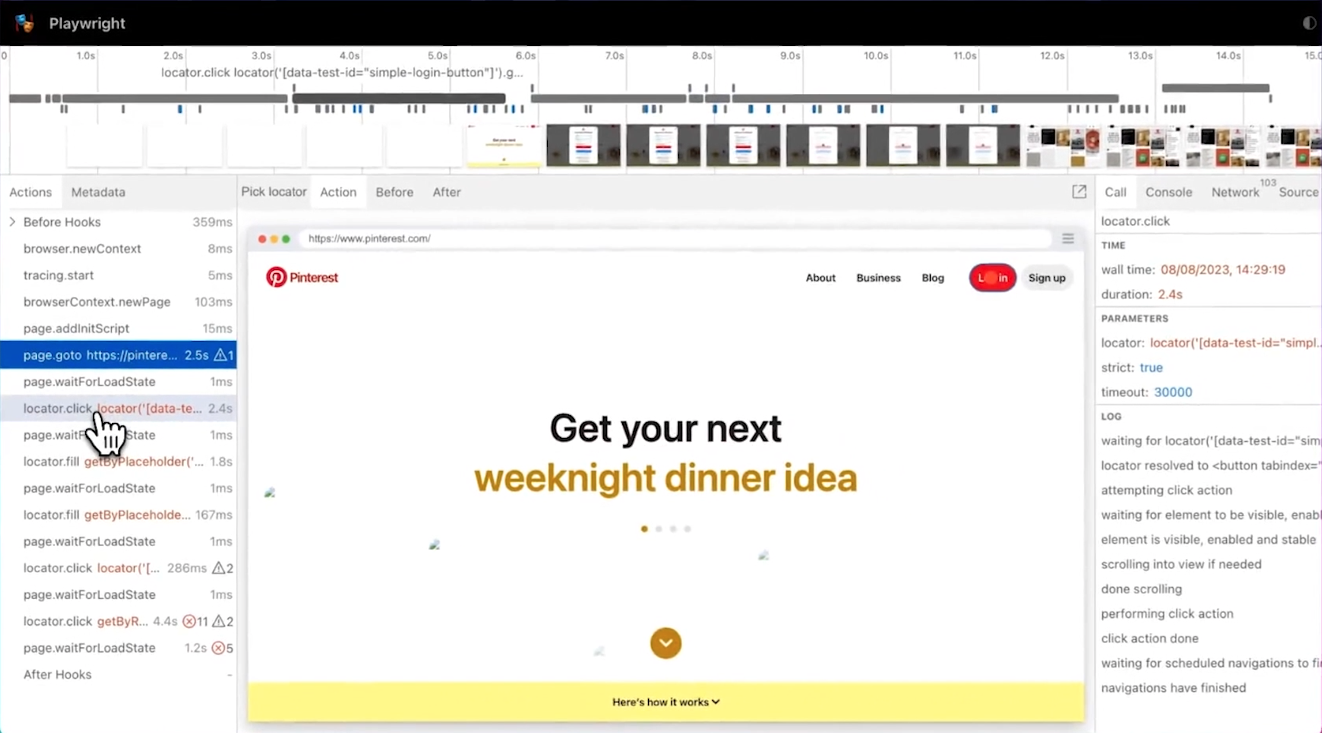
4. Run test locally in the Playwright UI
Click therun button which is displayed on the right side of the test case to run your test.