Documentation Index
Fetch the complete documentation index at: https://octomind.dev/docs/llms.txt
Use this file to discover all available pages before exploring further.
Overview
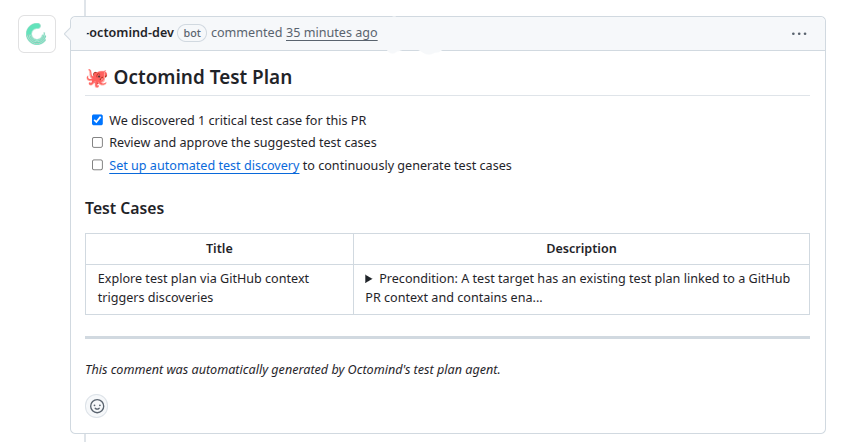
The GitHub integration connects your repository to an Octomind test target. Once installed, Octomind will automatically check new pull requests for relevant changes and, when needed, create a Test Plan. You can then use the Octomind GitHub Action to run either:- regular test execution (default)
- Test Plan exploration (visual agent that explores the changes and records a video)
Prerequisites
- Access to an Octomind project
- A GitHub organization or repository where you can install GitHub Apps
1. Open the integration flow in Octomind
Go to your project settings and open theIntegrations tab.
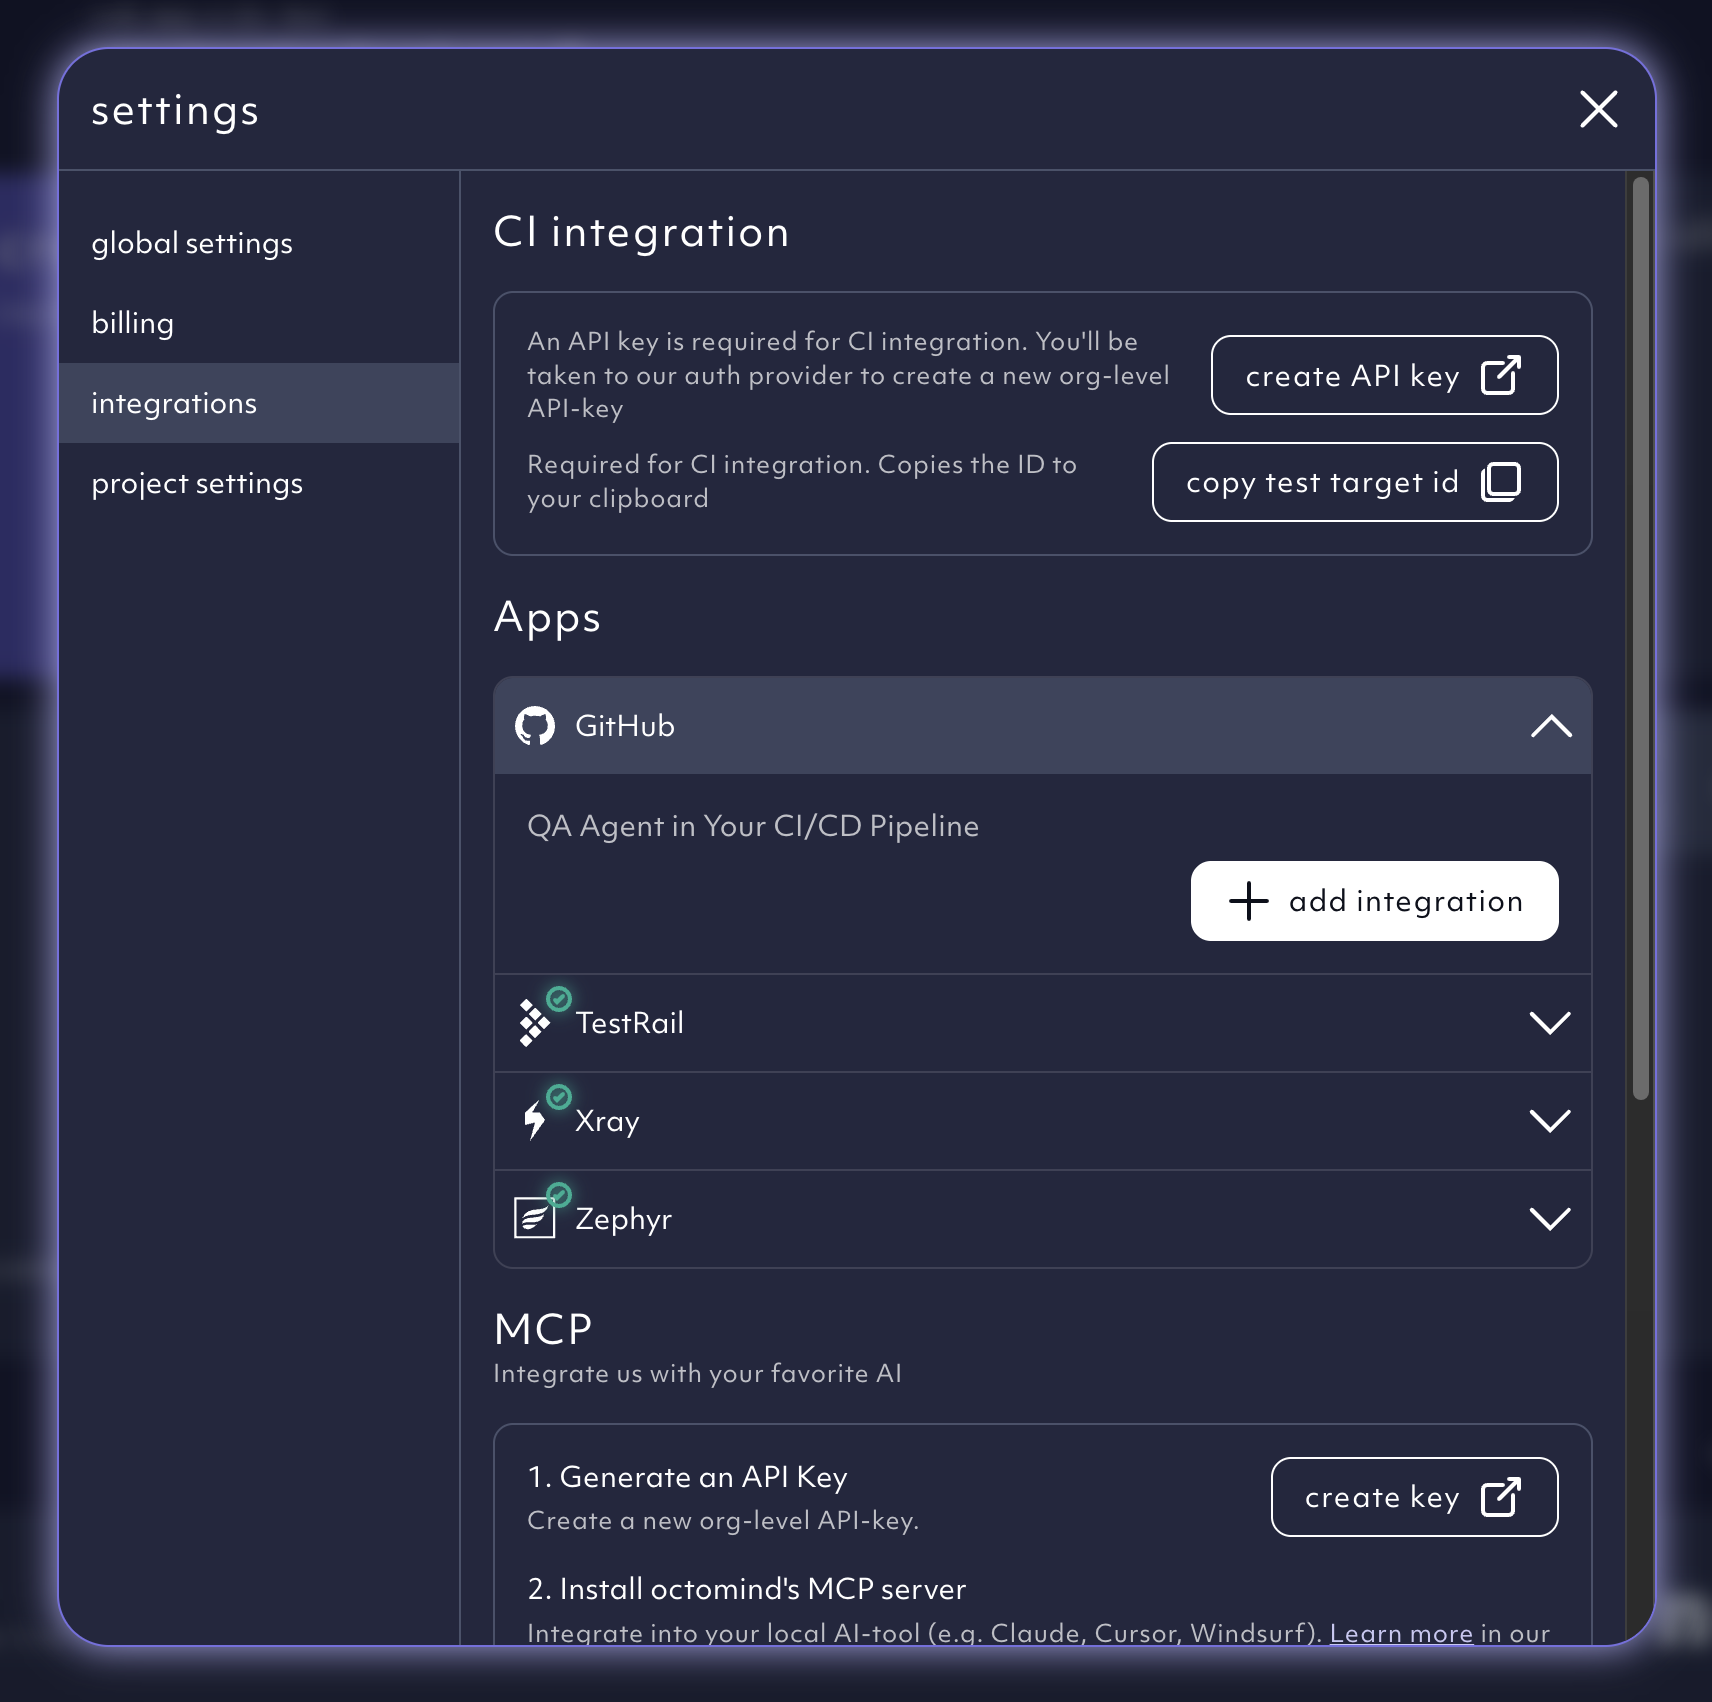
Create an API key
An API key is required for CI integration.Copy your test target id
You’ll need the test target id in your GitHub workflow.2. Install the Octomind GitHub App
Clickadd integration in the GitHub integration row.
In GitHub, choose the organization/account and select which repositories Octomind should have access to.
We only request the permissions required to create and update pull request
comments / checks. We do not need access to your code.

3. Connect a repository to a test target
After installation, return to Octomind.- Select the organization and repository you installed the app for.
- Github will redirect you back to the settings modal.
4. Add the GitHub Action to your workflow
Add the Octomind Action to your CI pipeline after your deployment step so the URL is reachable.A) Run tests on pull requests (default)
B) Explore a Test Plan (visual exploration + video)
Use the same action, but setaction: explore-test-plan.