Environments and Projects is sometimes not well understood. We will clarify the difference between the concepts and provide guidance on when and how to use each effectively.
Projects
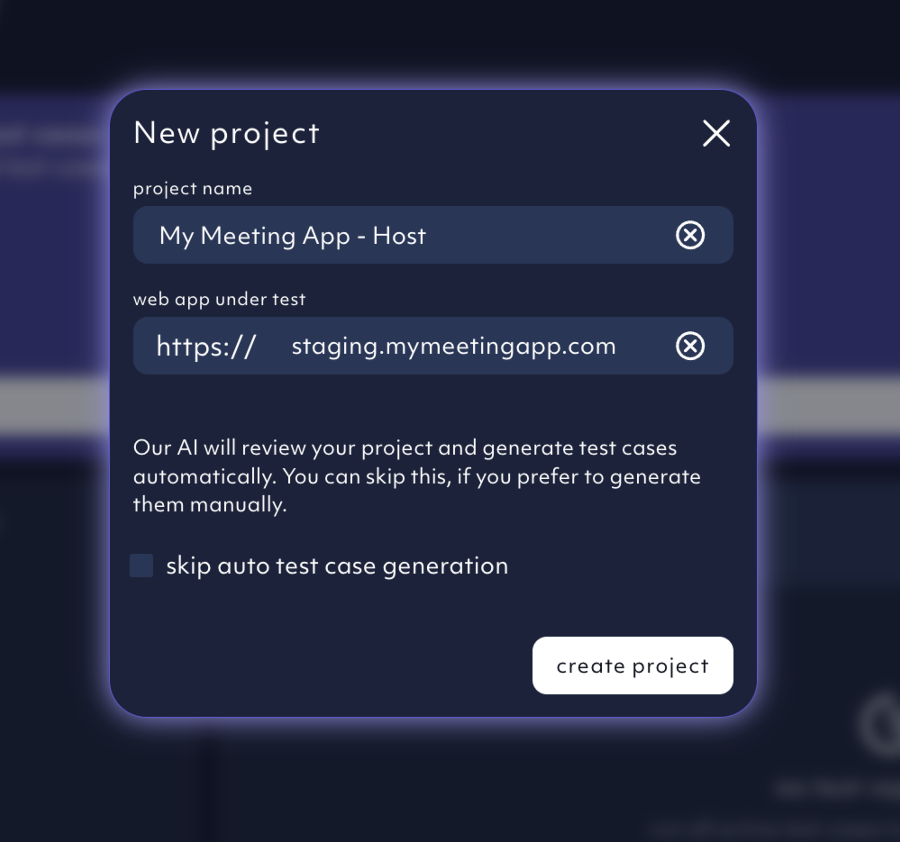
When you sign up for Octomind, you automatically create your first project during the onboarding process. A project serves as a foundational unit with the following attributes:- Name: You can change the project name at any time.
- URL: This is fixed and cannot be changed after creation. The URL acts as the reference point for all agent interactions, such as test discovery, test proposals, and auto-maintenance. Think of it as the core reference system for our AI agent.


Environments
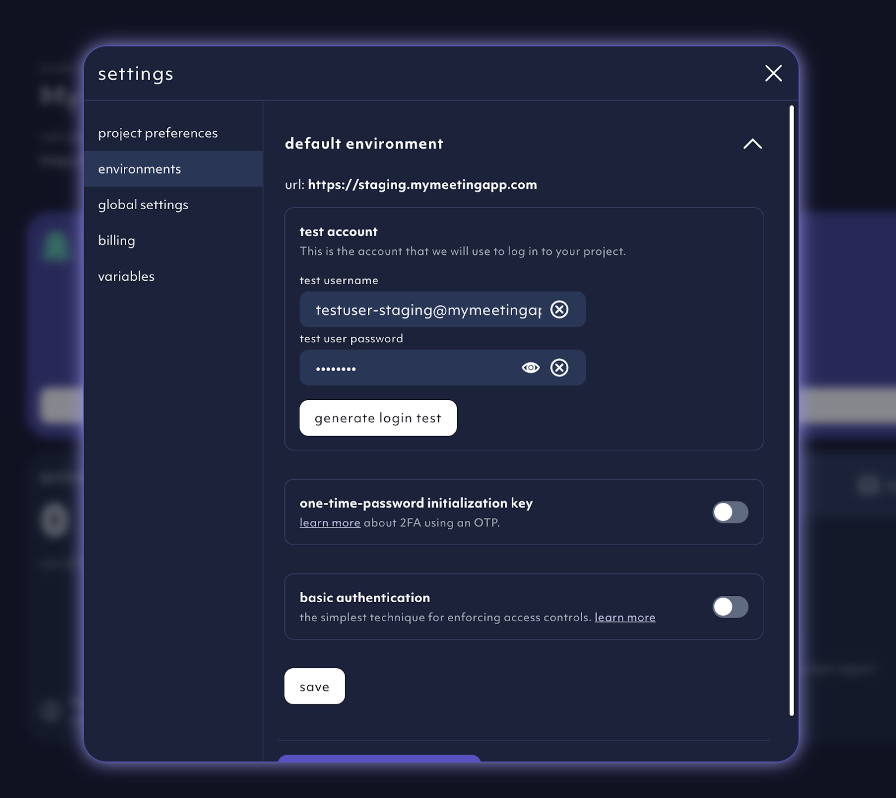
Environments exist within projects and represent different configurations for the same app under test. Each environment is defined by:- Name and URL
- Login parameters (e.g., test user credentials)
- OTP secrets (if applicable)
- Basic-auth settings (if applicable)
Example: Sandbox and Staging environments
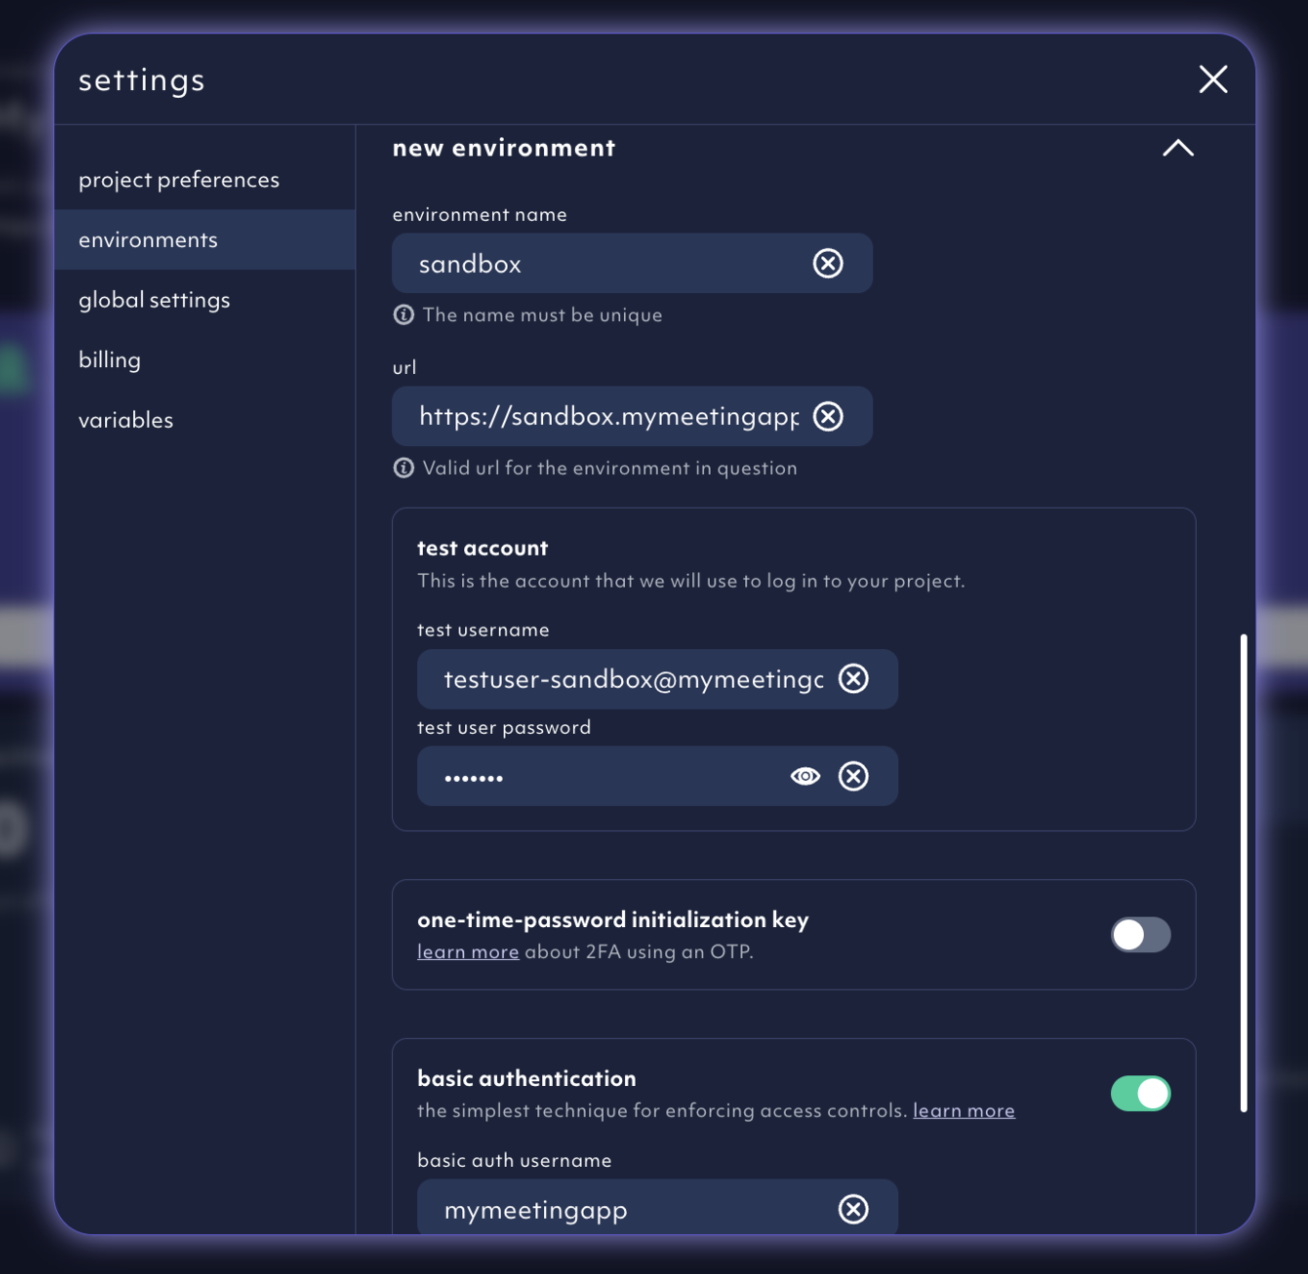
Imagine your app is deployed in two distinct environments:Sandbox and Staging. Each environment has unique characteristics:
- Sandbox:
- Behind basic-auth
- Uses
[email protected]
- Default environment (Staging):
- No basic-auth
- Uses
[email protected] - Considered to be more stable and primarily used for QA before production deployment
1. Project setup
- Create a project using the
Stagingenvironment as the reference system. - During setup, provide the
Staging URLandtestuser-stagingcredentials. - Compose test cases based on the
Stagingenvironment.
2. Adding Sandbox environment
- Set up a new environment for
Sandbox, specifying its unique URL, user credentials, and authentication settings.

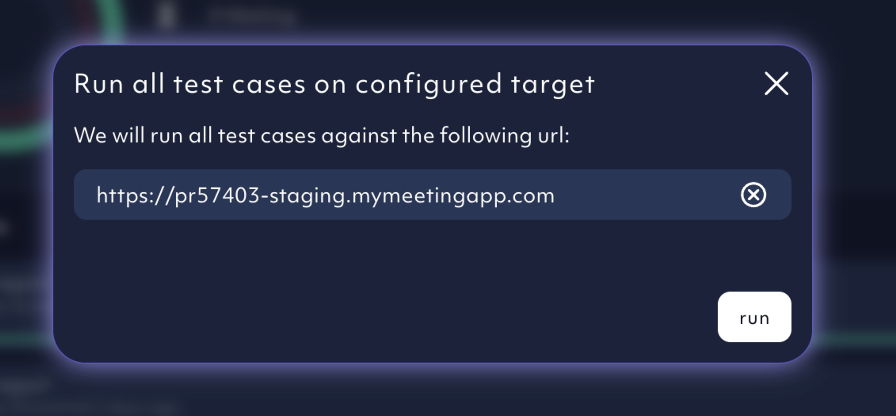
Sandbox environment by selecting it from the environment drop-down menu or by providing the “environment name” parameter in your pipeline. Please, see our GitHub documentation for the CI pipeline details.

When to use multiple projects
There are cases where multiple projects are more suitable than multiple environments within a single project. Here are two common scenarios:A: Testing multiple apps
Each app you test should have its own dedicated project. This keeps configurations and test cases separate, ensuring clarity and manageability.B: Testing complex apps with distinct user roles
For apps with users of significantly different roles and permissions, splitting tests across multiple projects can simplify testing. Let’s look at two examples:Example 1: Online meeting app
Your app includes two key roles:- Meeting Host: The paying customer who organizes meetings.
- Attendee: A participant who typically doesn’t have an account.
Example 2: Document signing app
In this app, there are two main roles:- User: The paying customer who uploads documents, prepares them for signing, and shares them with participants.
- Participant: A non-account user who can only sign documents with limited functionality.