how to start with e2e testing from scratch?
An Octomind tutorial for developers who want start end-to-end testing
When we're under pressure to ship features faster - testing quality is usually the biggest casualty. Similarly, when applications with a lack of unit and integration tests start to suffer from bugs that should've been caught earlier, end-to-end tests are often brought in to catch regressions as they can cover the most critical user flows faster than ramping up TDD efforts.
But without a dedicated testing team, learning, configuring, and integrating automation frameworks such as Playwright also takes developers away from writing code and shipping features.
That's why we're building Octomind. We use AI to automate the creation of an end-to-end test suite from scratch, and without any prior automation testing experience.
Let me take you through what getting up to speed with Octomind looks like so you can see if it's something you'd want to try out for your own websites or apps.
1. Getting started
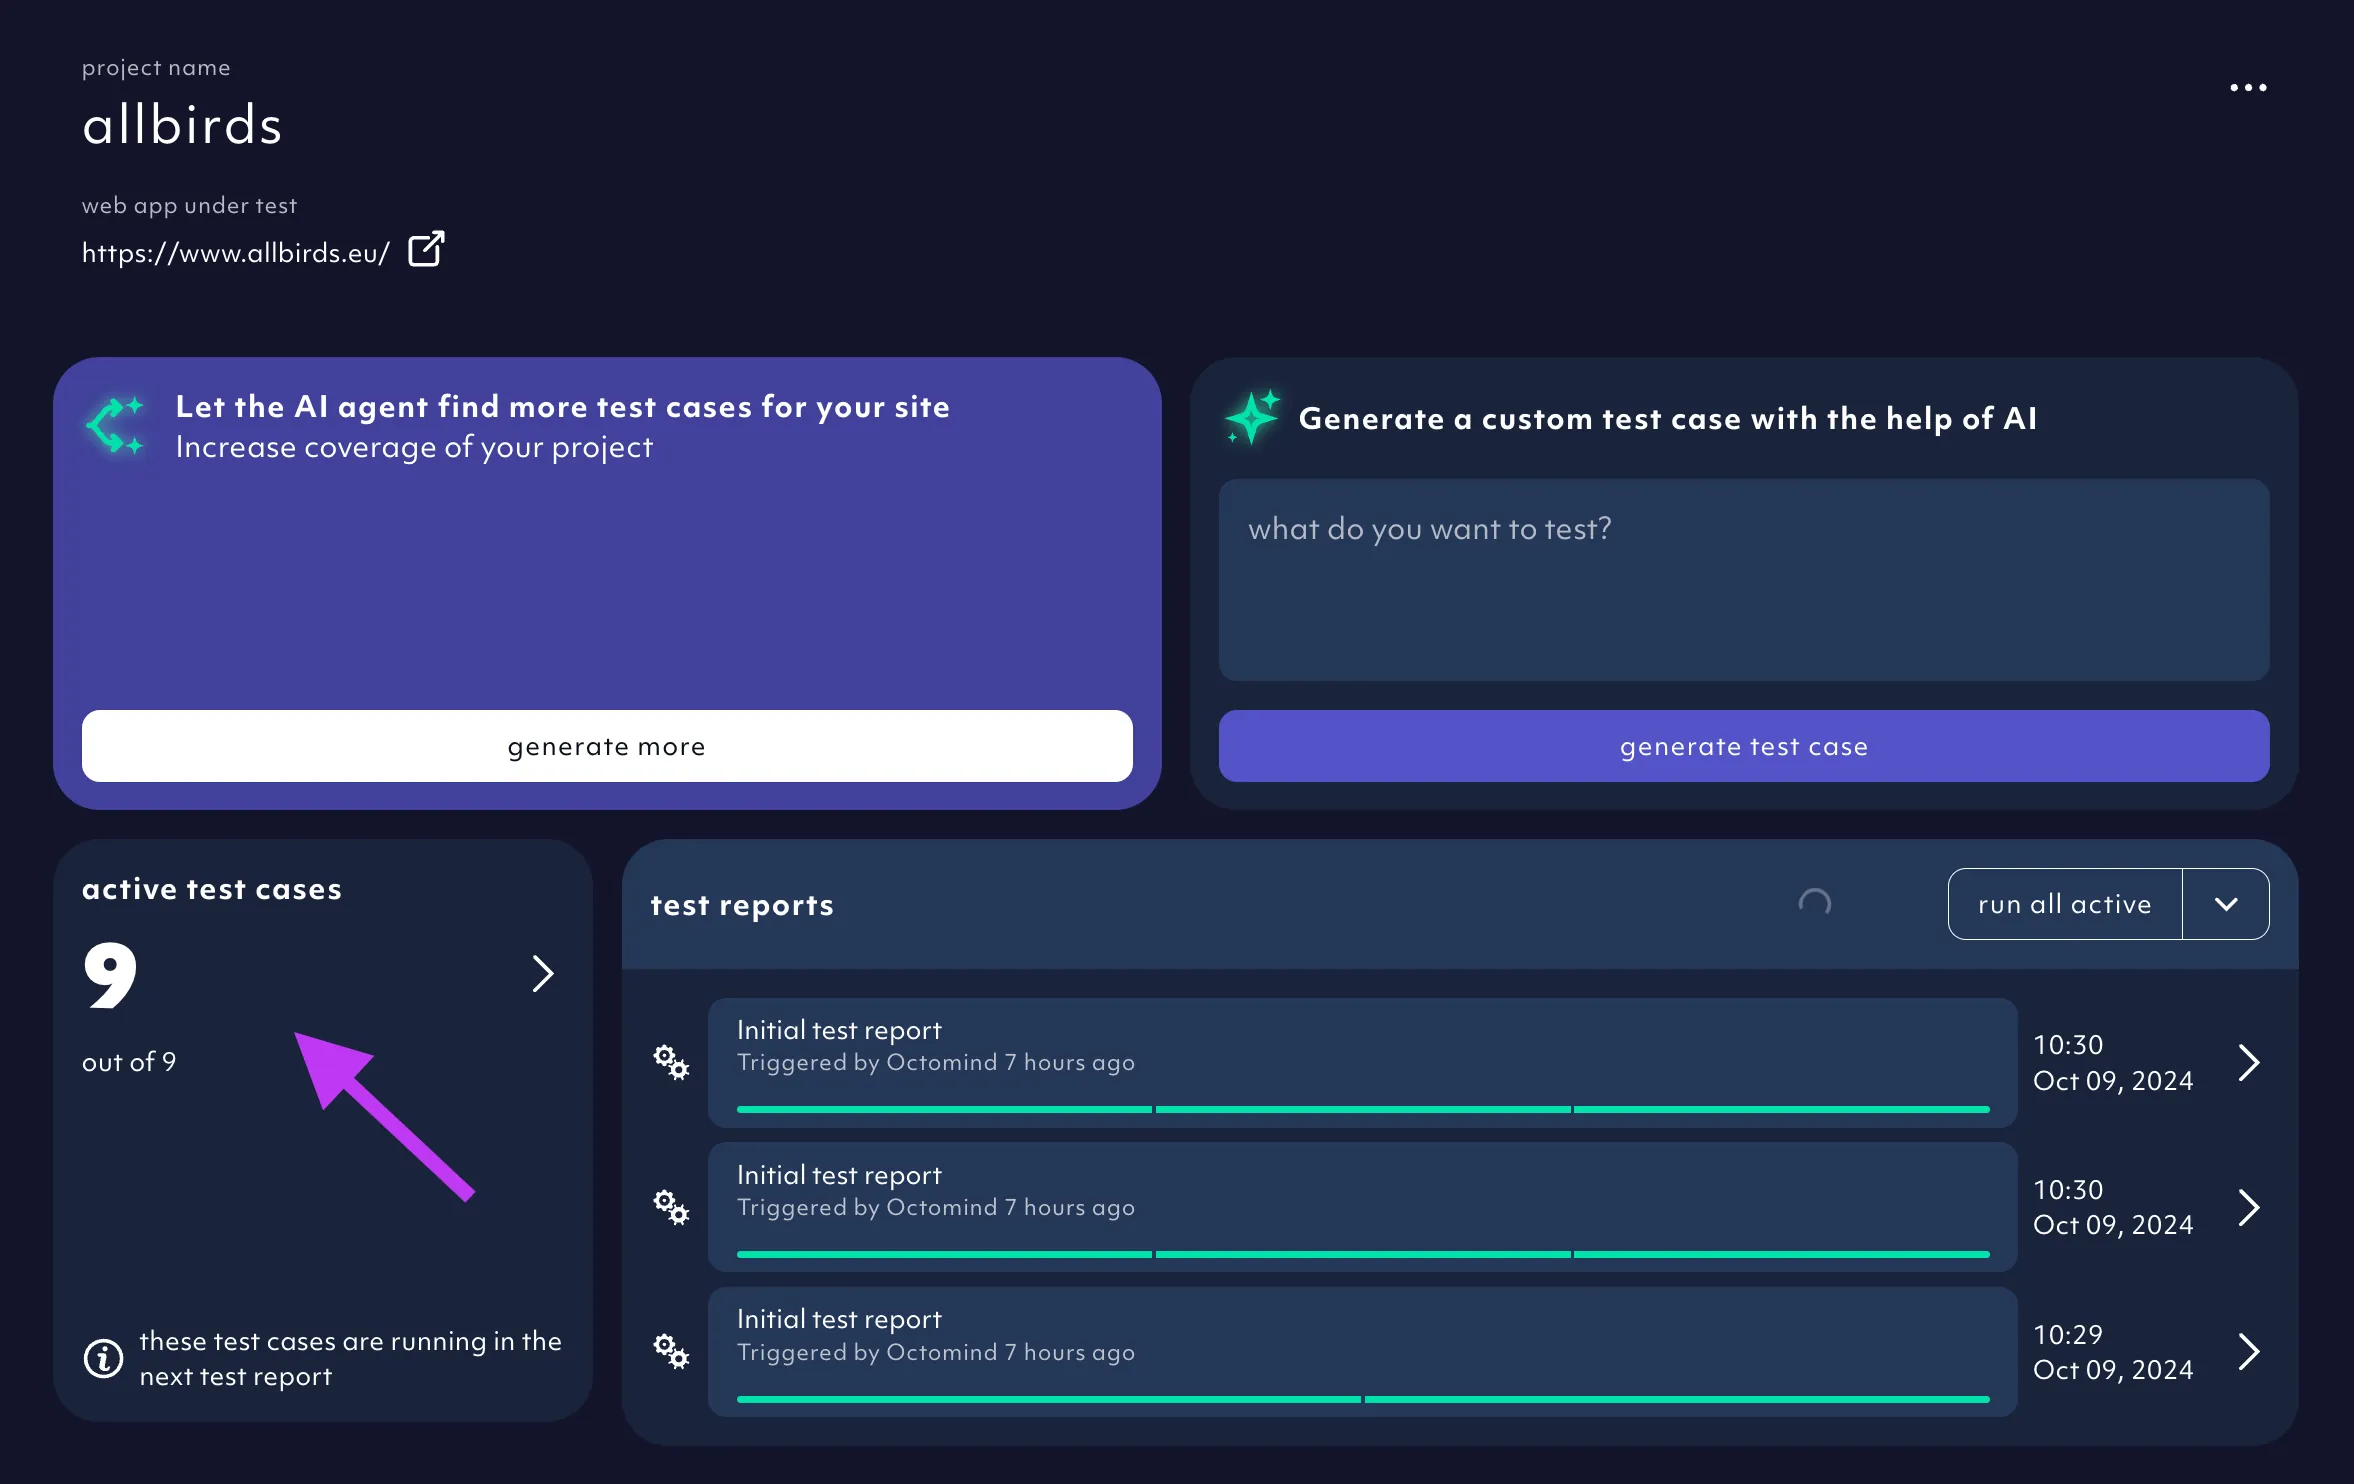
We make it as easy as possible to get started. Just enter a publicly accessible URL for the site you want to test and you're away.
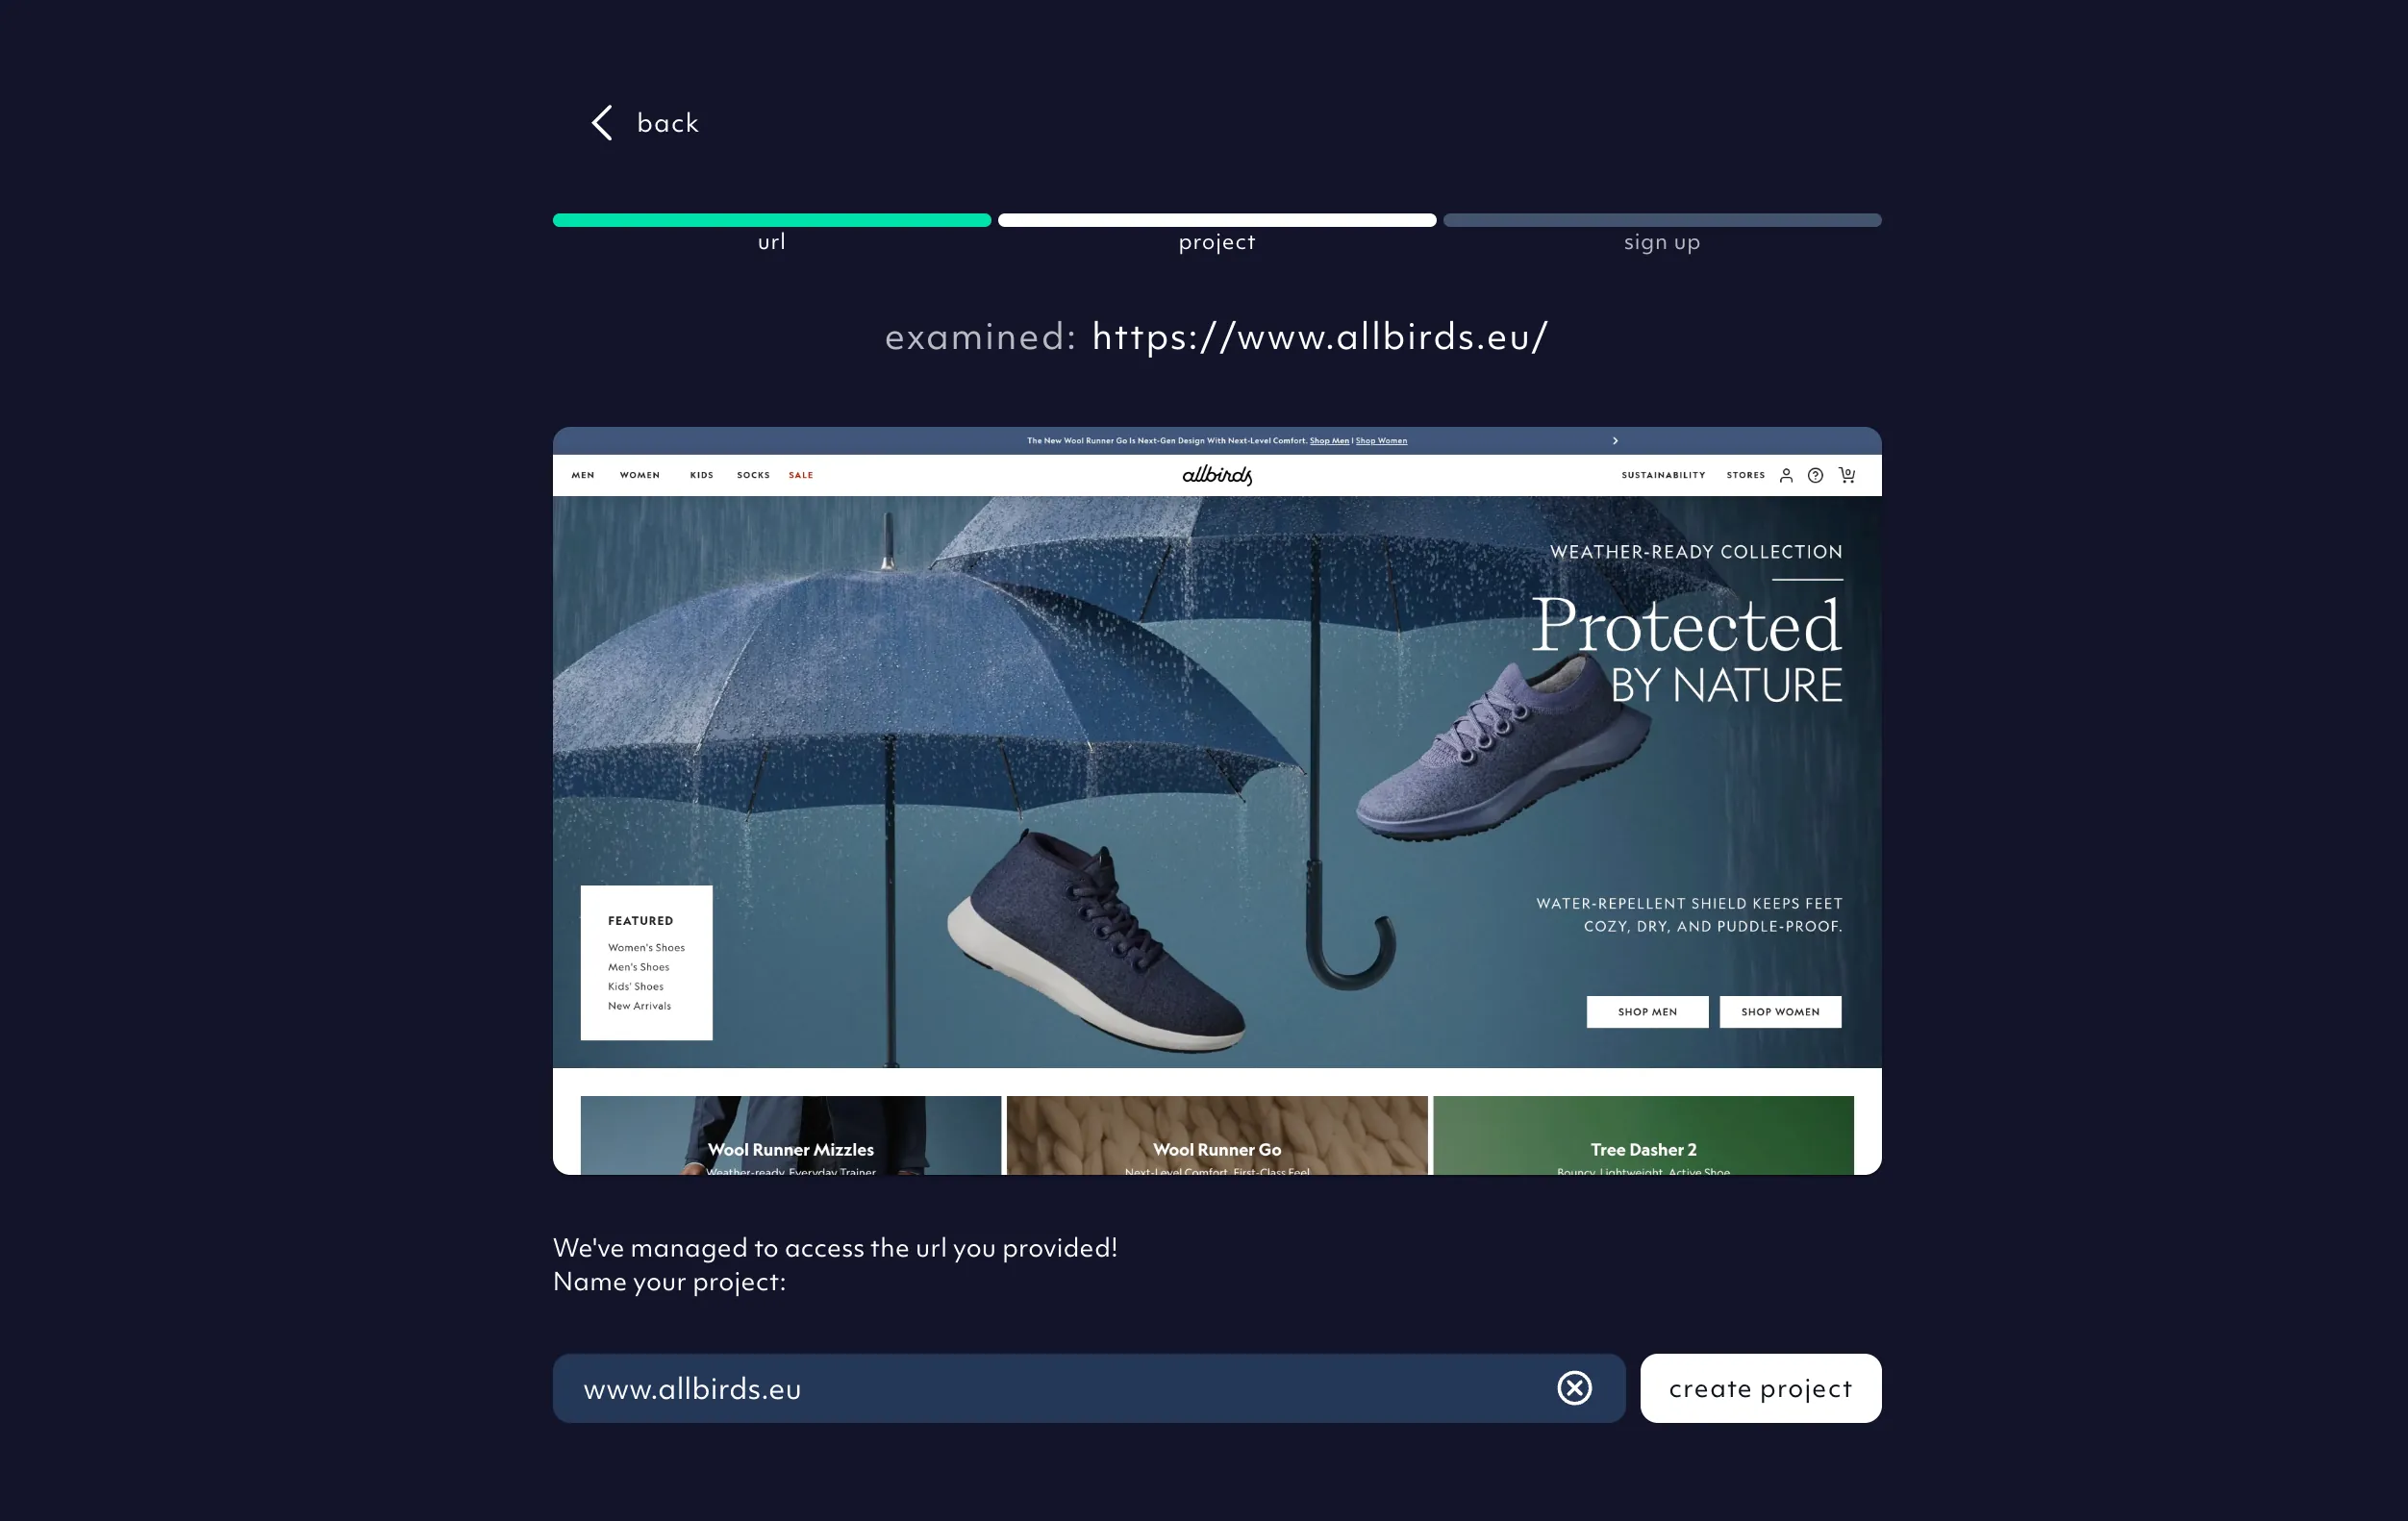
But Octomind isn't limited to public URLs. Only the onboarding flow needs that to create a 'known good' state or 'baseline' in testing terminology for future deployments to be tested and verified against. The entire test suite can be run in any internal environment (including development) with a single API call or SDK call.
But this is jumping ahead a bit and I'll cover this in the Test running section.
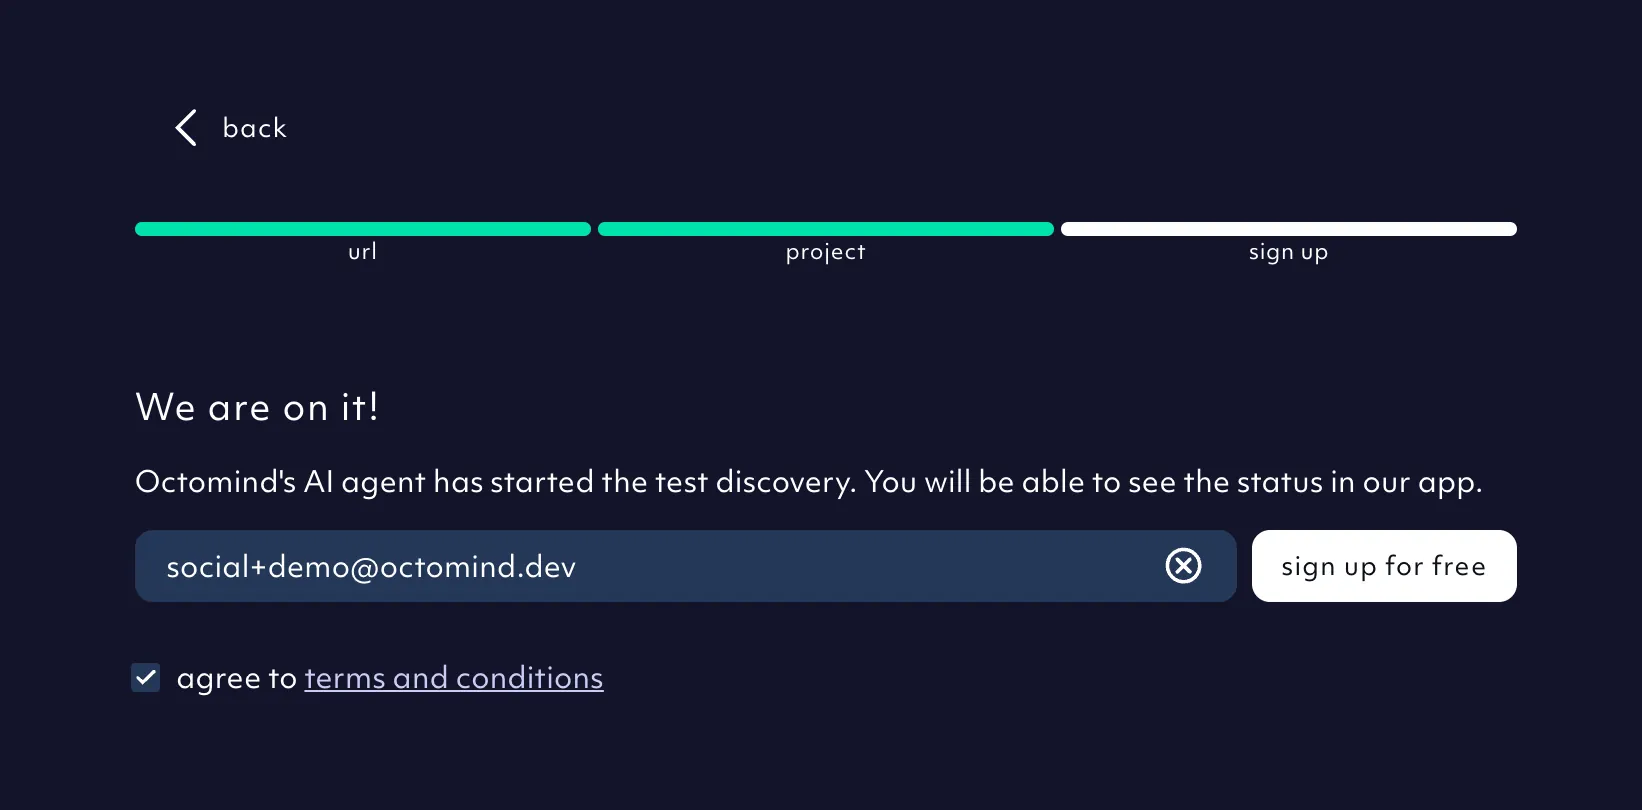
Getting back to the sign-up flow, we suggest using the URL as the project name, but totally up to you. Then we've got the standard create account and log in flow, and once logged in Octomind's AI agent (I'll call it Agent from here on in) checks it can access your site, then gets to work creating test cases.
2. Test creation
So how does Octomind know what to test?
Our LLMs are continuously trained and evaluated against thousands of different types of sites and applications. With this data set, it can classify each site type and create a unique context for deriving relevant test cases.
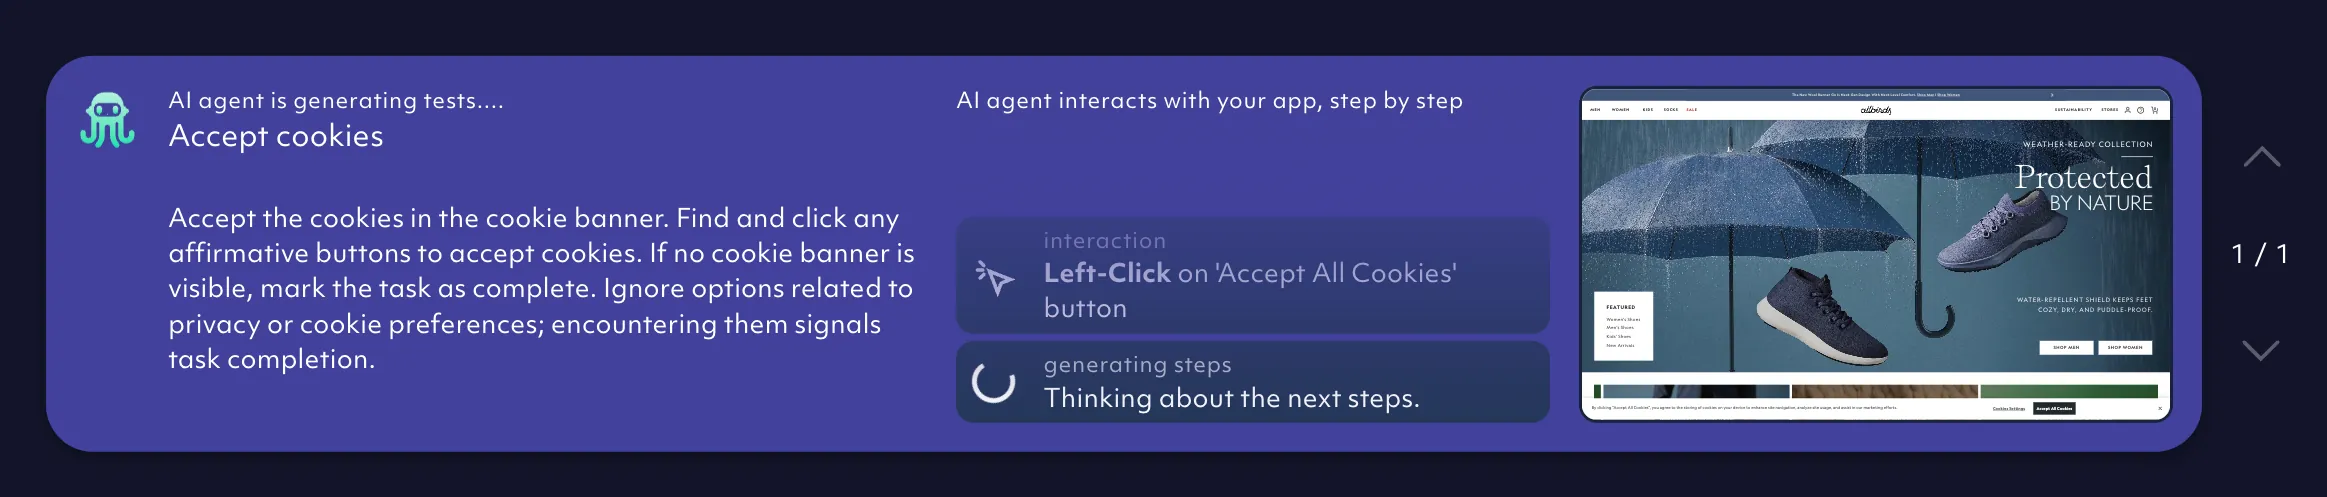
The Agent always starts with detecting cookie banners and required login forms because unless you're testing the login flow itself, most tests will require one or both of these to complete before every test run.
If it finds a required login form, you'll be prompted to enter testing credentials - or just leave them blank to test unauthenticated.
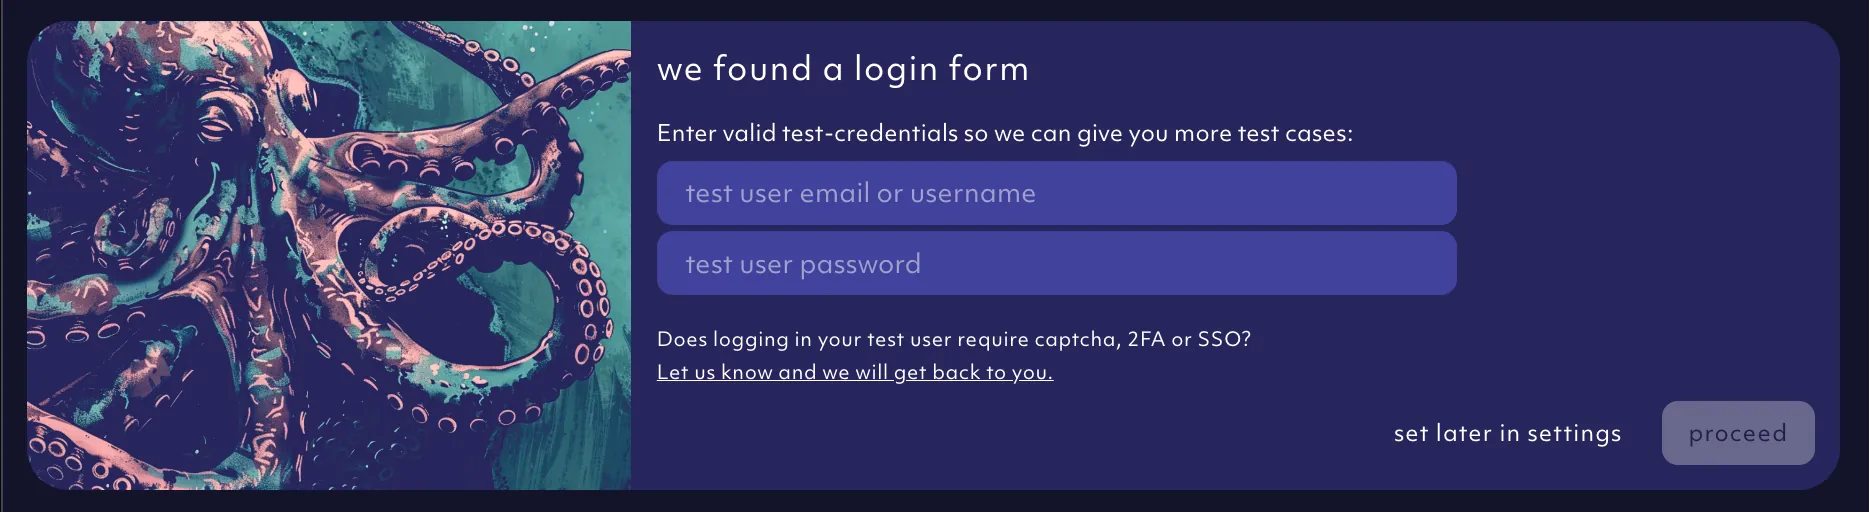
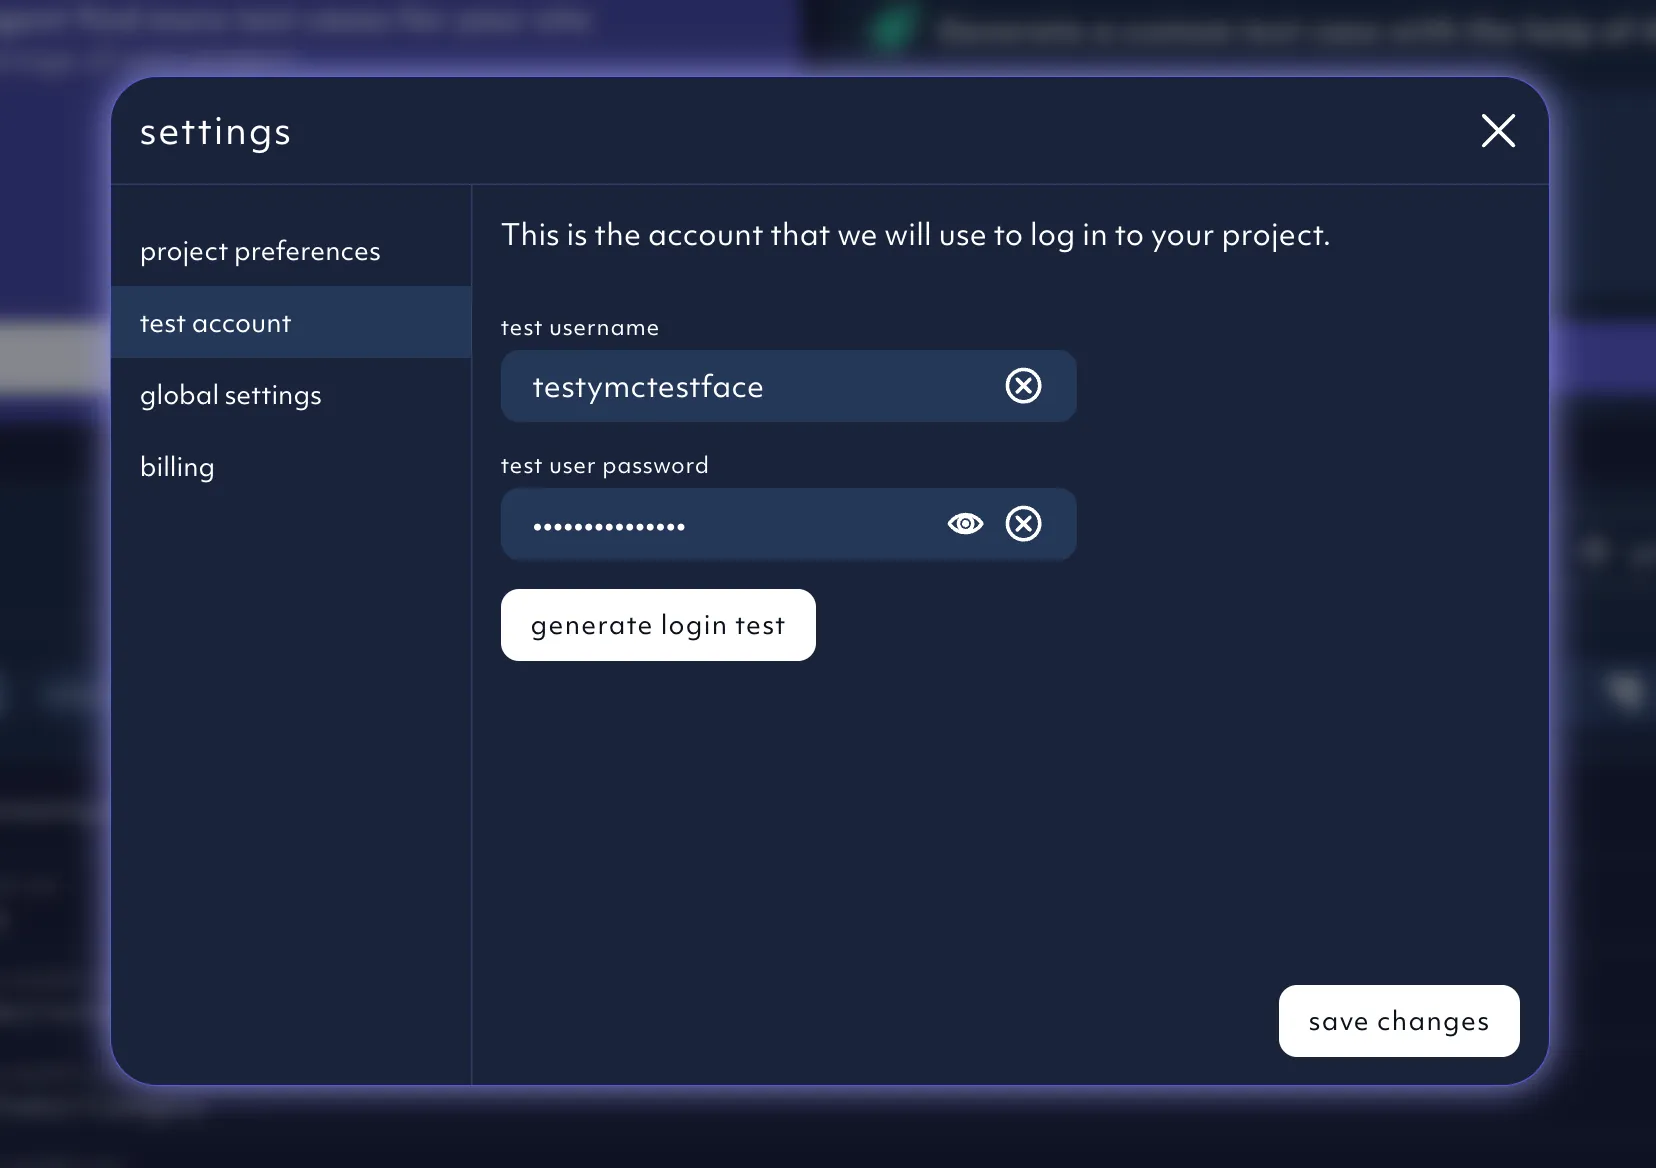
You can also enter them later from the settings panel for use in a future login test.
Octomind then analyzes your site to determine the most logical initial set of test cases, with the test stack view showing its progress and the steps for each test case.
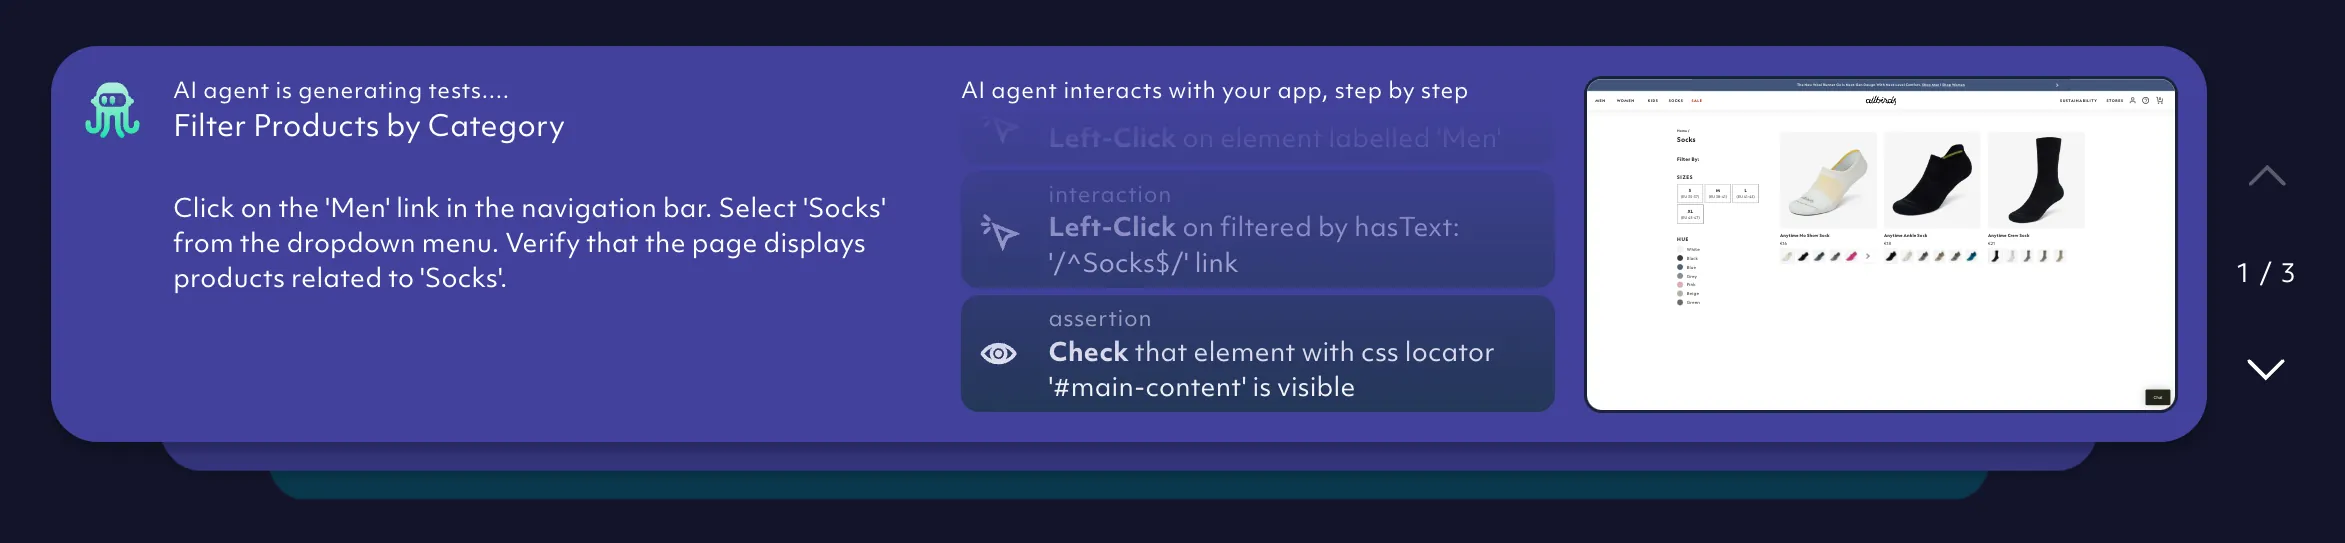
The Agent typically starts with three to four test cases. This isn't a system limitation, but a practical one - as the best way to scale end-to-end test coverage is to start small, then expand incrementally.
The initial test implementation can take a bit of time (we're working on it!). As the Agent completes each test case, the number of total and active tests is updated - active meaning the test executed and passed successfully.
3. Test running
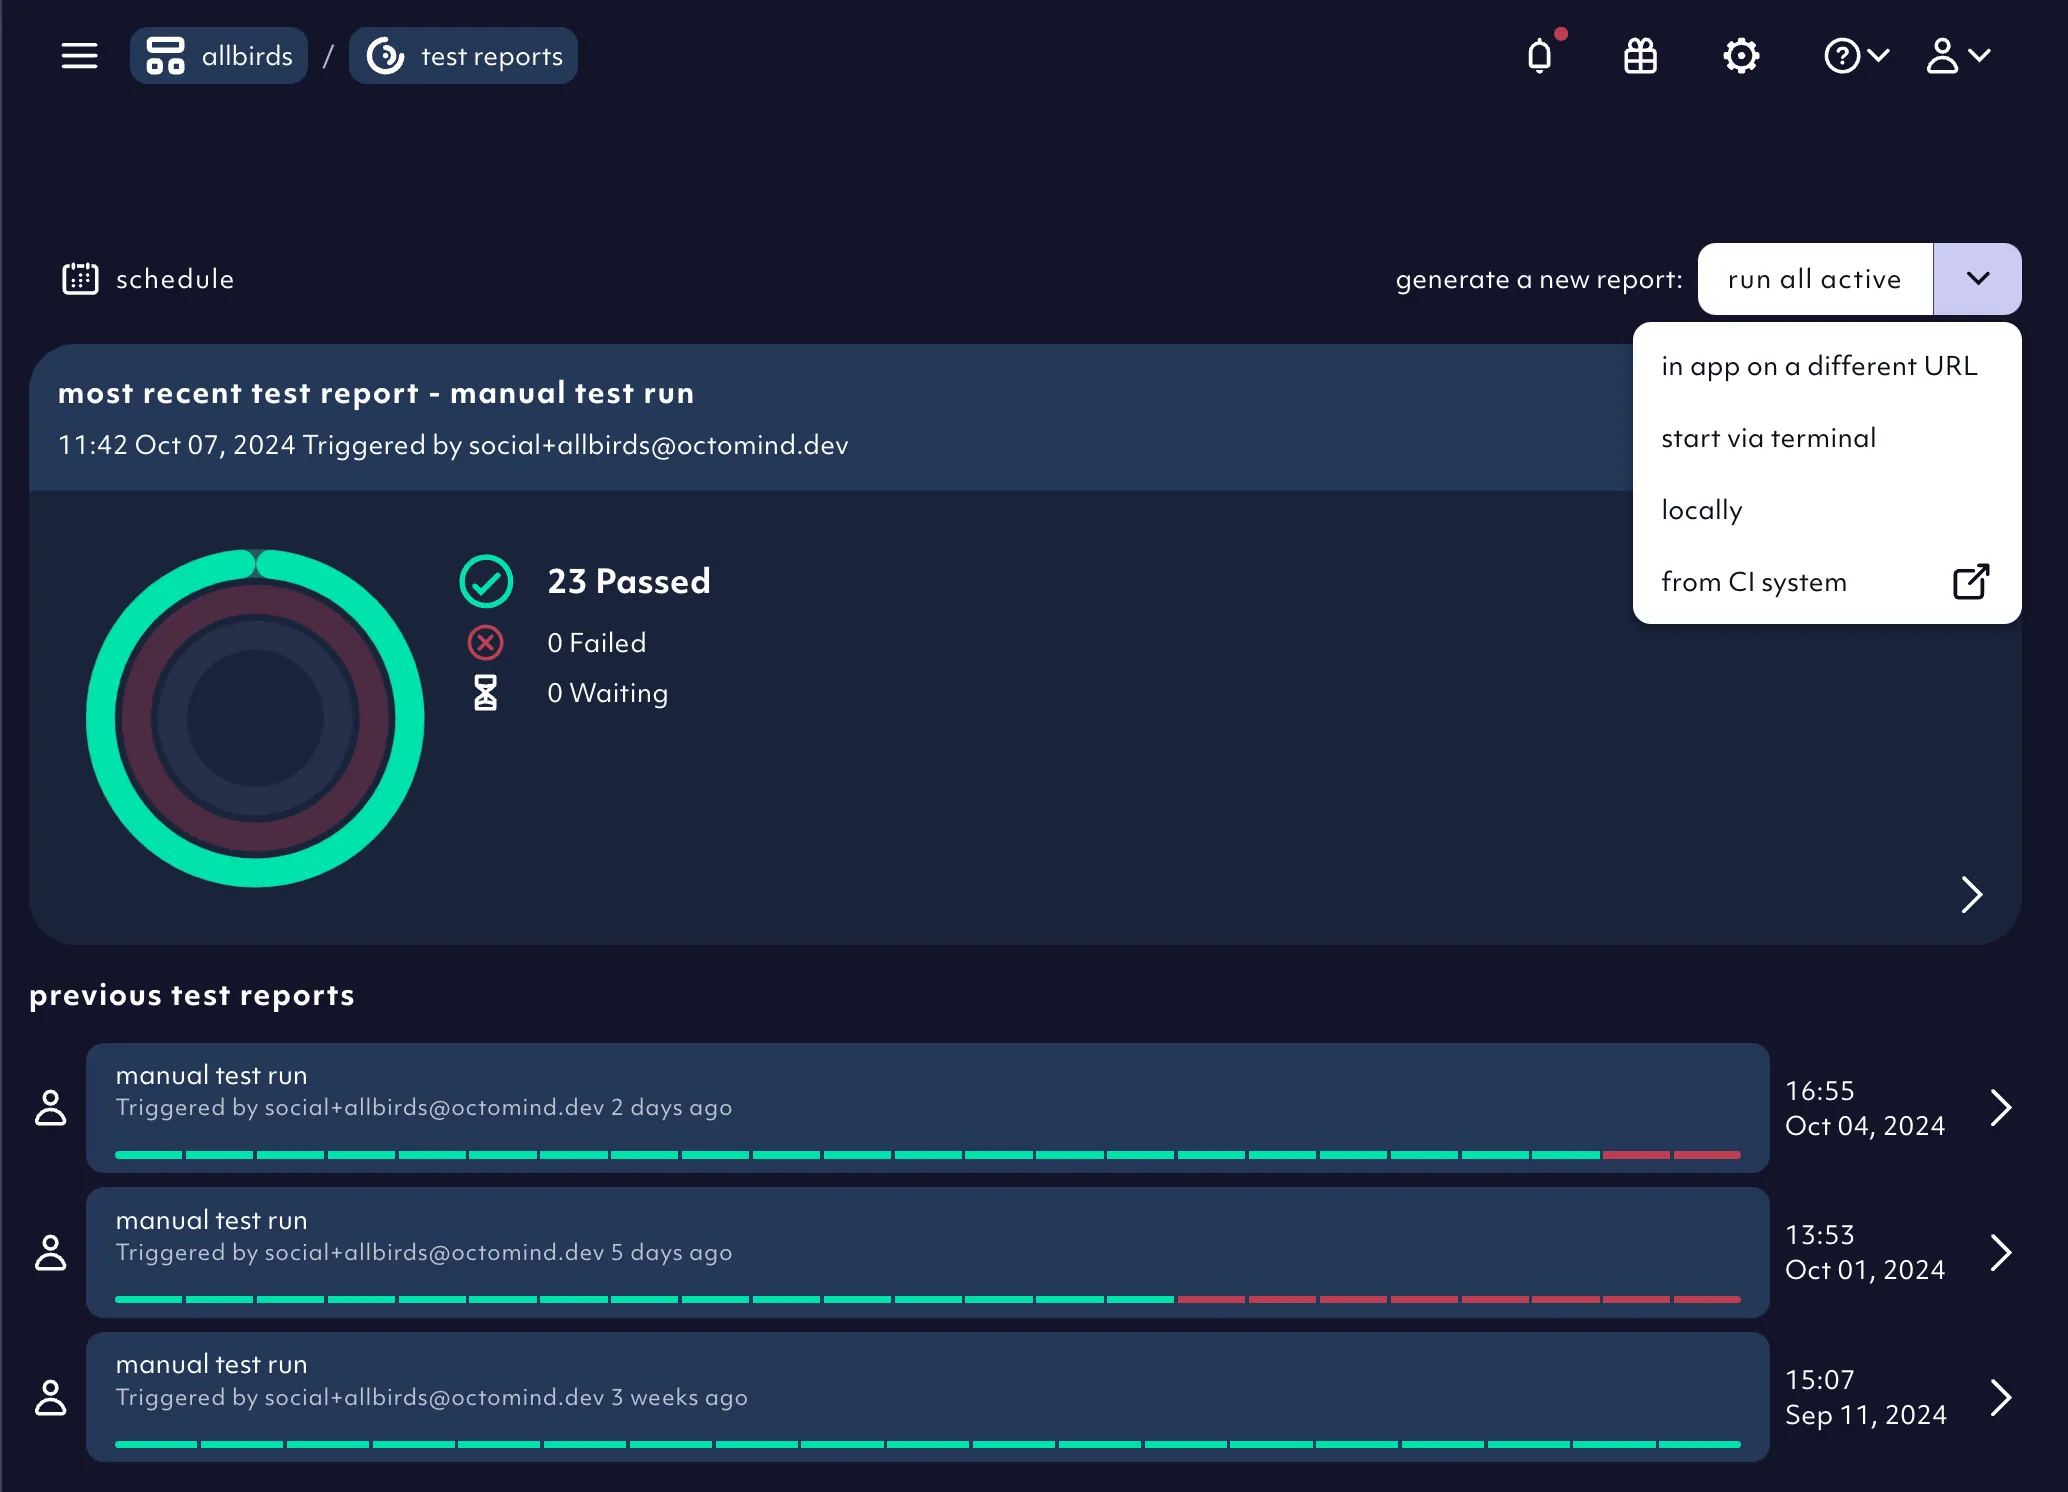
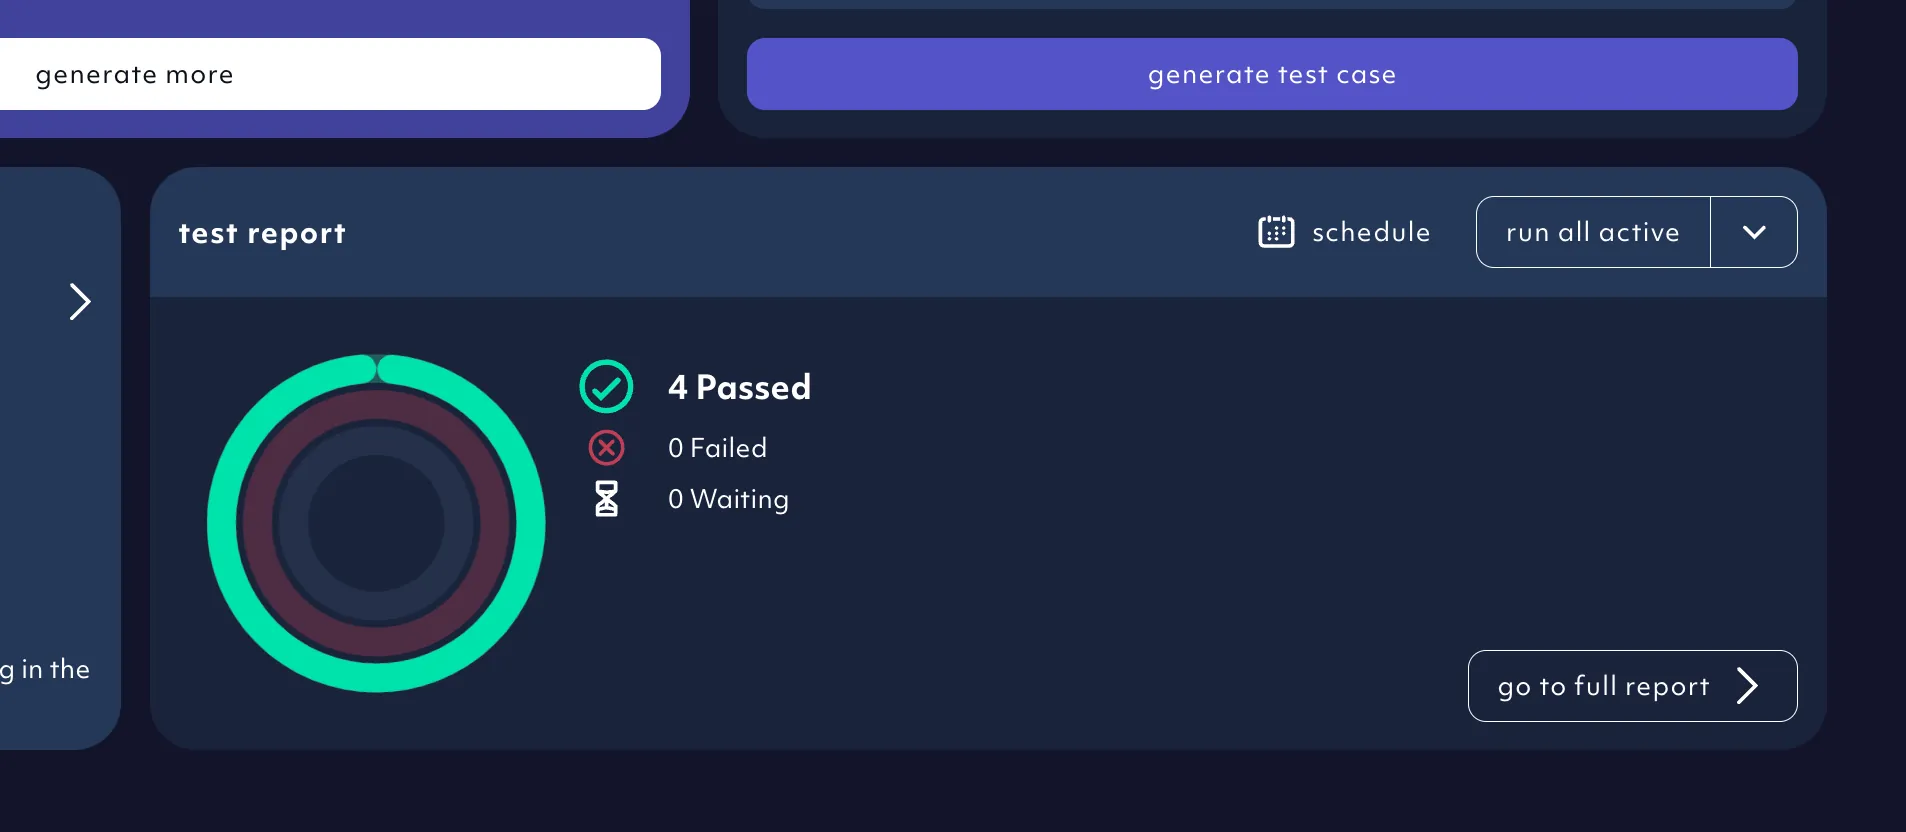
Once all test cases are implemented, Octomind runs the active tests - creating the first test report.
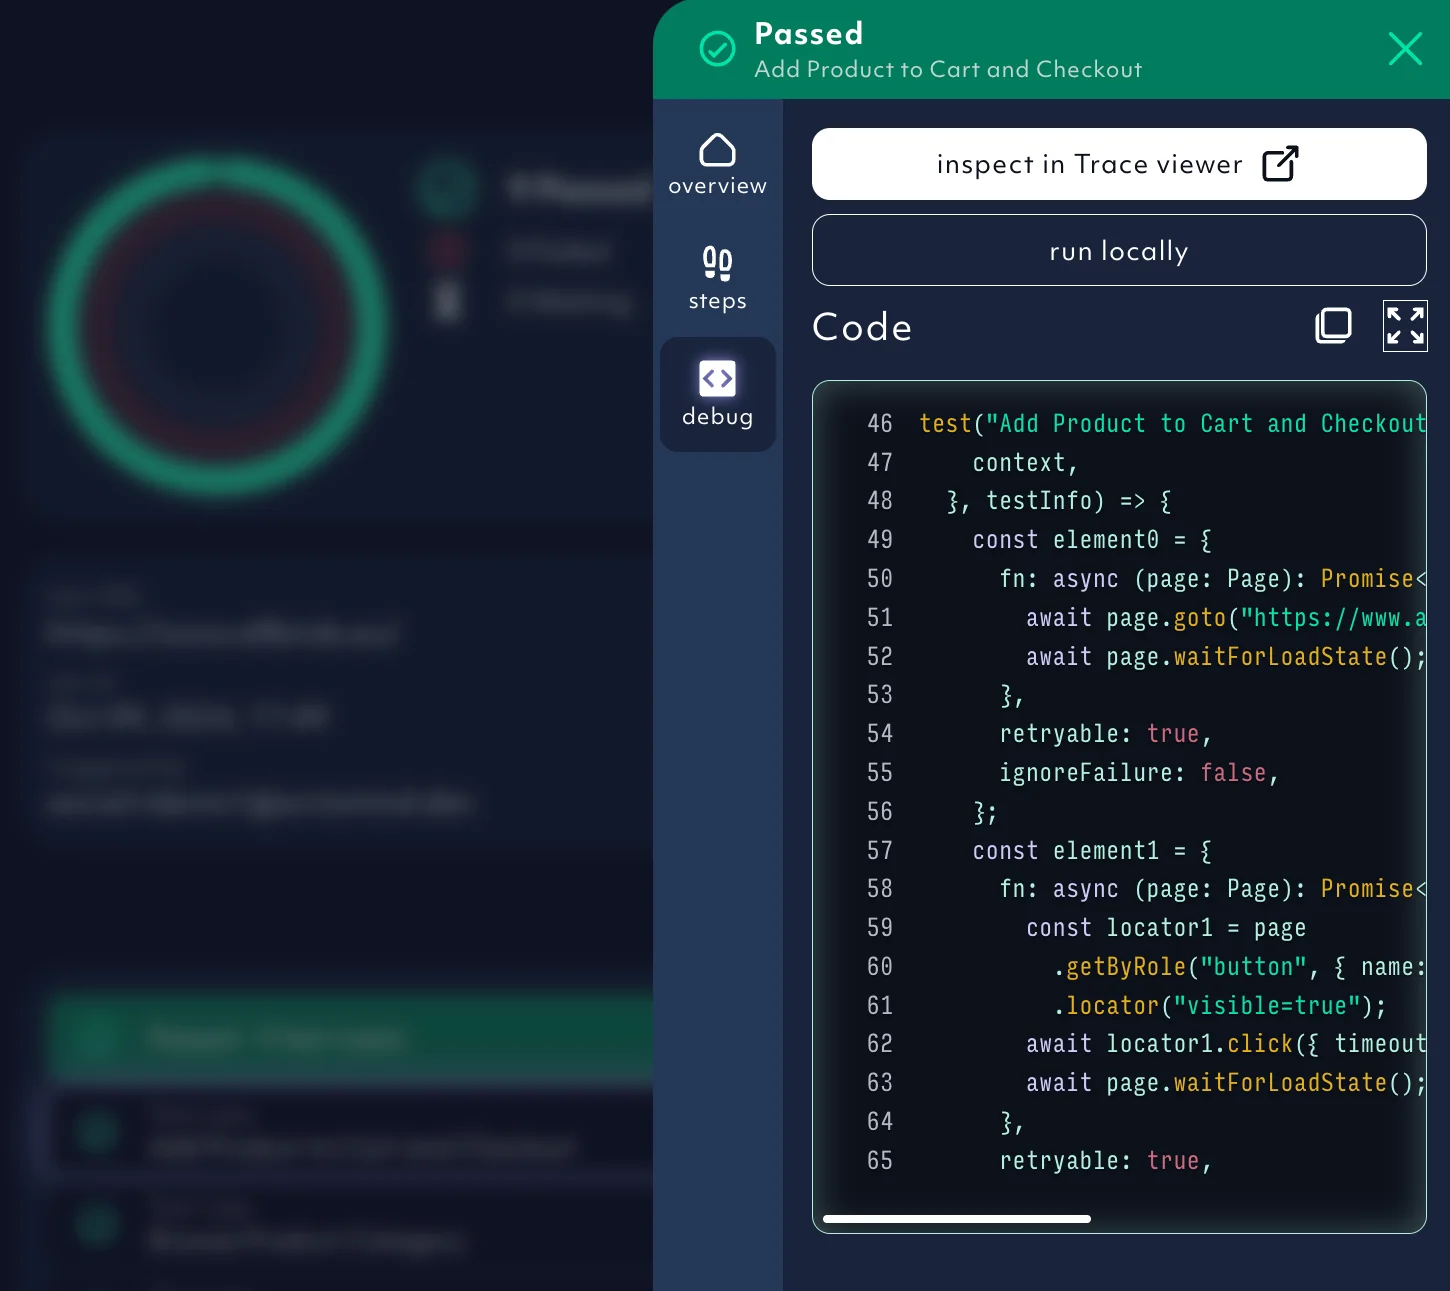
To go deeper, the test report details page provides a step-by-step visual representation for each test case.
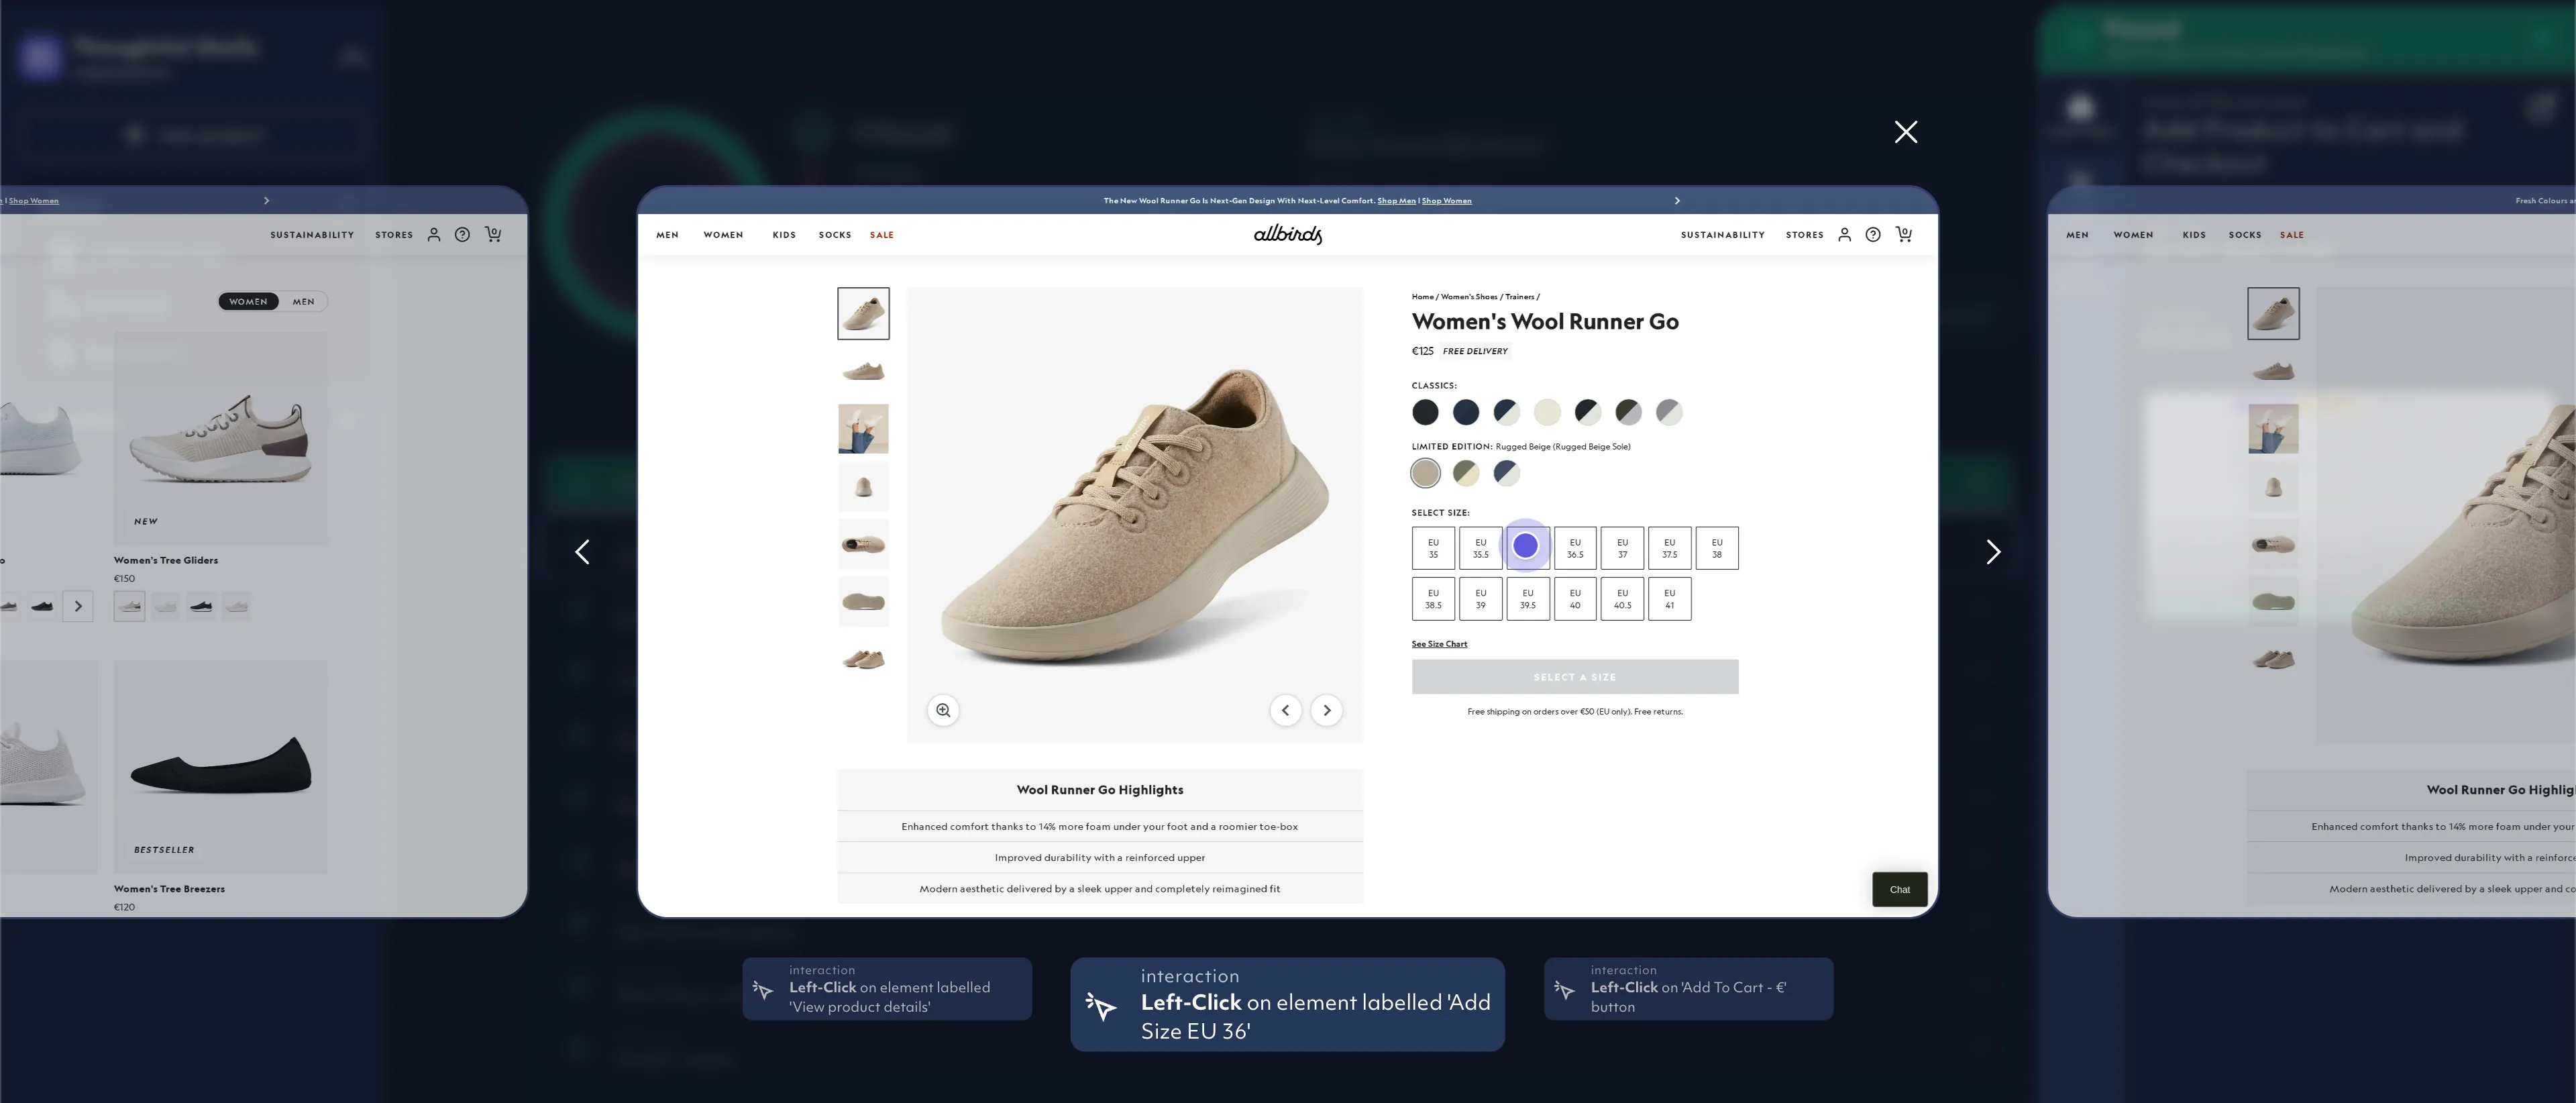
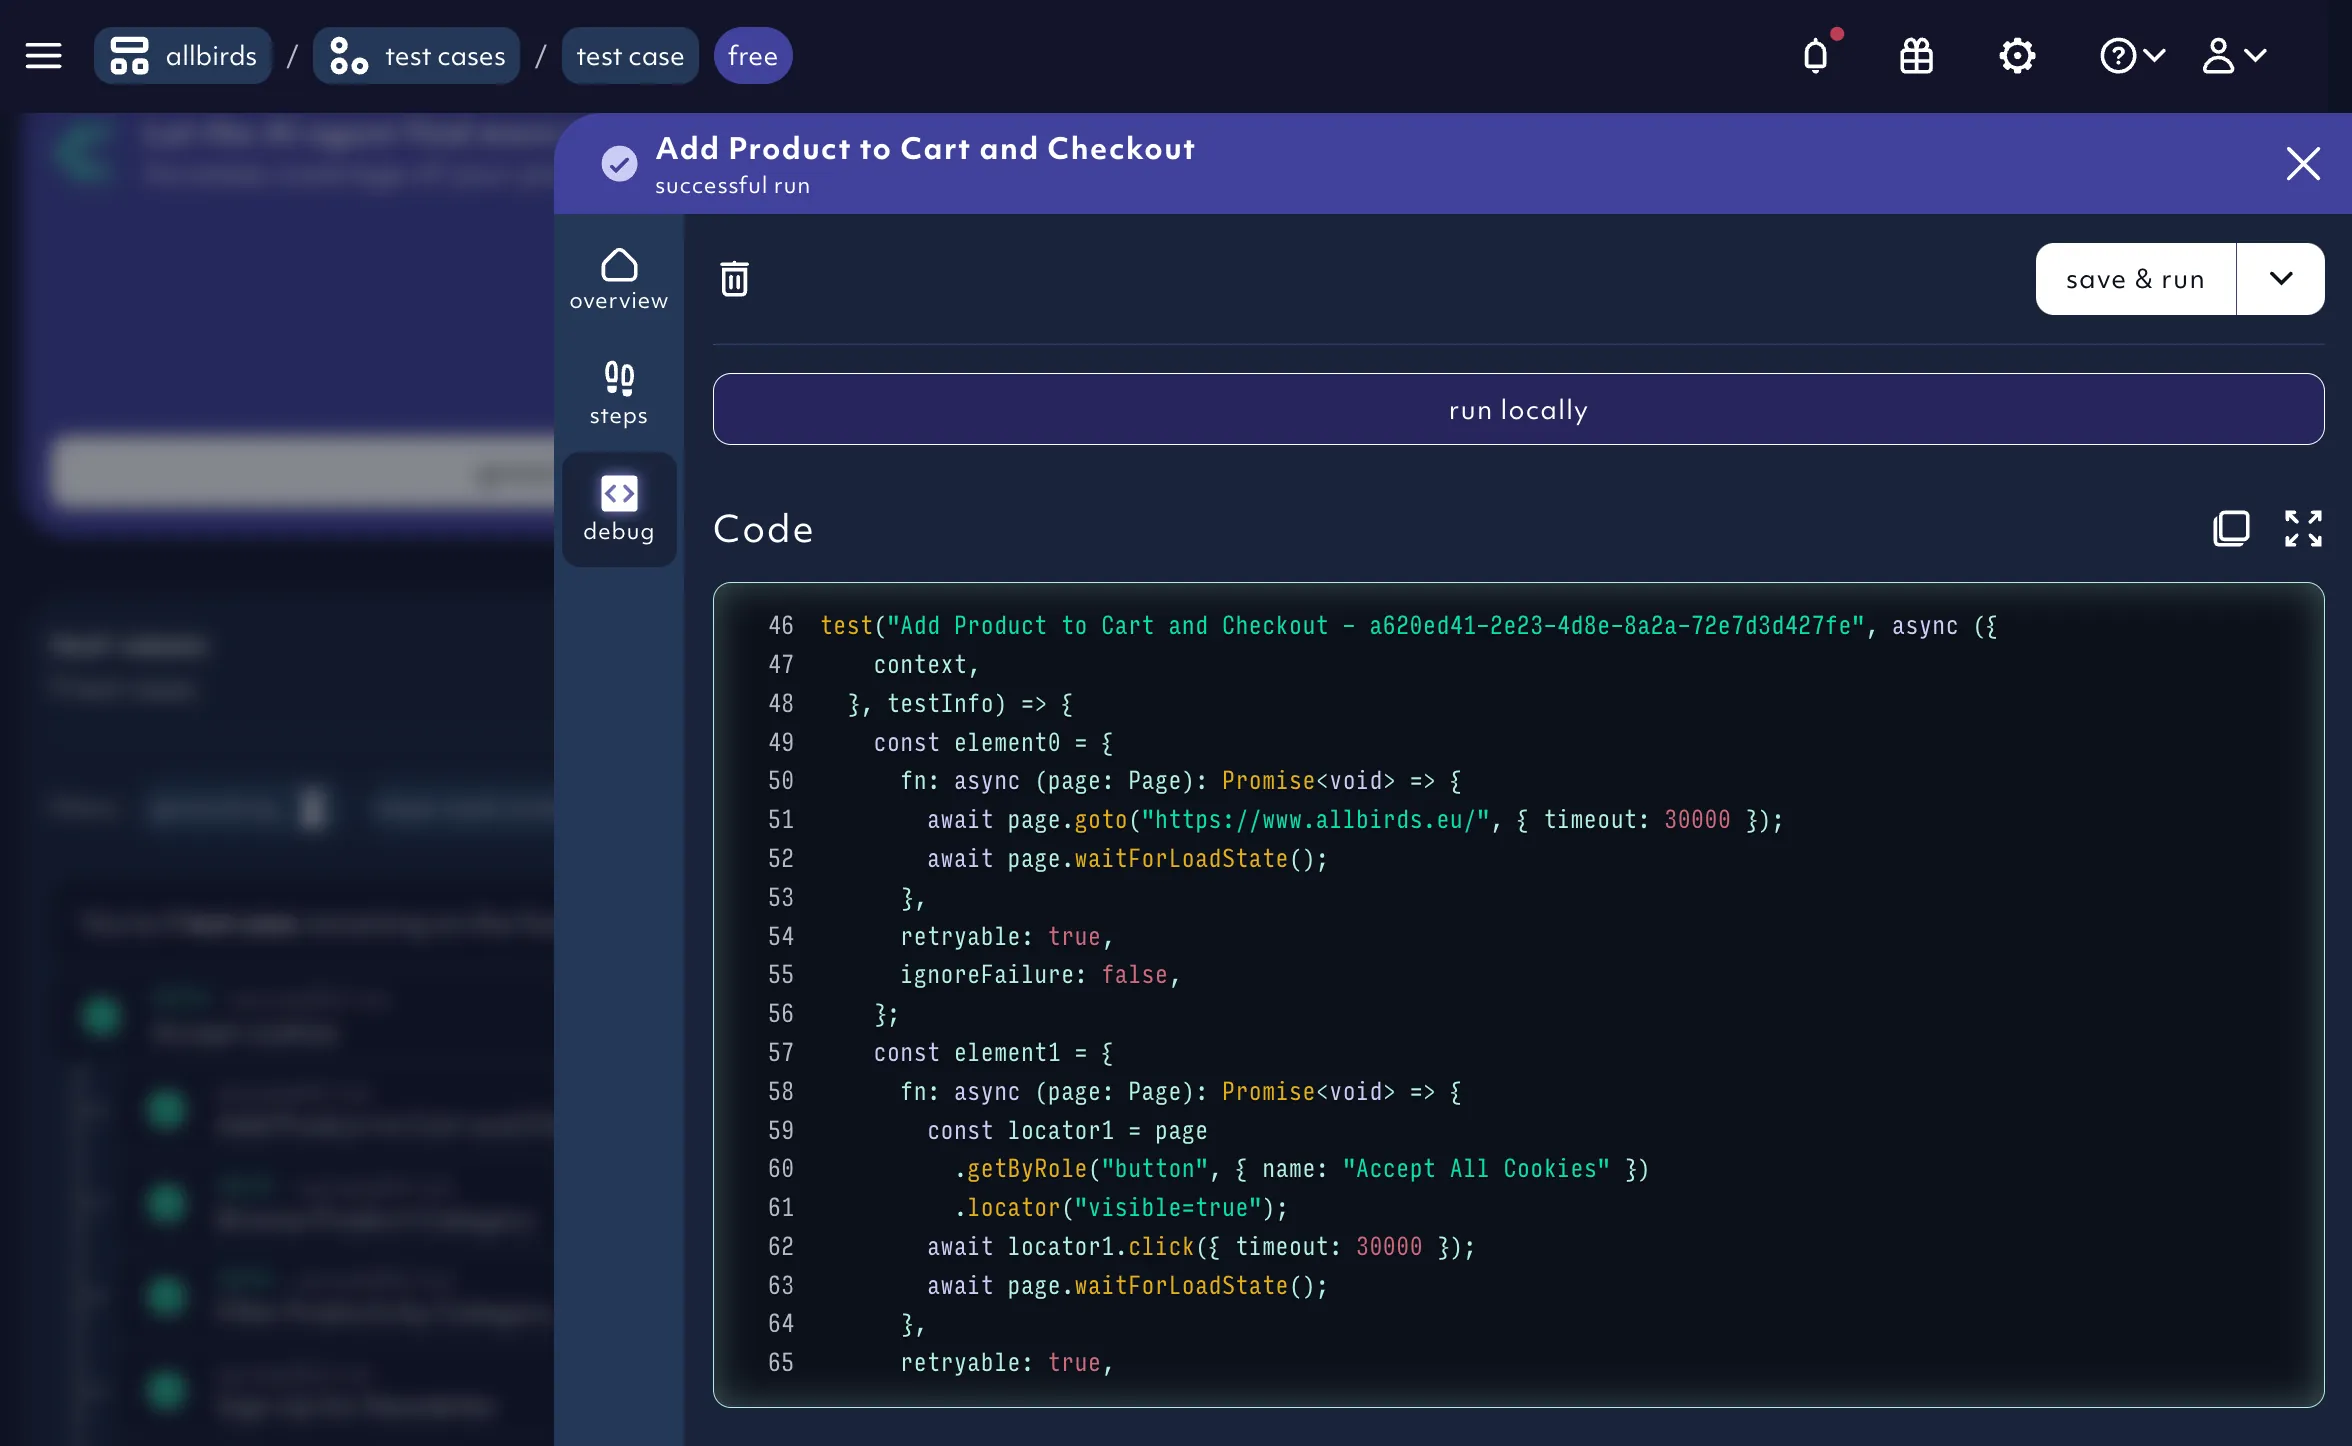
Or you can debug a specific test case by inspecting the Playwright Trace Viewer or run the agent-generated code locally for step-debugging.
Test runs can be scheduled.
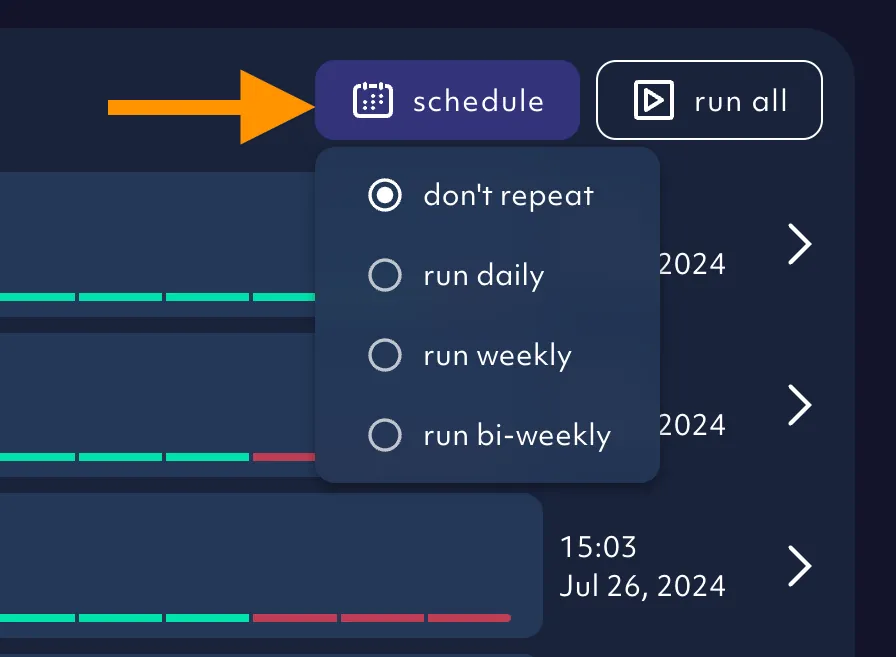
And triggered on-demand in a post-deployment task in CI/CD via our integrations or API.

4. Test coverage
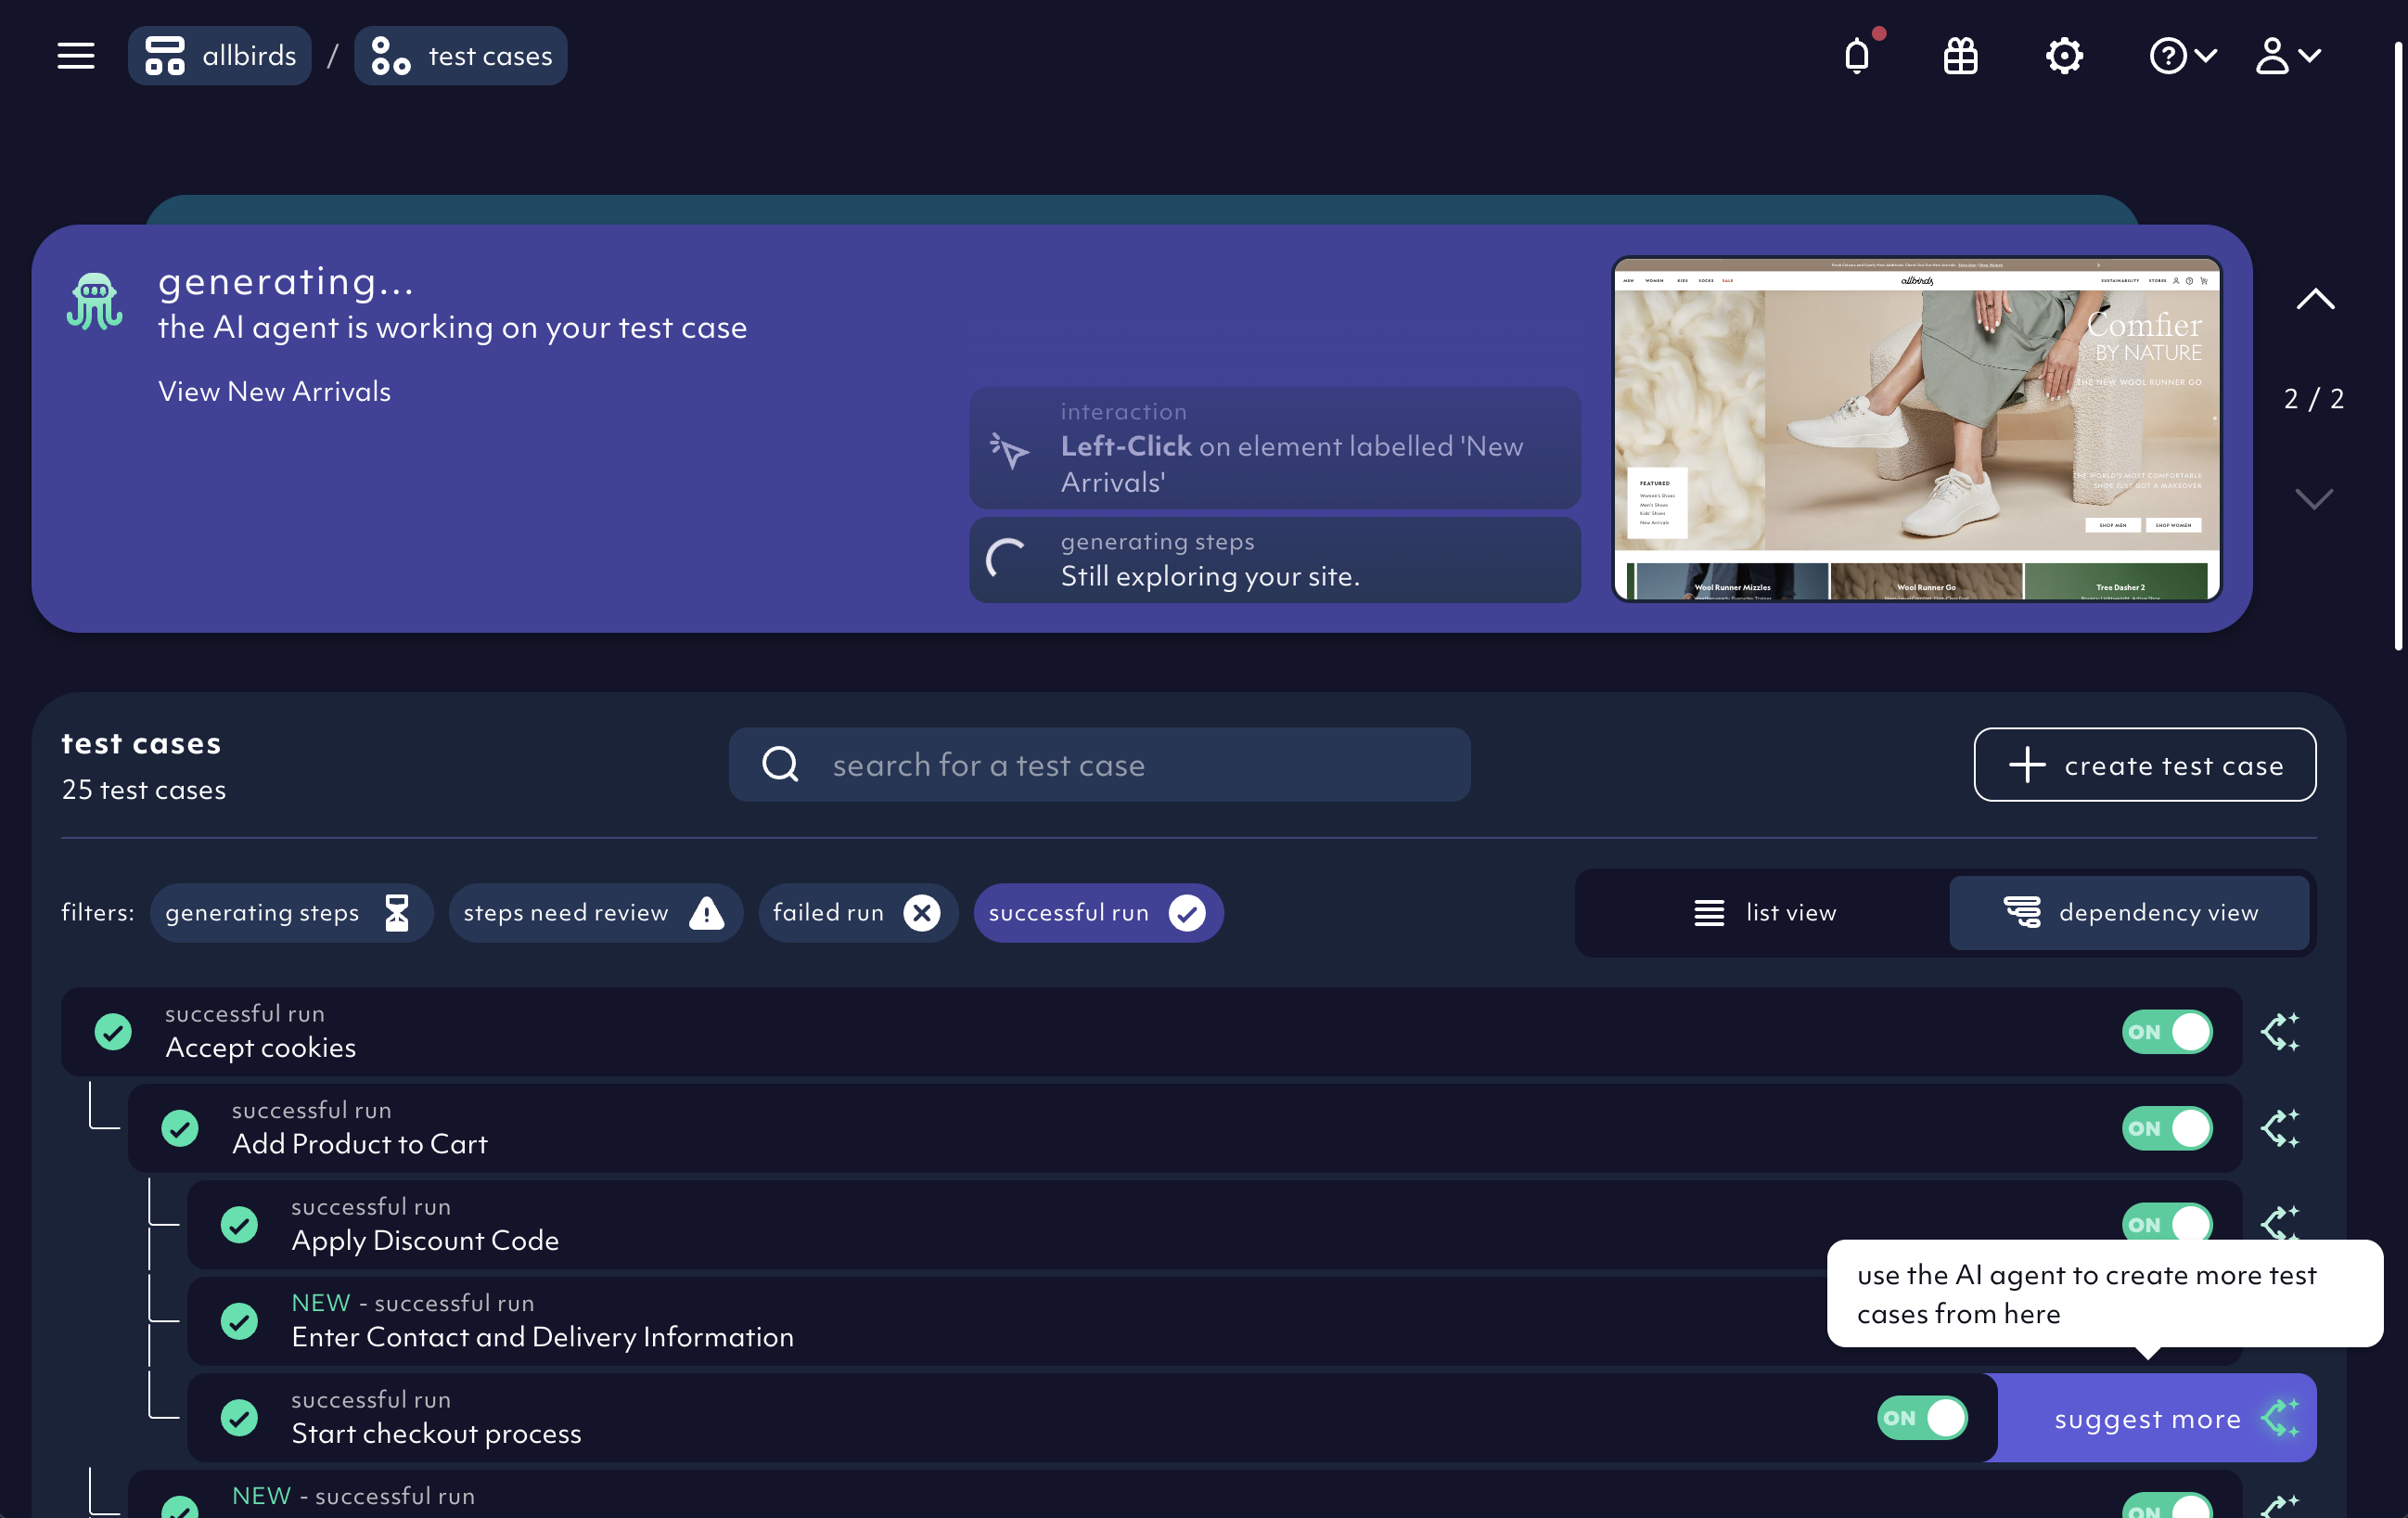
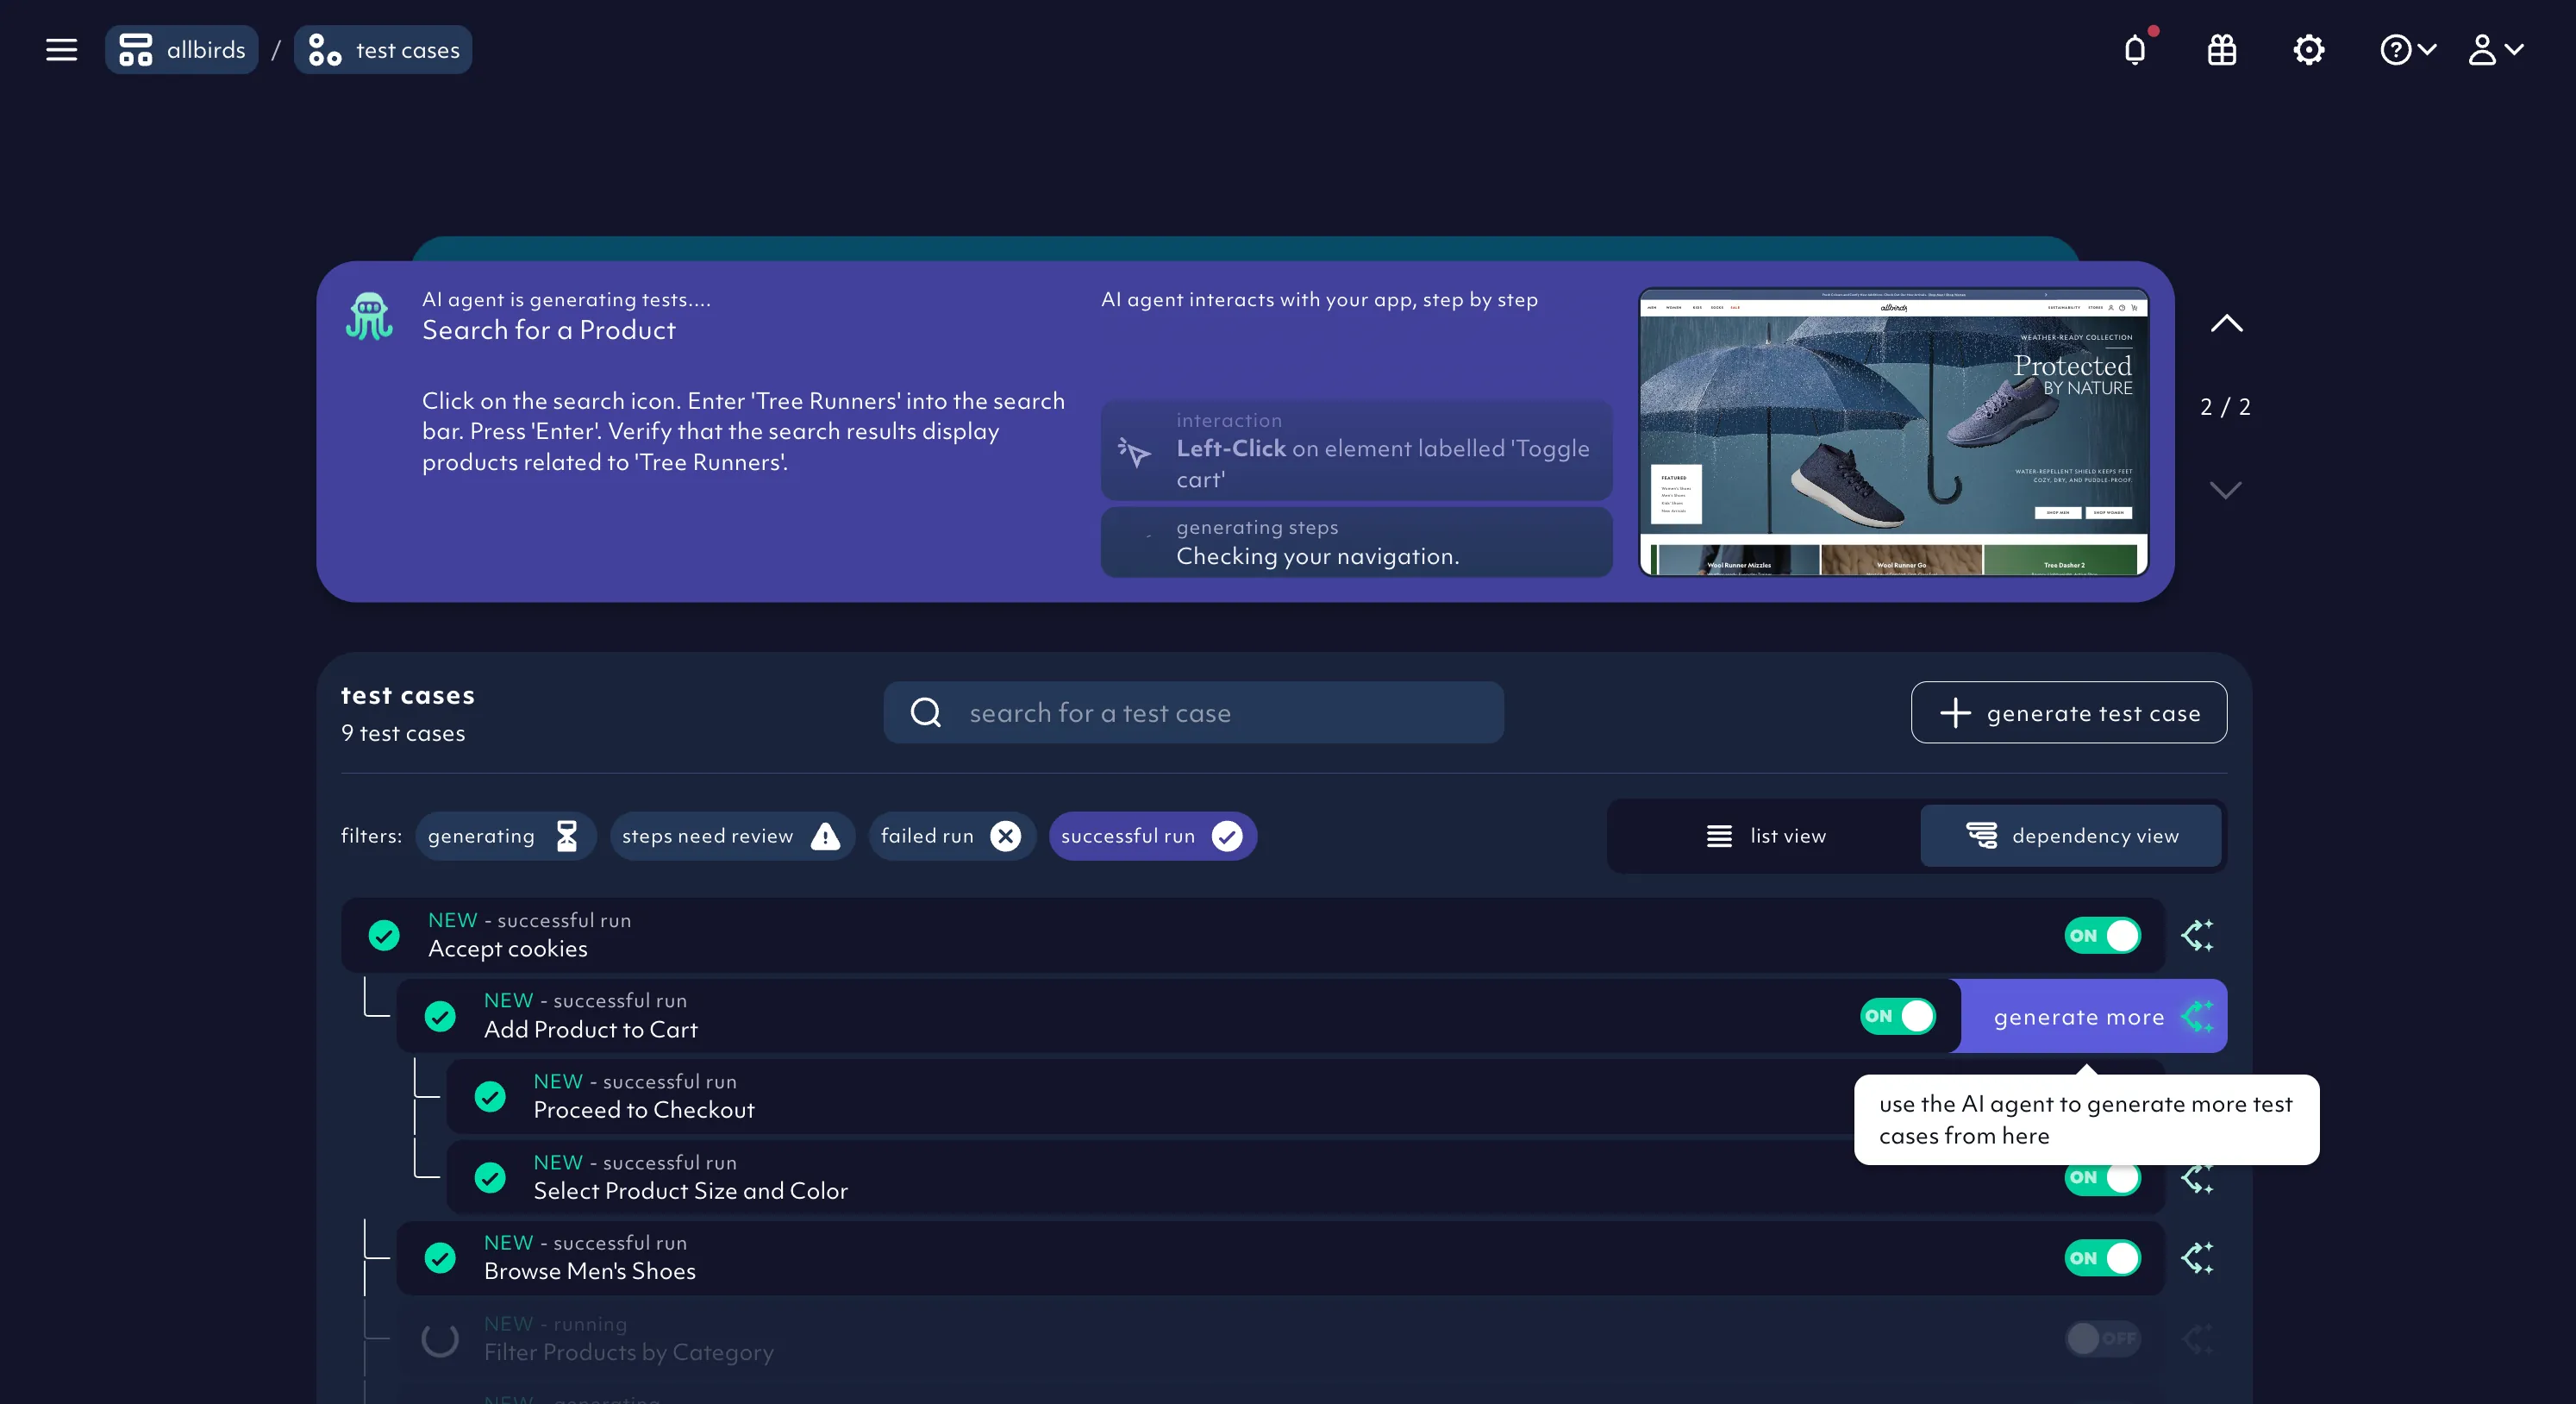
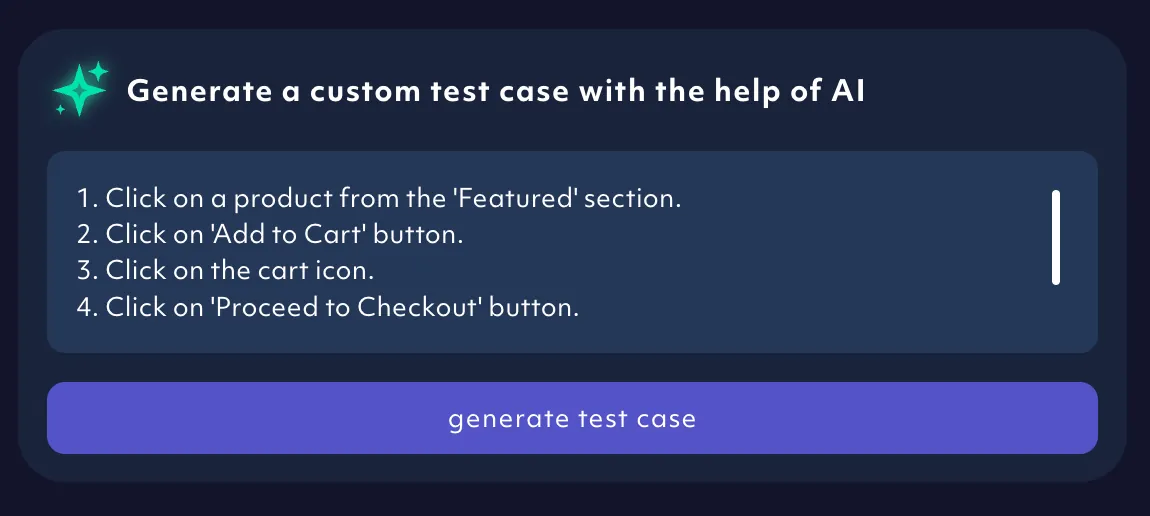
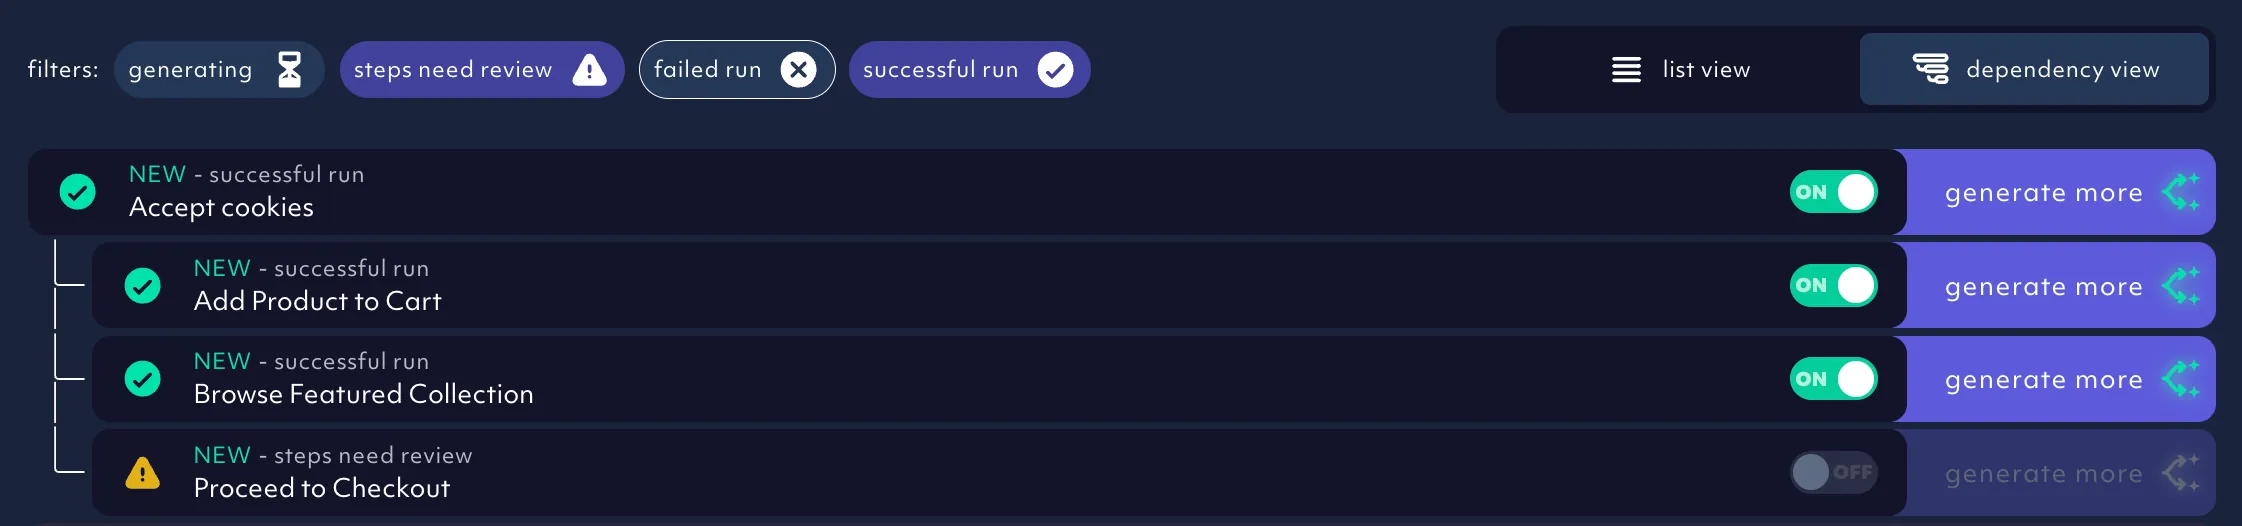
This is where things get interesting. You can increase your test coverage simply by asking the Agent to generate more tests.

You can also get suggestions for new tests or you create a custom test case by prompting the Agent.
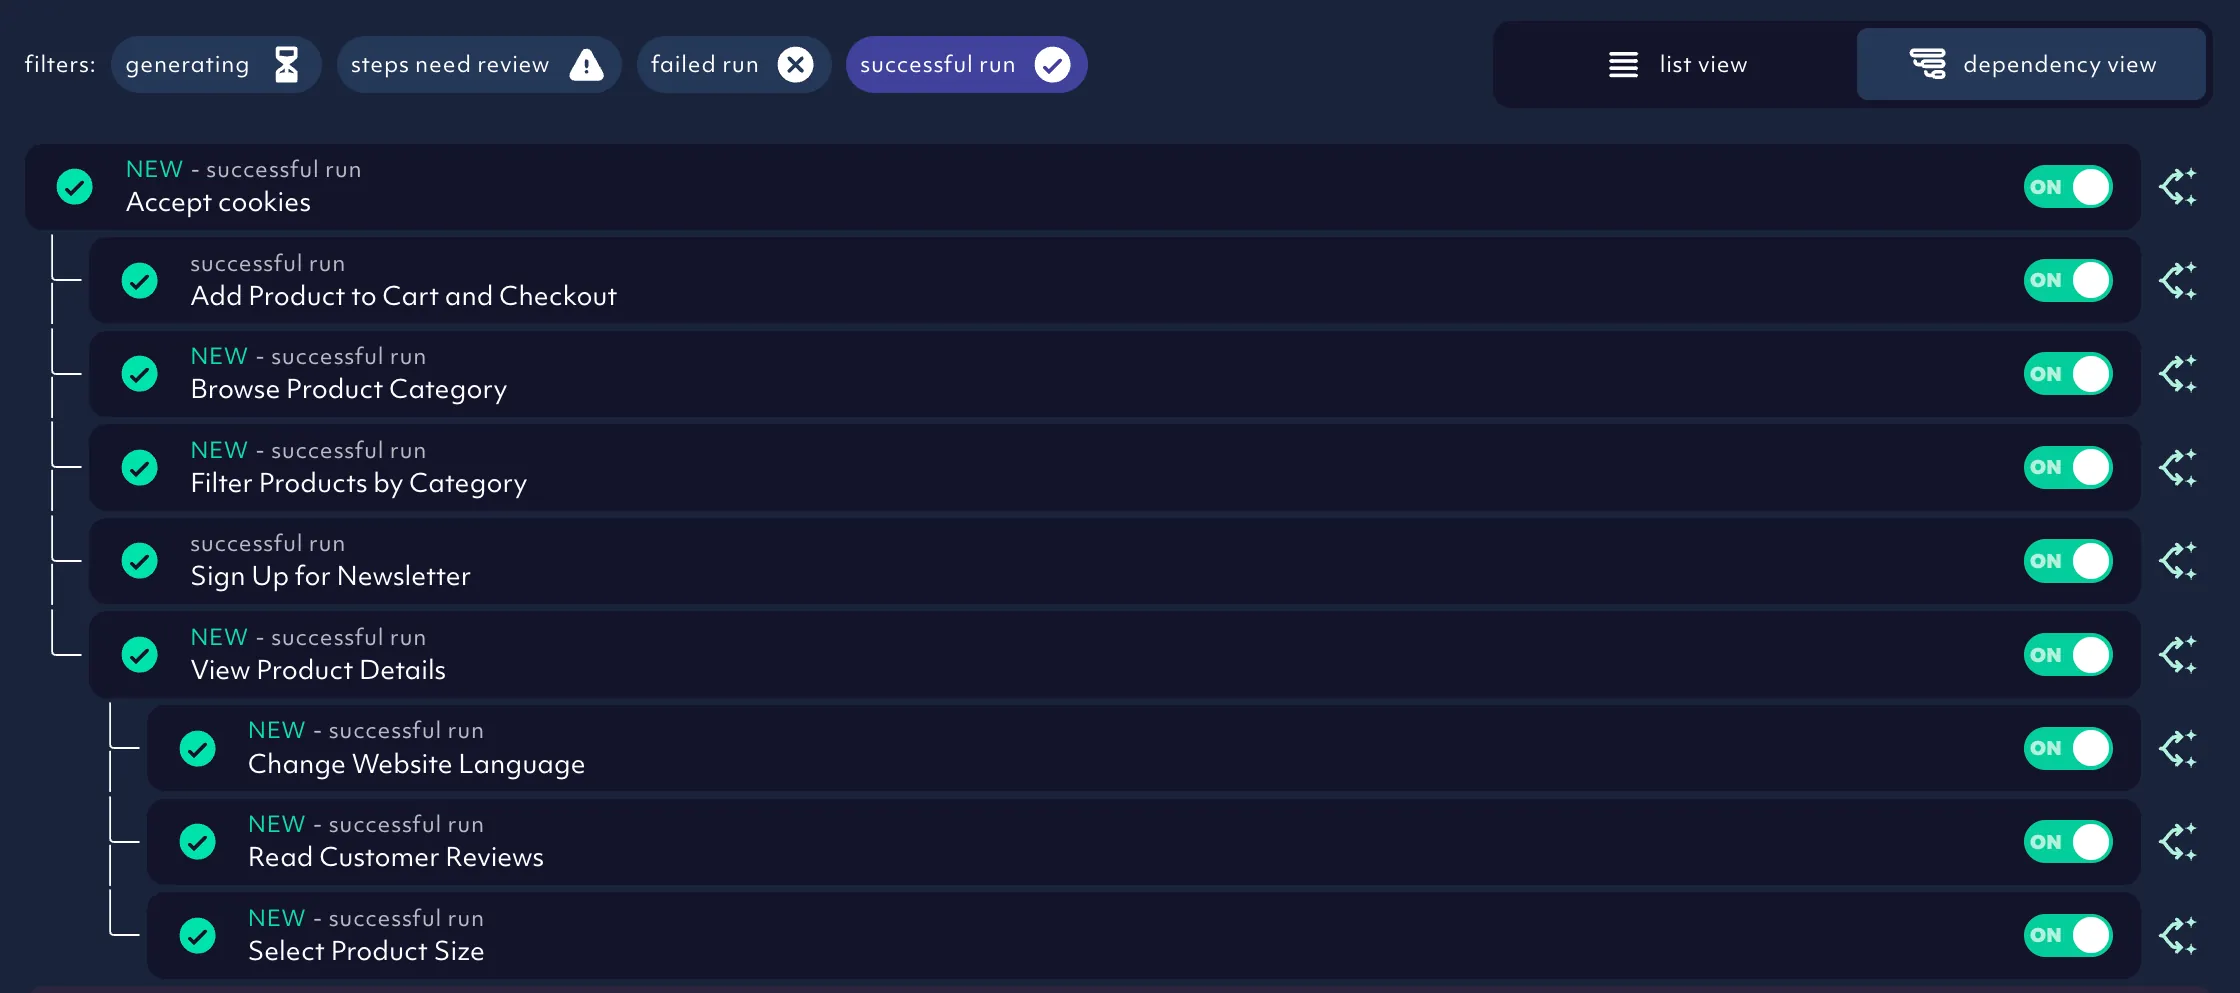
Test cases arranged in a hierarchy, visually showing the execution sequence from parent to child while also providing the Agent with context for the new test cases.
5. Test status and debugging
Active indicates the test step design worked as expected, whereas an inactive test (off) means the Agent hit a stumbling block that prevented it from reaching the test verification step. Nothing is wrong with your site - the Agent just needs help refining its test strategy. It's labeled as 'steps need review'.
There are numerous options for fixing an inactive test.
The agent-generated prompt can be altered to include steps it didn't think of.
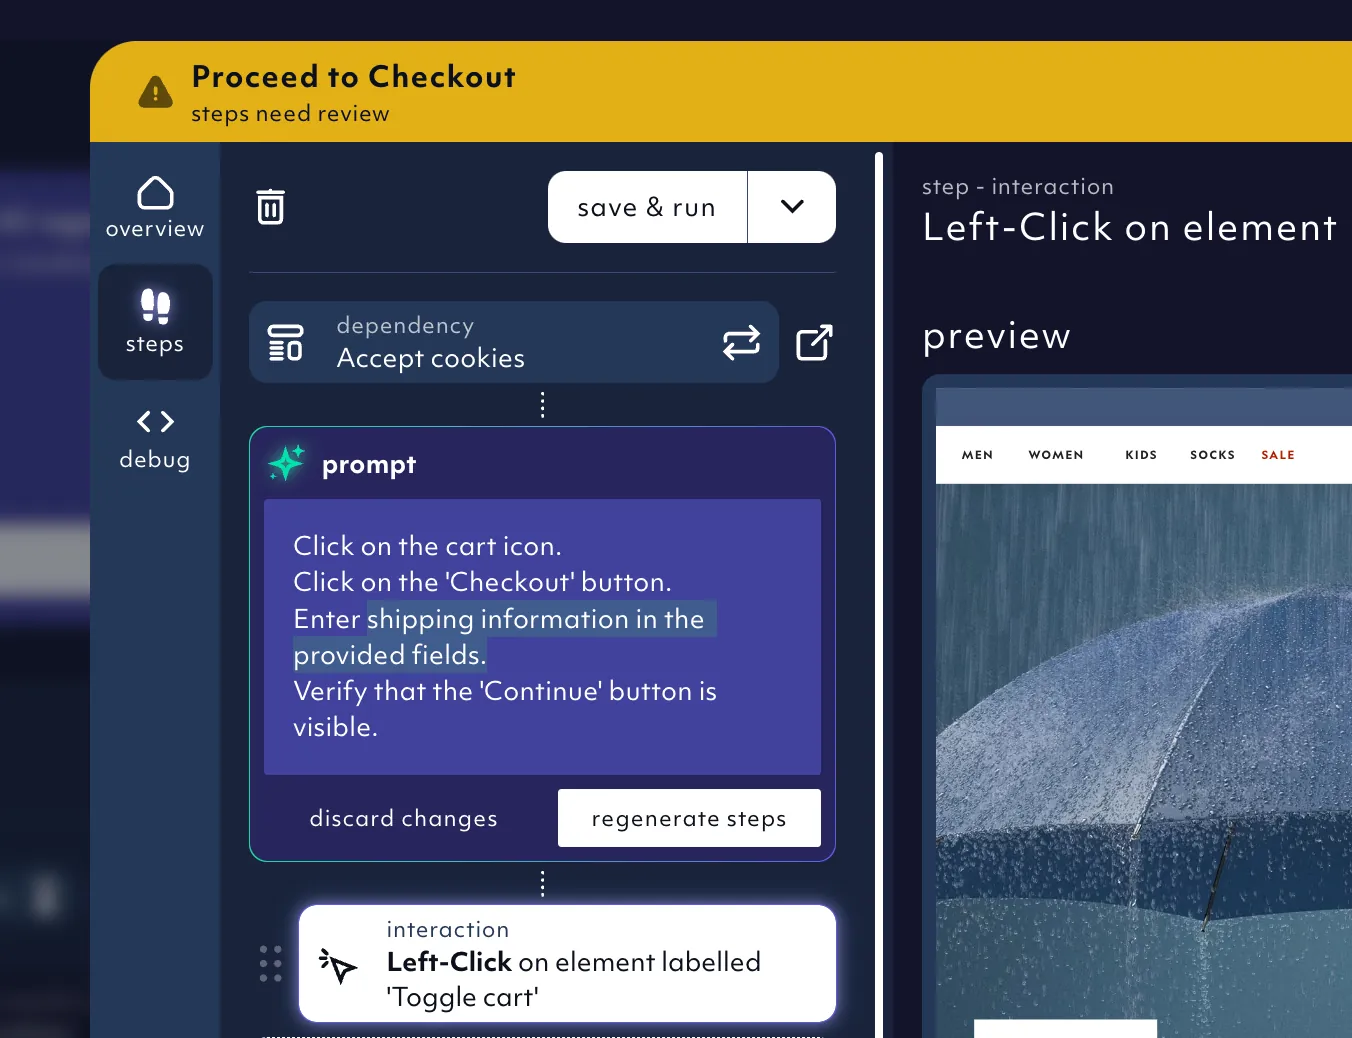
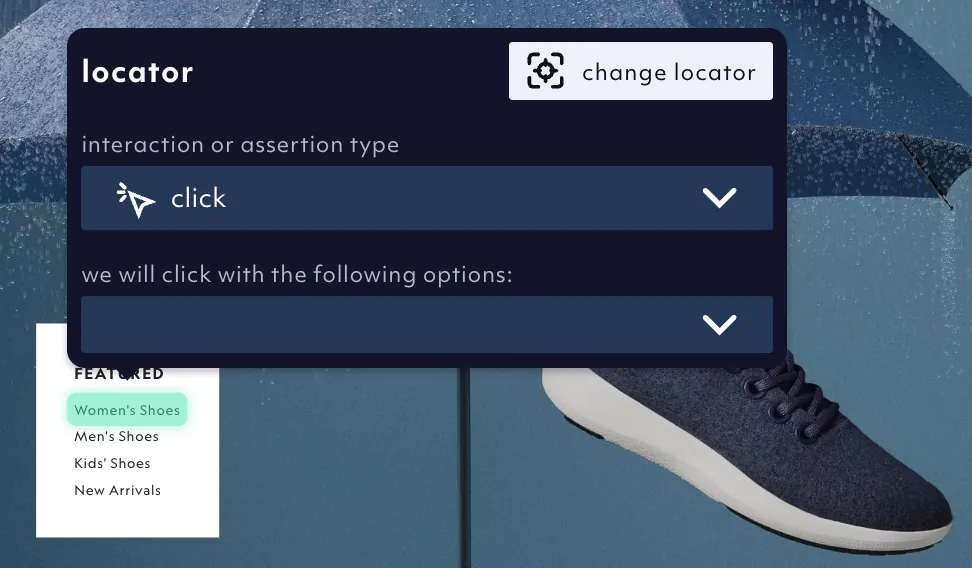
The locator (element to interact with) can be adjusted (e.g. if the wrong button was clicked).
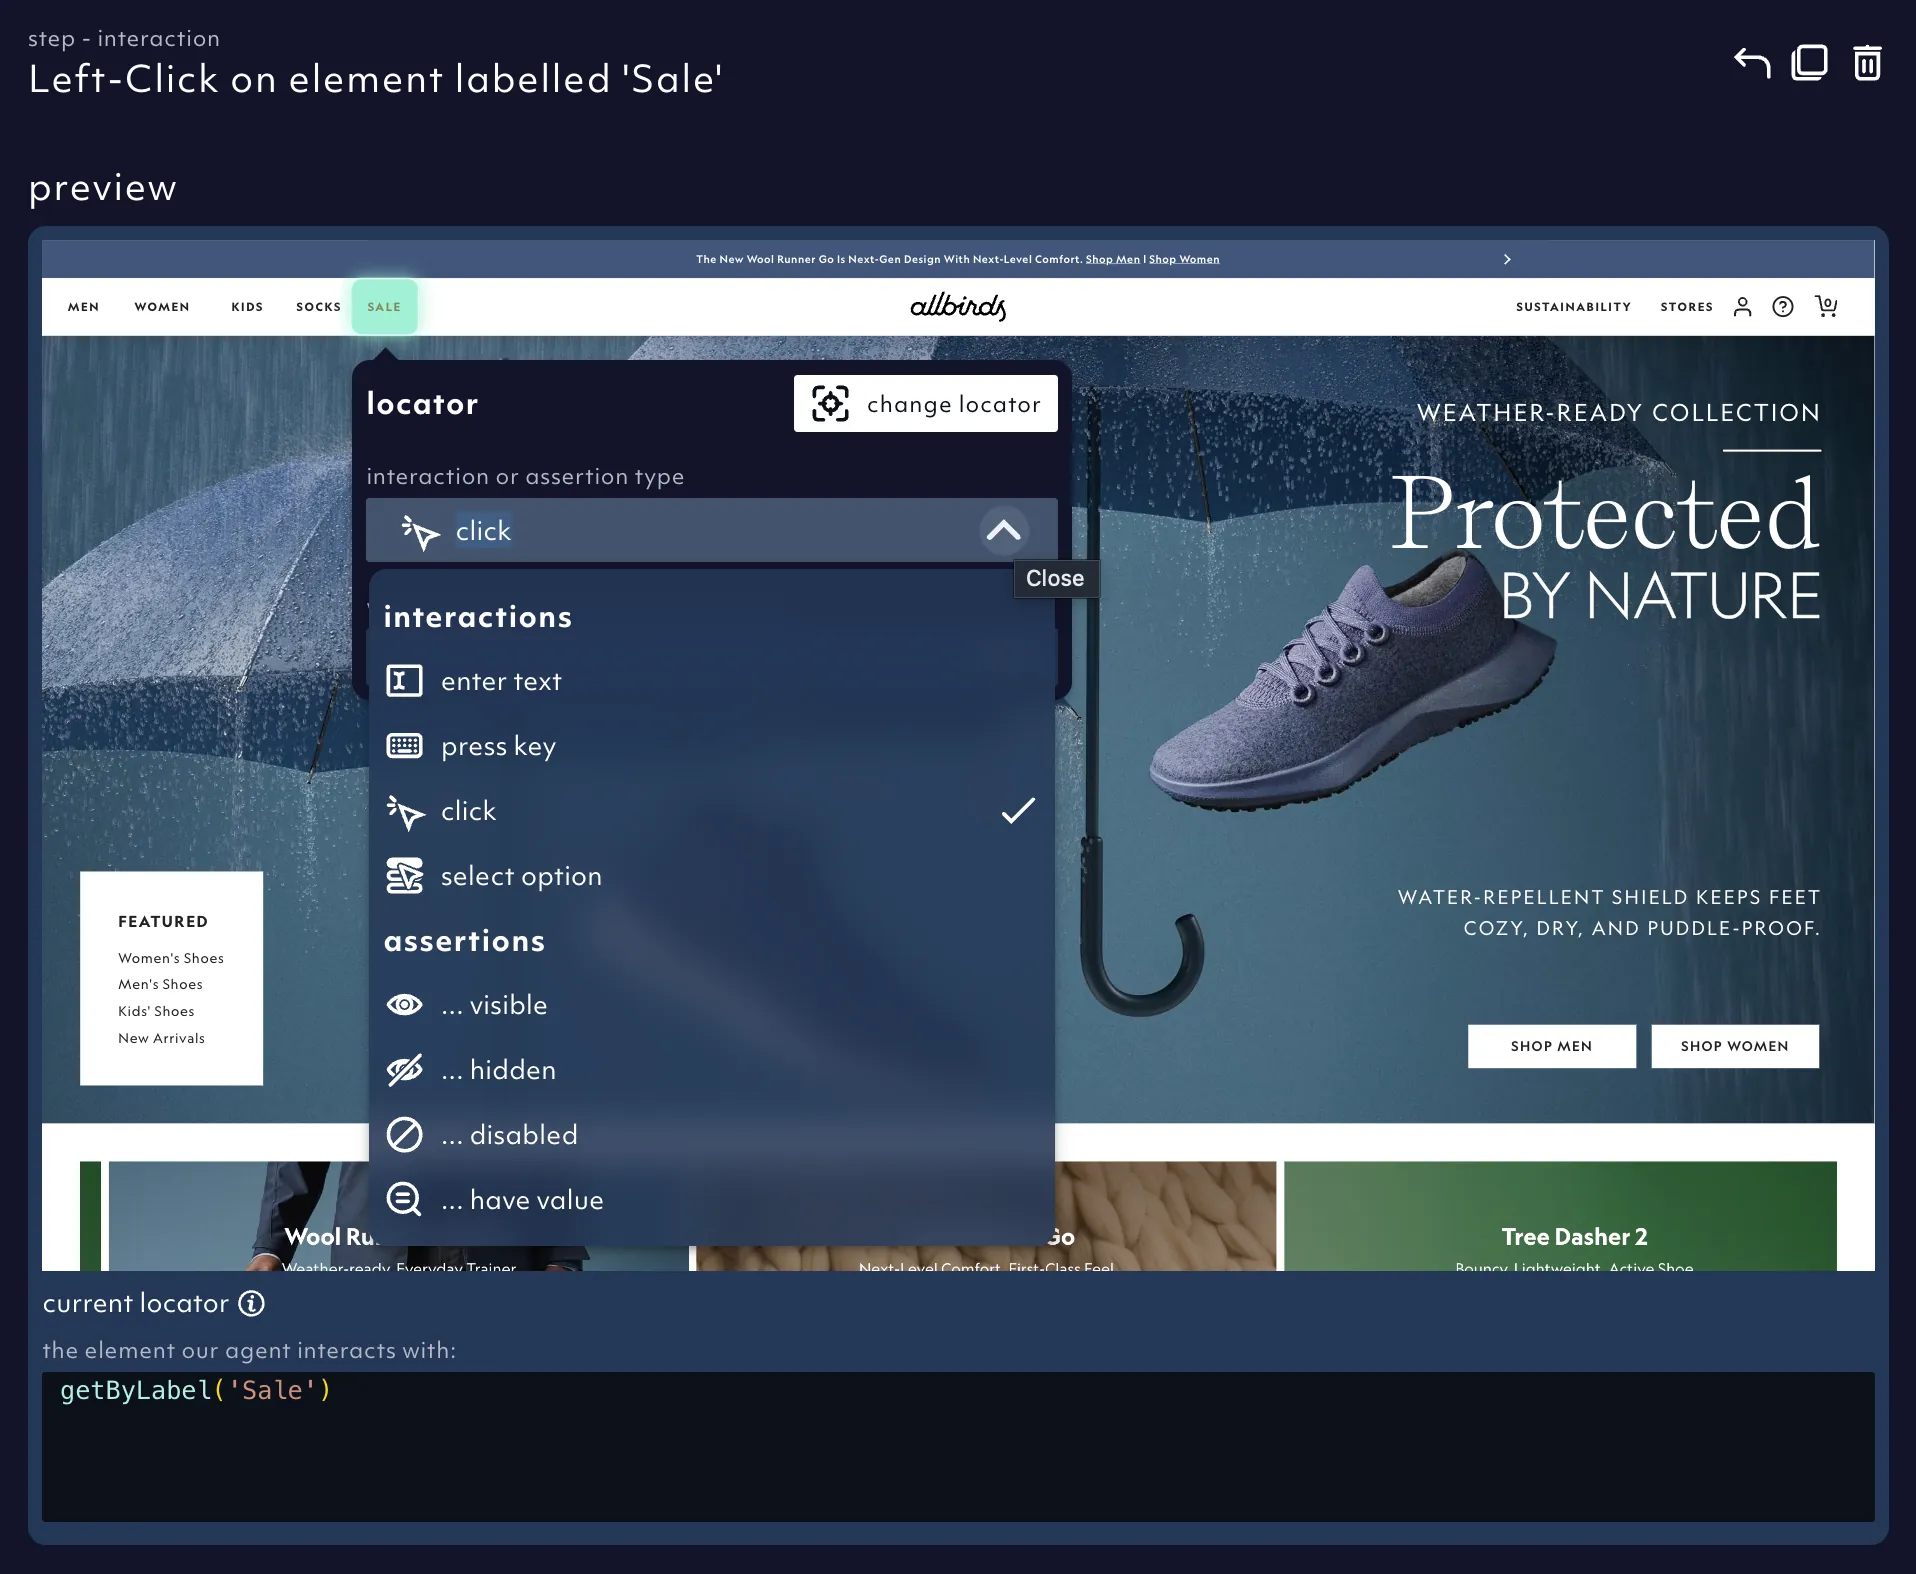
The assertion and interaction methods can be changed (e.g. if it's not verifying the state of the correct element).
You can delete redundant steps.
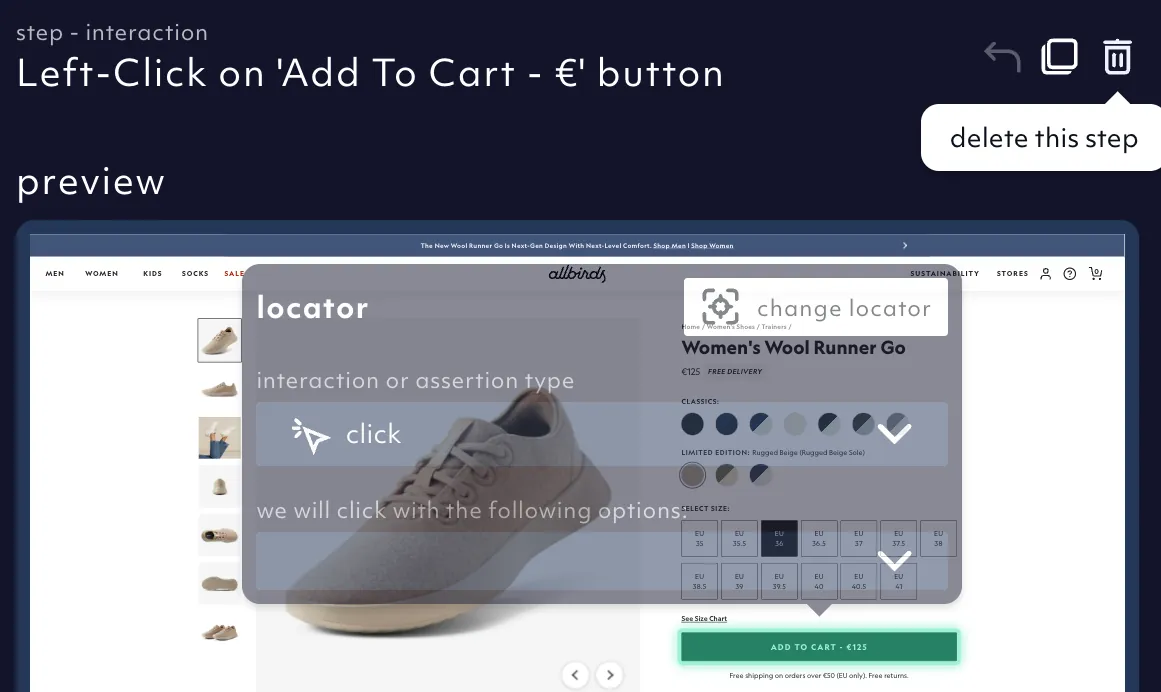
Plus you can run and debug the test locally.
Once the test steps have been fixed, click 'save and run' to execute the test and if successful, it will change to an active test.
That's a pretty comprehensive start-to-finish tour of Octomind. Hopefully you're ready to give it a try.
And if you have any questions, you can email me at daniel @ octomind.dev or join our Discord community.

Daniel Roedler
Co-founder & CPO